• | SNMP Trap Enabled | Select the checkbox to enable sending a trap for this event. |
• | IP Address | The IP address of the computer that will receive the trap. Up to 10 addresses may be |
|
| entered, each in a separate field. |
• | Community | This is the community name used when sending the trap. (i.e. PUBLIC) |
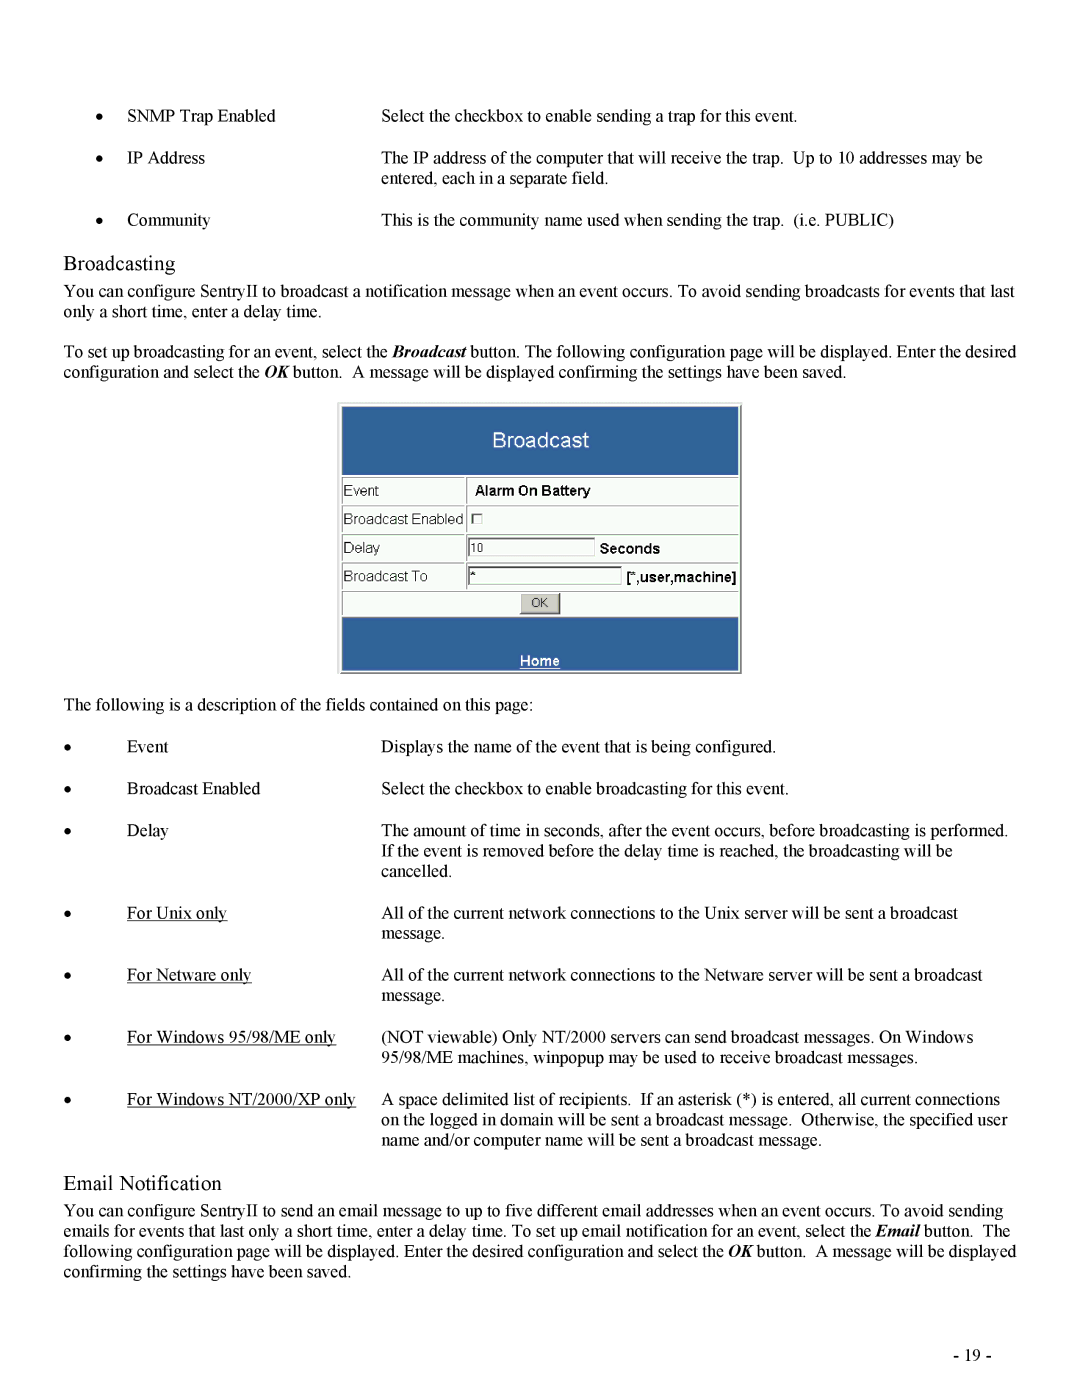
Broadcasting
You can configure SentryII to broadcast a notification message when an event occurs. To avoid sending broadcasts for events that last only a short time, enter a delay time.
To set up broadcasting for an event, select the Broadcast button. The following configuration page will be displayed. Enter the desired configuration and select the OK button. A message will be displayed confirming the settings have been saved.
The following is a description of the fields contained on this page:
• | Event | Displays the name of the event that is being configured. |
• | Broadcast Enabled | Select the checkbox to enable broadcasting for this event. |
• | Delay | The amount of time in seconds, after the event occurs, before broadcasting is performed. |
|
| If the event is removed before the delay time is reached, the broadcasting will be |
|
| cancelled. |
• | For Unix only | All of the current network connections to the Unix server will be sent a broadcast |
|
| message. |
• | For Netware only | All of the current network connections to the Netware server will be sent a broadcast |
|
| message. |
• | For Windows 95/98/ME only | (NOT viewable) Only NT/2000 servers can send broadcast messages. On Windows |
|
| 95/98/ME machines, winpopup may be used to receive broadcast messages. |
• | For Windows NT/2000/XP only | A space delimited list of recipients. If an asterisk (*) is entered, all current connections |
|
| on the logged in domain will be sent a broadcast message. Otherwise, the specified user |
|
| name and/or computer name will be sent a broadcast message. |
Email Notification
You can configure SentryII to send an email message to up to five different email addresses when an event occurs. To avoid sending emails for events that last only a short time, enter a delay time. To set up email notification for an event, select the Email button. The following configuration page will be displayed. Enter the desired configuration and select the OK button. A message will be displayed confirming the settings have been saved.
- 19 -