Step 1. Insert the SentryII Installation CD and select Install Software from the menu. If the autorun feature does not work, run setup.exe located in the {drive}:\\SentryIIServer\Win32 folder on the SentryII Installation CD.
NOTE: Replace {drive} with the drive letter of the CDROM drive.
NOTE: When using a Windows NT/2000/XP server, logon as the administrator to ensure that you have full read and write privileges.
Step 2. The InstallShield Wizard will guide you through the installation process.
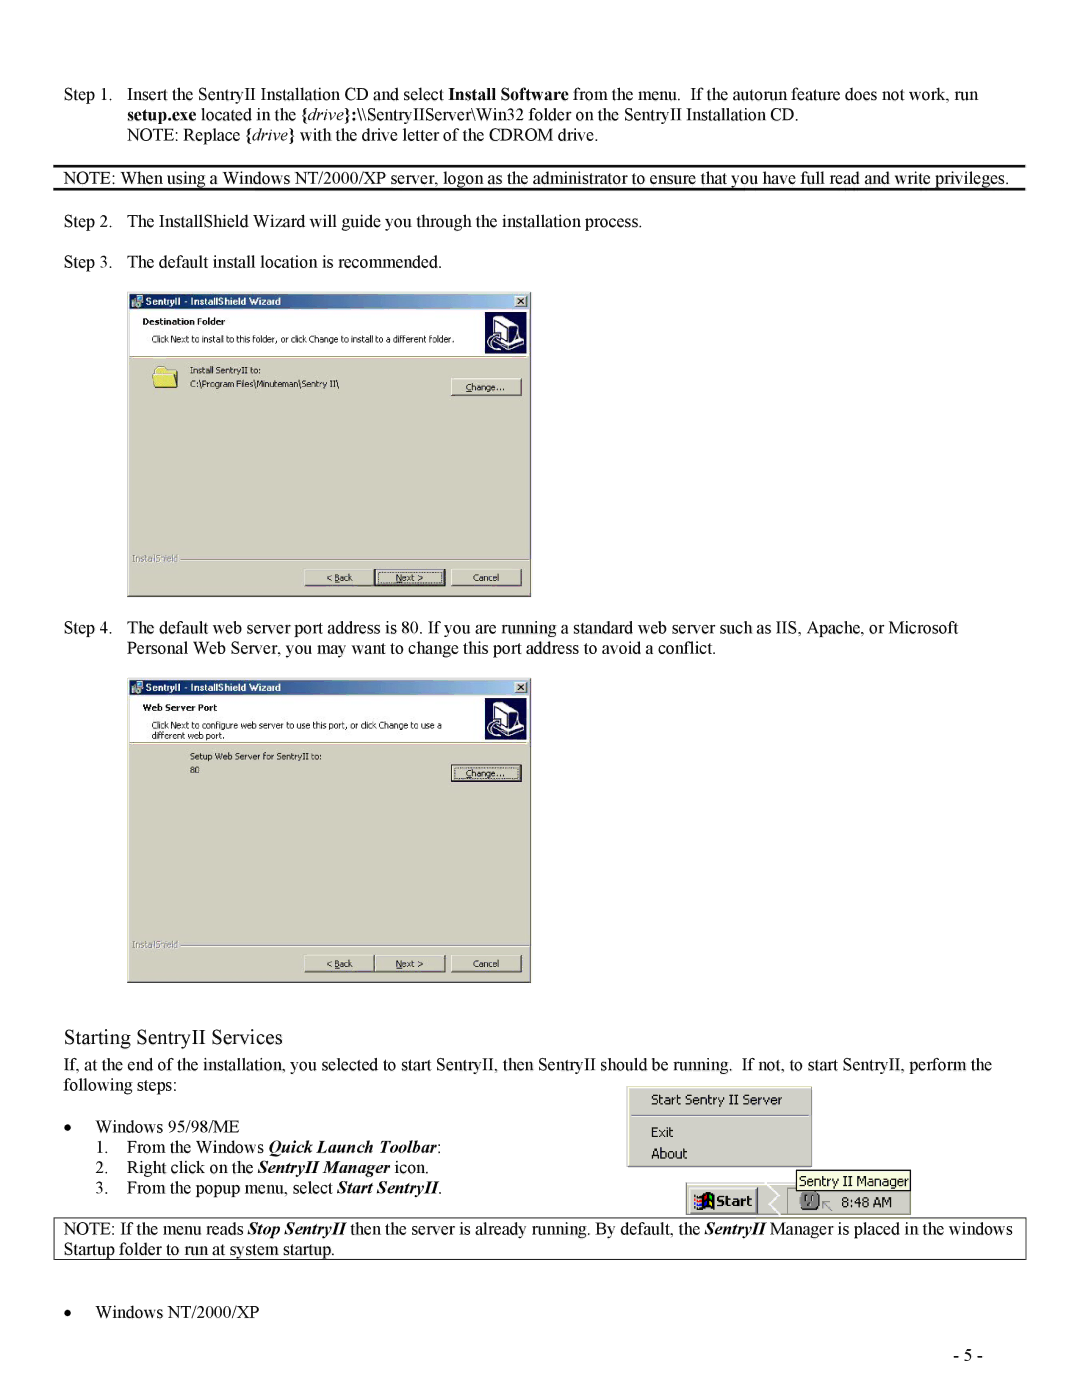
Step 3. The default install location is recommended.
Step 4. The default web server port address is 80. If you are running a standard web server such as IIS, Apache, or Microsoft Personal Web Server, you may want to change this port address to avoid a conflict.
Starting SentryII Services
If, at the end of the installation, you selected to start SentryII, then SentryII should be running. If not, to start SentryII, perform the following steps:
•Windows 95/98/ME
1.From the Windows Quick Launch Toolbar:
2.Right click on the SentryII Manager icon.
3.From the popup menu, select Start SentryII.
NOTE: If the menu reads Stop SentryII then the server is already running. By default, the SentryII Manager is placed in the windows Startup folder to run at system startup.
•Windows NT/2000/XP
- 5 -