Advanced features (continued)
Connection
For details of the connection, see “LAN control UTILITY operation manual” in the
When STANDBY MODE of the INSTALLATION menu of the projector is set to LOW, the LAN network is disabled. To enable the LAN network, set STANDBY MODE to STANDARD. (See page 32.)
Configure the initial network settings first.
You can configure the initial settings using the projector menu (see pages 44 to 47) or ProjectorView Global+ or ProjectorView. For details of ProjectorView Global+ and ProjectorView, see “LAN control UTILITY operation manual” in the
Using the User Manual
The User Manual for LAN Control Utility is prepared in the Portable Document Format (PDF) in the
Opening the User Manual:
1.Load the
2.Open
3.
4.Move the mouse pointer to the desired language and click.
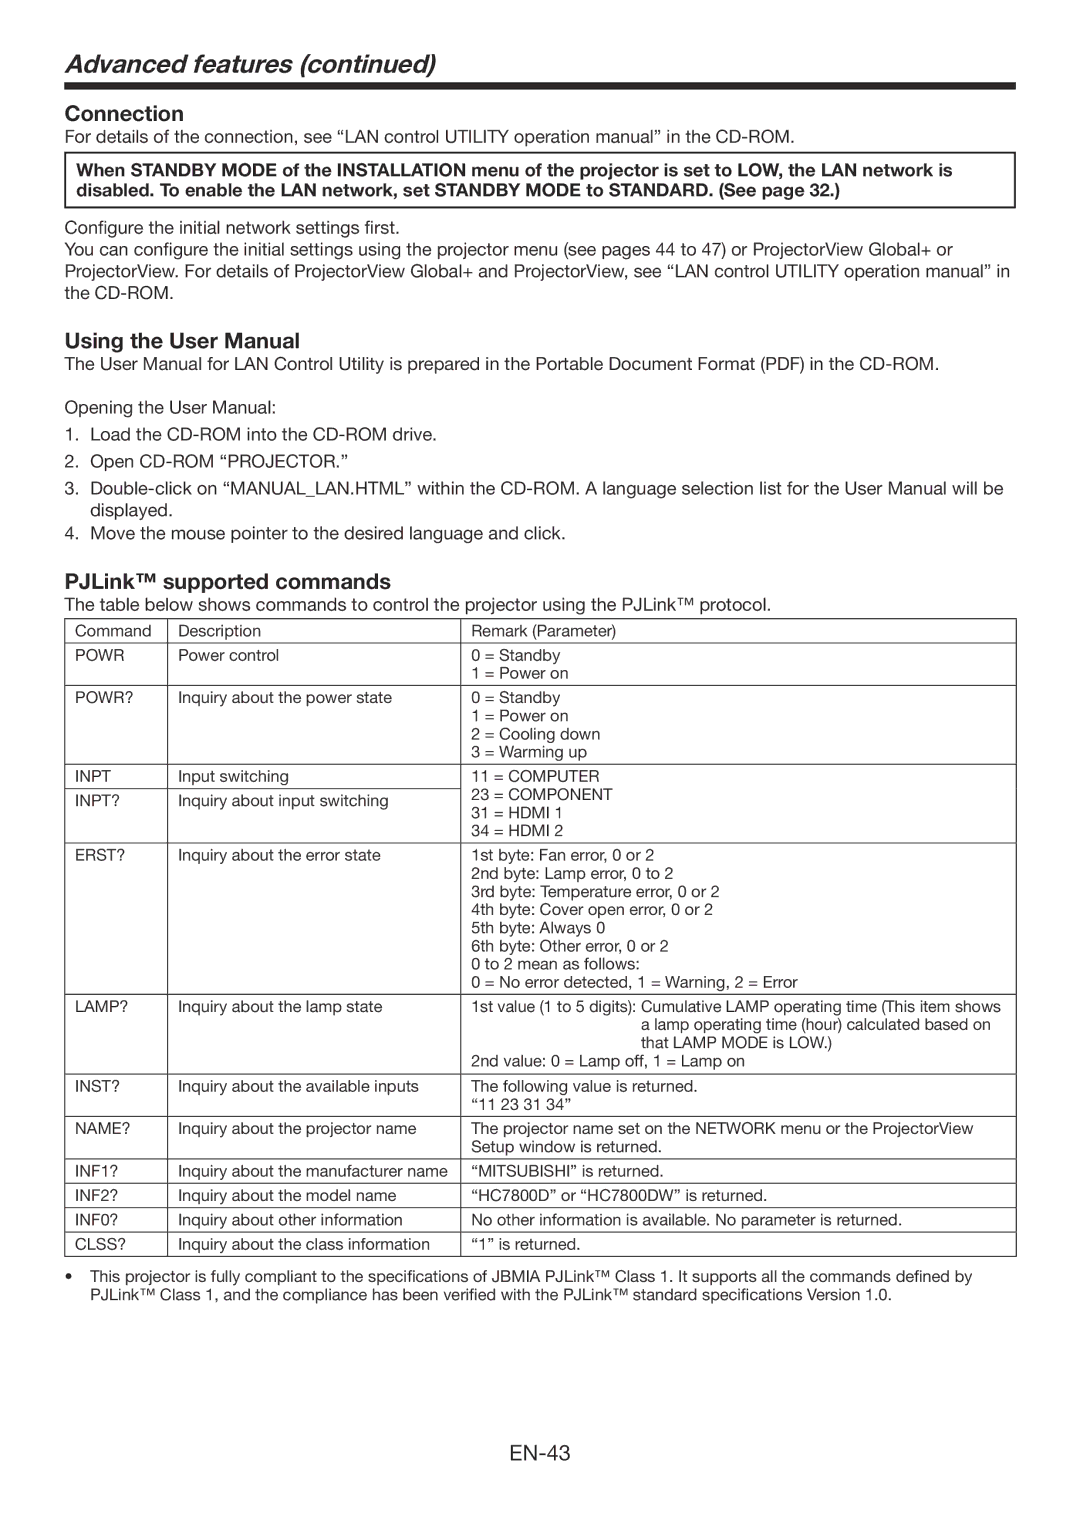
PJLink™ supported commands
The table below shows commands to control the projector using the PJLink™ protocol.
Command | Description | Remark (Parameter) | ||
|
|
|
| |
POWR | Power control | 0 | = Standby | |
|
| 1 | = Power on | |
|
|
|
| |
POWR? | Inquiry about the power state | 0 | = Standby | |
|
| 1 | = Power on | |
|
| 2 | = Cooling down | |
|
| 3 | = Warming up | |
|
|
| ||
INPT | Input switching | 11 = COMPUTER | ||
|
| 23 = COMPONENT | ||
INPT? | Inquiry about input switching | |||
31 = HDMI 1 | ||||
|
| |||
|
| 34 = HDMI 2 | ||
|
|
| ||
ERST? | Inquiry about the error state | 1st byte: Fan error, 0 or 2 | ||
|
| 2nd byte: Lamp error, 0 to 2 | ||
|
| 3rd byte: Temperature error, 0 or 2 | ||
|
| 4th byte: Cover open error, 0 or 2 | ||
|
| 5th byte: Always 0 | ||
|
| 6th byte: Other error, 0 or 2 | ||
|
| 0 to 2 mean as follows: | ||
|
| 0 | = No error detected, 1 = Warning, 2 = Error | |
|
|
| ||
LAMP? | Inquiry about the lamp state | 1st value (1 to 5 digits): Cumulative LAMP operating time (This item shows | ||
|
|
| a lamp operating time (hour) calculated based on | |
|
|
| that LAMP MODE is LOW.) | |
|
| 2nd value: 0 = Lamp off, 1 = Lamp on | ||
|
|
| ||
INST? | Inquiry about the available inputs | The following value is returned. | ||
|
| “11 23 31 34” | ||
|
|
| ||
NAME? | Inquiry about the projector name | The projector name set on the NETWORK menu or the ProjectorView | ||
|
| Setup window is returned. | ||
|
|
| ||
INF1? | Inquiry about the manufacturer name | “MITSUBISHI” is returned. | ||
|
|
| ||
INF2? | Inquiry about the model name | “HC7800D” or “HC7800DW” is returned. | ||
|
|
| ||
INF0? | Inquiry about other information | No other information is available. No parameter is returned. | ||
|
|
| ||
CLSS? | Inquiry about the class information | “1” is returned. | ||
|
|
|
| |
•This projector is fully compliant to the specifications of JBMIA PJLink™ Class 1. It supports all the commands defined by PJLink™ Class 1, and the compliance has been verified with the PJLink™ standard specifications Version 1.0.
