42Chapter 4. TV Menu Settings
Setup Menu
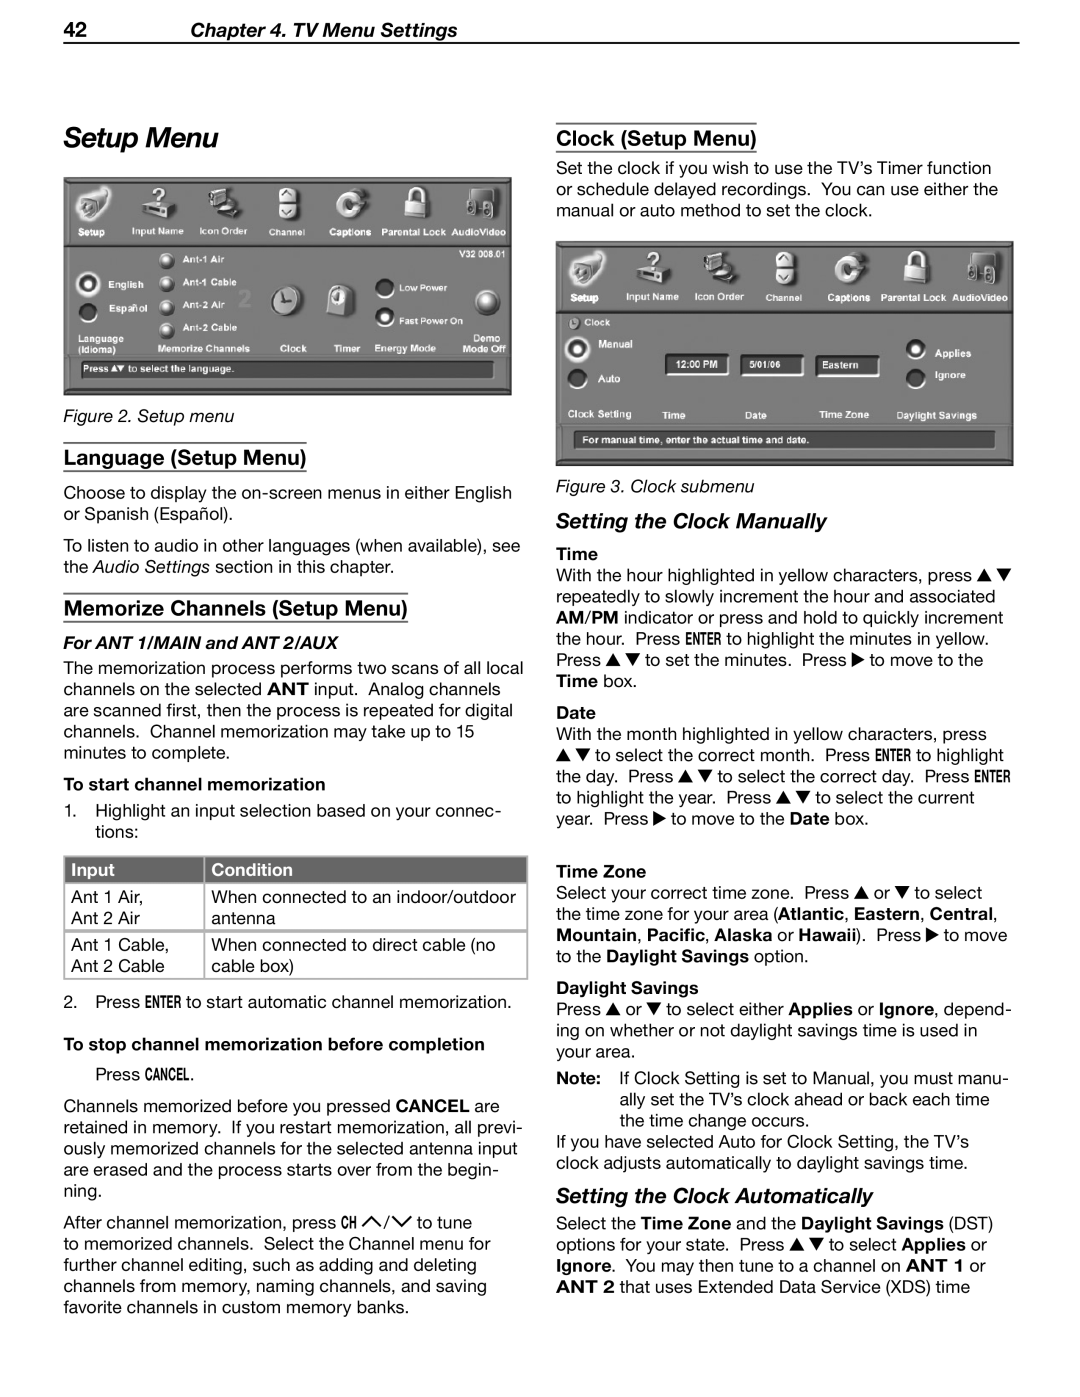
Figure 2. Setup menu
Language (Setup Menu)
Choose to display the
To listen to audio in other languages (when available), see the Audio Settings section in this chapter.
Memorize Channels (Setup Menu)
For ANT 1/MAIN and ANT 2/AUX
The memorization process performs two scans of all local channels on the selected ANT input. Analog channels are scanned first, then the process is repeated for digital channels. Channel memorization may take up to 15 minutes to complete.
To start channel memorization
1.Highlight an input selection based on your connec- tions:
Input | Condition | |
|
|
|
Ant 1 | Air, | When connected to an indoor/outdoor |
Ant 2 | Air | antenna |
Ant 1 | Cable, | When connected to direct cable (no |
Ant 2 | Cable | cable box) |
|
|
|
2. Press ENTER to start automatic channel memorization.
To stop channel memorization before completion
Press CANCEL.
Channels memorized before you pressed CANCEL are retained in memory. If you restart memorization, all previ- ously memorized channels for the selected antenna input are erased and the process starts over from the begin- ning.
After channel memorization, press CH![]() /
/![]() to tune to memorized channels. Select the Channel menu for further channel editing, such as adding and deleting channels from memory, naming channels, and saving favorite channels in custom memory banks.
to tune to memorized channels. Select the Channel menu for further channel editing, such as adding and deleting channels from memory, naming channels, and saving favorite channels in custom memory banks.
Clock (Setup Menu)
Set the clock if you wish to use the TV’s Timer function or schedule delayed recordings. You can use either the manual or auto method to set the clock.
Figure 3. Clock submenu
Setting the Clock Manually
Time
With the hour highlighted in yellow characters, press ![]()
![]() repeatedly to slowly increment the hour and associated AM/PM indicator or press and hold to quickly increment the hour. Press ENTER to highlight the minutes in yellow.
repeatedly to slowly increment the hour and associated AM/PM indicator or press and hold to quickly increment the hour. Press ENTER to highlight the minutes in yellow.
Press ![]()
![]() to set the minutes. Press
to set the minutes. Press ![]() to move to the Time box.
to move to the Time box.
Date
With the month highlighted in yellow characters, press ![]()
![]() to select the correct month. Press ENTER to highlight
to select the correct month. Press ENTER to highlight
the day. Press ![]()
![]() to select the correct day. Press ENTER
to select the correct day. Press ENTER
to highlight the year. Press ![]()
![]() to select the current year. Press
to select the current year. Press ![]() to move to the Date box.
to move to the Date box.
Time Zone
Select your correct time zone. Press ![]() or
or ![]() to select the time zone for your area (Atlantic, Eastern, Central, Mountain, Pacific, Alaska or Hawaii). Press
to select the time zone for your area (Atlantic, Eastern, Central, Mountain, Pacific, Alaska or Hawaii). Press ![]() to move to the Daylight Savings option.
to move to the Daylight Savings option.
Daylight Savings
Press ![]() or
or ![]() to select either Applies or Ignore, depend- ing on whether or not daylight savings time is used in your area.
to select either Applies or Ignore, depend- ing on whether or not daylight savings time is used in your area.
Note: If Clock Setting is set to Manual, you must manu- ally set the TV’s clock ahead or back each time the time change occurs.
If you have selected Auto for Clock Setting, the TV’s clock adjusts automatically to daylight savings time.
Setting the Clock Automatically
Select the Time Zone and the Daylight Savings (DST)
options for your state. Press ![]()
![]() to select Applies or Ignore. You may then tune to a channel on ANT 1 or ANT 2 that uses Extended Data Service (XDS) time
to select Applies or Ignore. You may then tune to a channel on ANT 1 or ANT 2 that uses Extended Data Service (XDS) time