Viewing video images (continued)
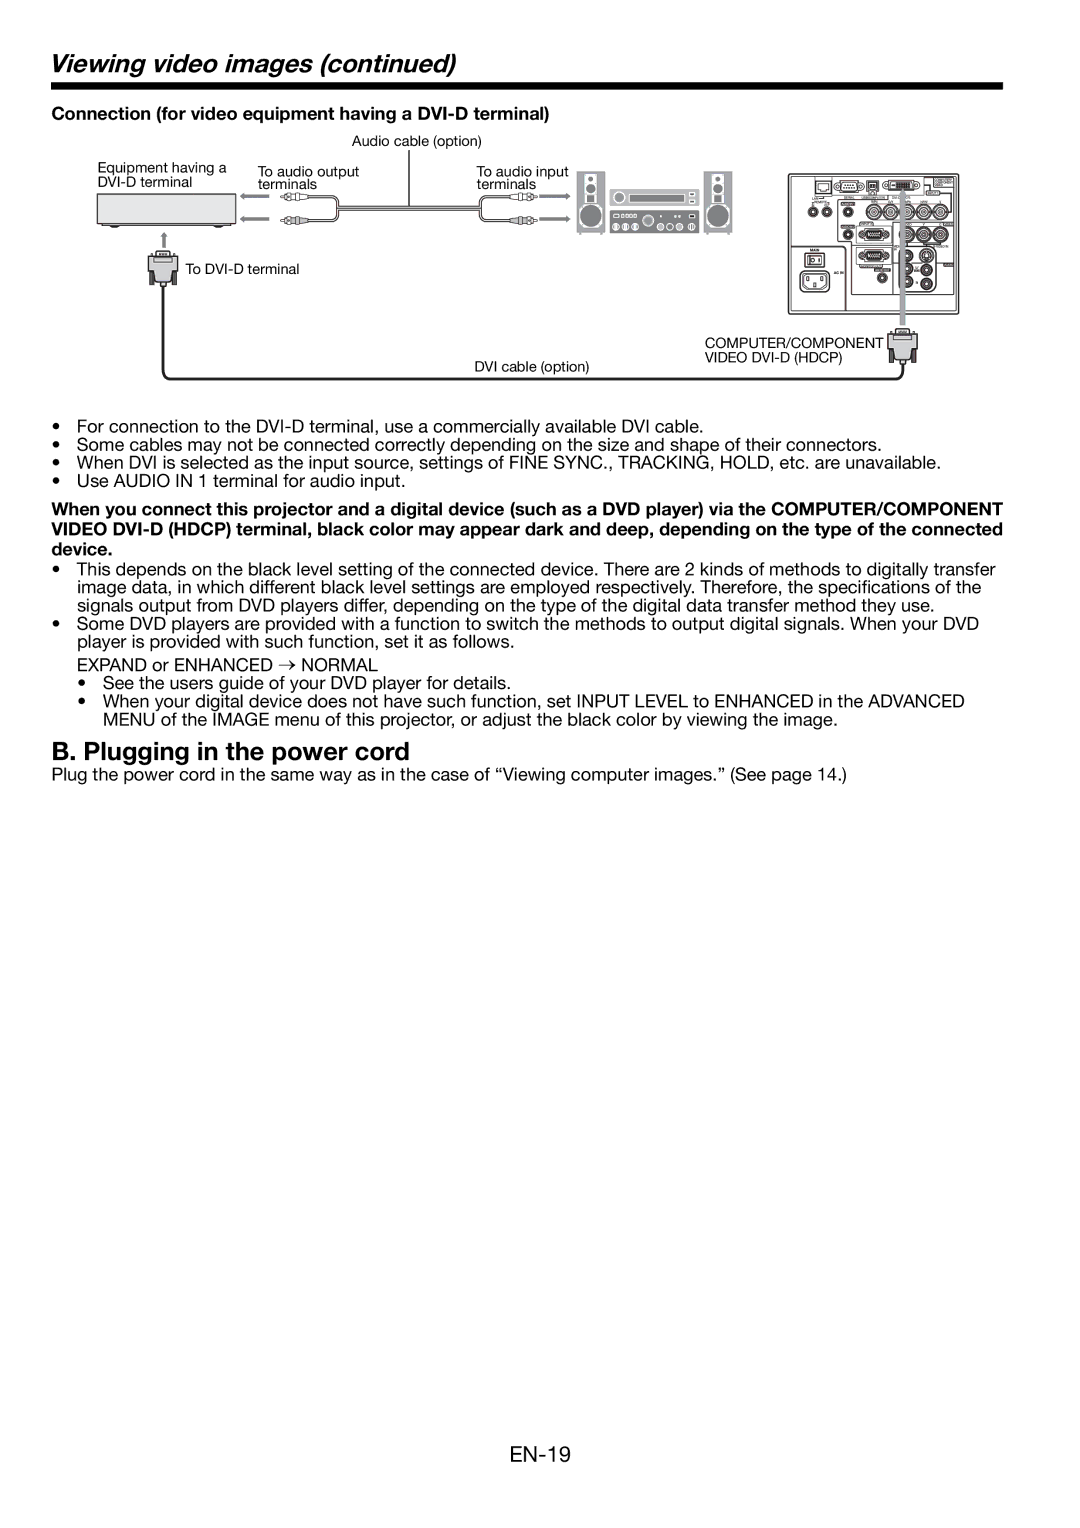
Connection (for video equipment having a DVI-D terminal)
Audio cable (option)
Equipment having a
To audio output | To audio input |
terminals | terminals |
![]() To
To
DVI cable (option)
COMPUTER/COMPONENT VIDEO
•For connection to the
•Some cables may not be connected correctly depending on the size and shape of their connectors.
•When DVI is selected as the input source, settings of FINE SYNC., TRACKING, HOLD, etc. are unavailable.
•Use AUDIO IN 1 terminal for audio input.
When you connect this projector and a digital device (such as a DVD player) via the COMPUTER/COMPONENT VIDEO
•This depends on the black level setting of the connected device. There are 2 kinds of methods to digitally transfer image data, in which different black level settings are employed respectively. Therefore, the specifications of the signals output from DVD players differ, depending on the type of the digital data transfer method they use.
•Some DVD players are provided with a function to switch the methods to output digital signals. When your DVD
player is provided with such function, set it as follows. EXPAND or ENHANCED → NORMAL
•See the users guide of your DVD player for details.
•When your digital device does not have such function, set INPUT LEVEL to ENHANCED in the ADVANCED MENU of the IMAGE menu of this projector, or adjust the black color by viewing the image.
B. Plugging in the power cord
Plug the power cord in the same way as in the case of “Viewing computer images.” (See page 14.)