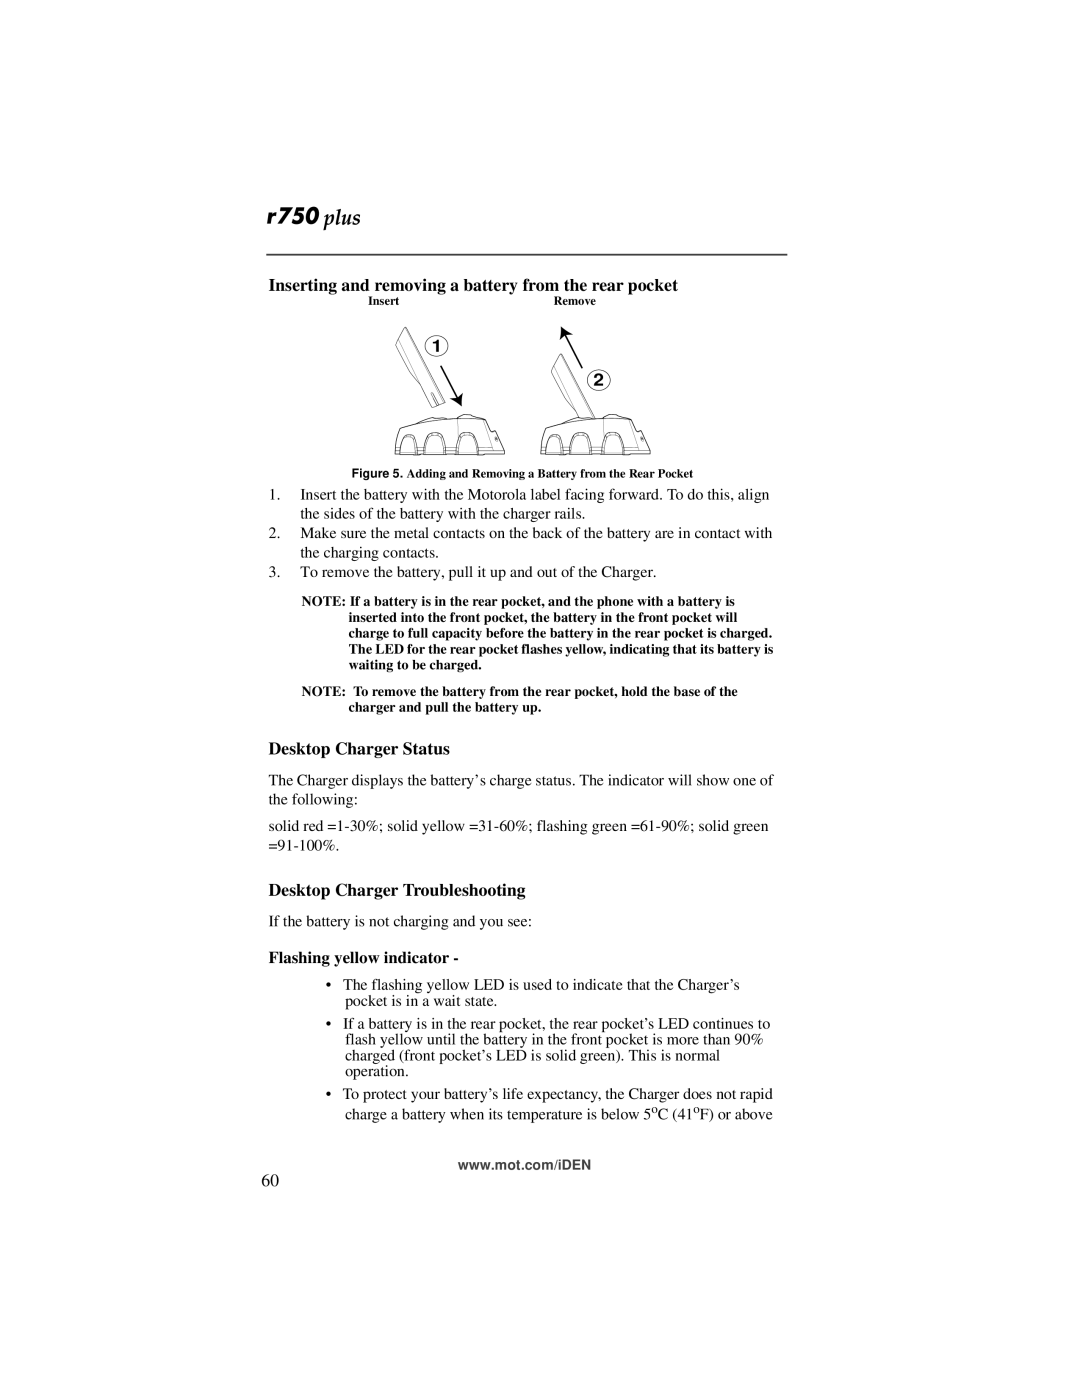
Inserting and removing a battery from the rear pocket
Insert | Remove |
1
2
Figure 5. Adding and Removing a Battery from the Rear Pocket
1.Insert the battery with the Motorola label facing forward. To do this, align the sides of the battery with the charger rails.
2.Make sure the metal contacts on the back of the battery are in contact with the charging contacts.
3.To remove the battery, pull it up and out of the Charger.
NOTE: If a battery is in the rear pocket, and the phone with a battery is inserted into the front pocket, the battery in the front pocket will charge to full capacity before the battery in the rear pocket is charged. The LED for the rear pocket flashes yellow, indicating that its battery is waiting to be charged.
NOTE: To remove the battery from the rear pocket, hold the base of the charger and pull the battery up.
Desktop Charger Status
The Charger displays the battery’s charge status. The indicator will show one of the following:
solid red
Desktop Charger Troubleshooting
If the battery is not charging and you see:
Flashing yellow indicator -
•The flashing yellow LED is used to indicate that the Charger’s pocket is in a wait state.
•If a battery is in the rear pocket, the rear pocket’s LED continues to flash yellow until the battery in the front pocket is more than 90% charged (front pocket’s LED is solid green). This is normal operation.
•To protect your battery’s life expectancy, the Charger does not rapid charge a battery when its temperature is below 5oC (41oF) or above
www.mot.com/iDEN
60