4.11 ADVANCE MENU ___SYSTEM
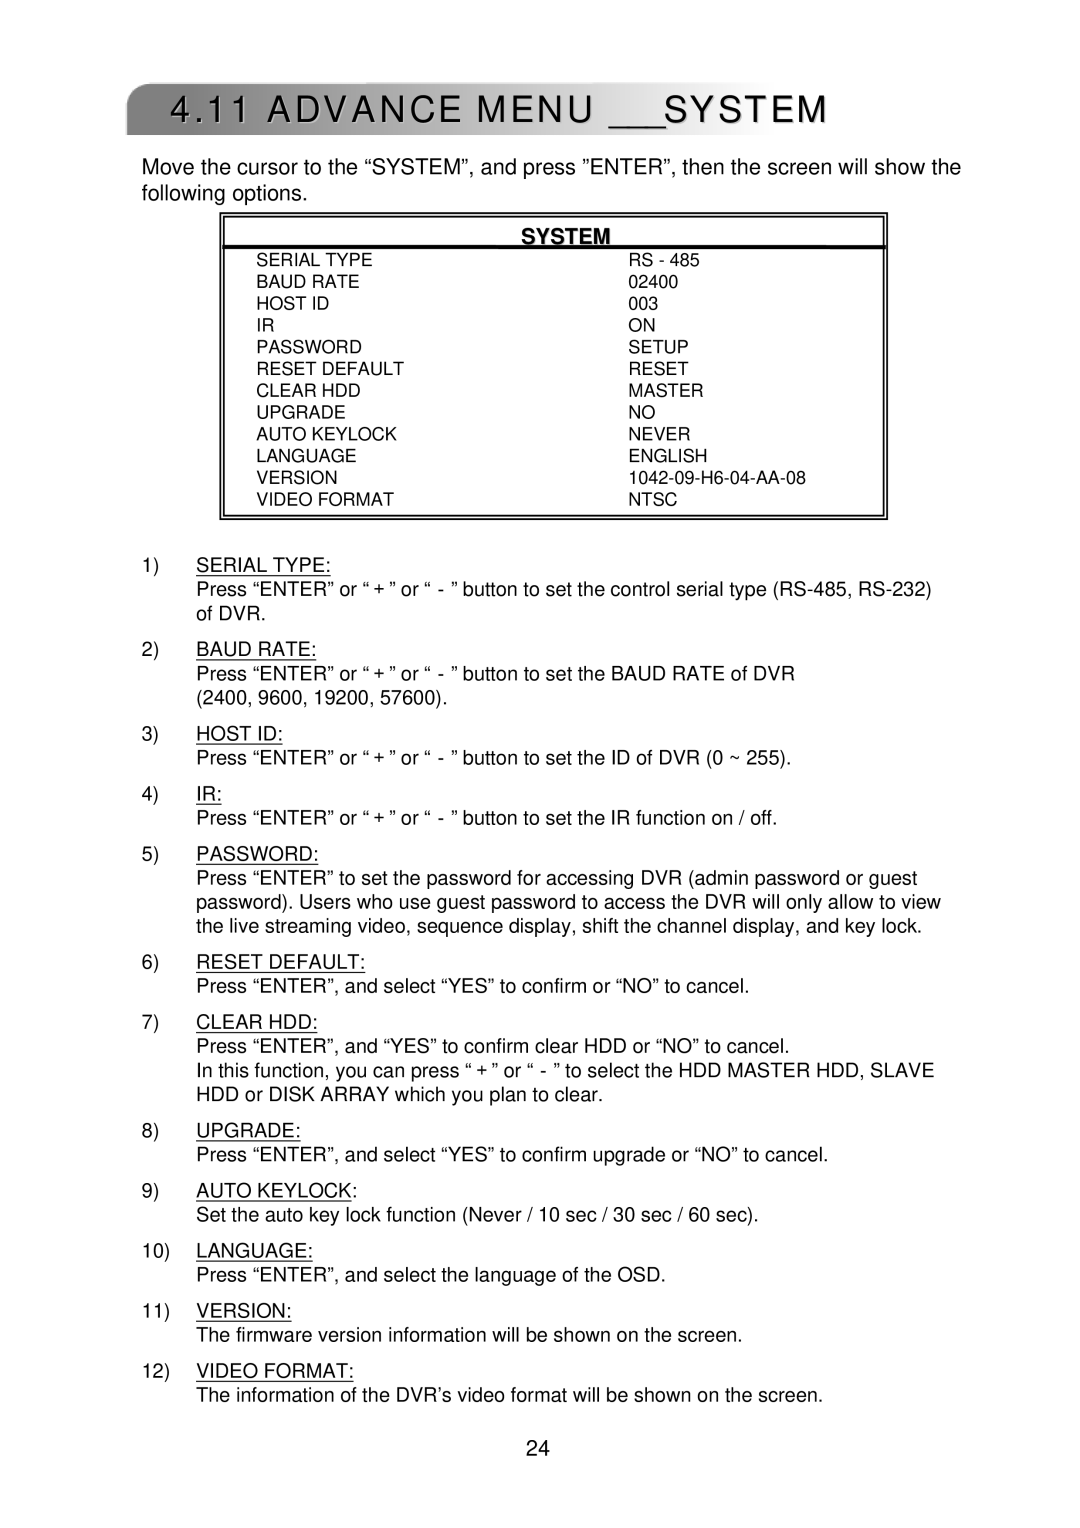
Move the cursor to the “SYSTEM”, and press ”ENTER”, then the screen will show the following options.
|
|
| SYSTEM |
SERIAL TYPE | RS - 485 |
BAUD RATE | 02400 |
HOST ID | 003 |
IR | ON |
PASSWORD | SETUP |
RESET DEFAULT | RESET |
CLEAR HDD | MASTER |
UPGRADE | NO |
AUTO KEYLOCK | NEVER |
LANGUAGE | ENGLISH |
VERSION | |
VIDEO FORMAT | NTSC |
|
|
|
|
1)SERIAL TYPE:
Press “ENTER” or “+” or “-” button to set the control serial type
2)BAUD RATE:
Press “ENTER” or “+” or “-” button to set the BAUD RATE of DVR (2400, 9600, 19200, 57600).
3)HOST ID:
Press “ENTER” or “+” or “-” button to set the ID of DVR (0 ~ 255).
4)IR:
Press “ENTER” or “+” or “-” button to set the IR function on / off.
5)PASSWORD:
Press “ENTER” to set the password for accessing DVR (admin password or guest password). Users who use guest password to access the DVR will only allow to view the live streaming video, sequence display, shift the channel display, and key lock.
6)RESET DEFAULT:
Press “ENTER”, and select “YES” to confirm or “NO” to cancel.
7)CLEAR HDD:
Press “ENTER”, and “YES” to confirm clear HDD or “NO” to cancel.
In this function, you can press “+” or “-” to select the HDD MASTER HDD, SLAVE HDD or DISK ARRAY which you plan to clear.
8)UPGRADE:
Press “ENTER”, and select “YES” to confirm upgrade or “NO” to cancel.
9)AUTO KEYLOCK:
Set the auto key lock function (Never / 10 sec / 30 sec / 60 sec).
10)LANGUAGE:
Press “ENTER”, and select the language of the OSD.
11)VERSION:
The firmware version information will be shown on the screen.
12)VIDEO FORMAT:
The information of the DVR’s video format will be shown on the screen.
24
