KEYPAD FUNCTIONS
| D s p T e l / Li s t/ |
A C O N | Y e s / N o |
| |
|
|
|
|
| D s p S y s / T r b l / |
A C O N | Y e s / N o |
| |
|
|
|
|
r e s e t F I R E A L A R M | D s p F i r / A l a r m / |
A C O N | Y e s / N o |
| |
|
|
|
|
T R O U B L E | D s p F i r / T r bl / |
A C O N | Y e s / N o |
| |
|
|
|
|
| T u r n O n / O v i e w |
A C O N | Y e s / N o |
| |
|
|
|
|
| O V ( R Z ) |
A C O N |
|
|
|
18
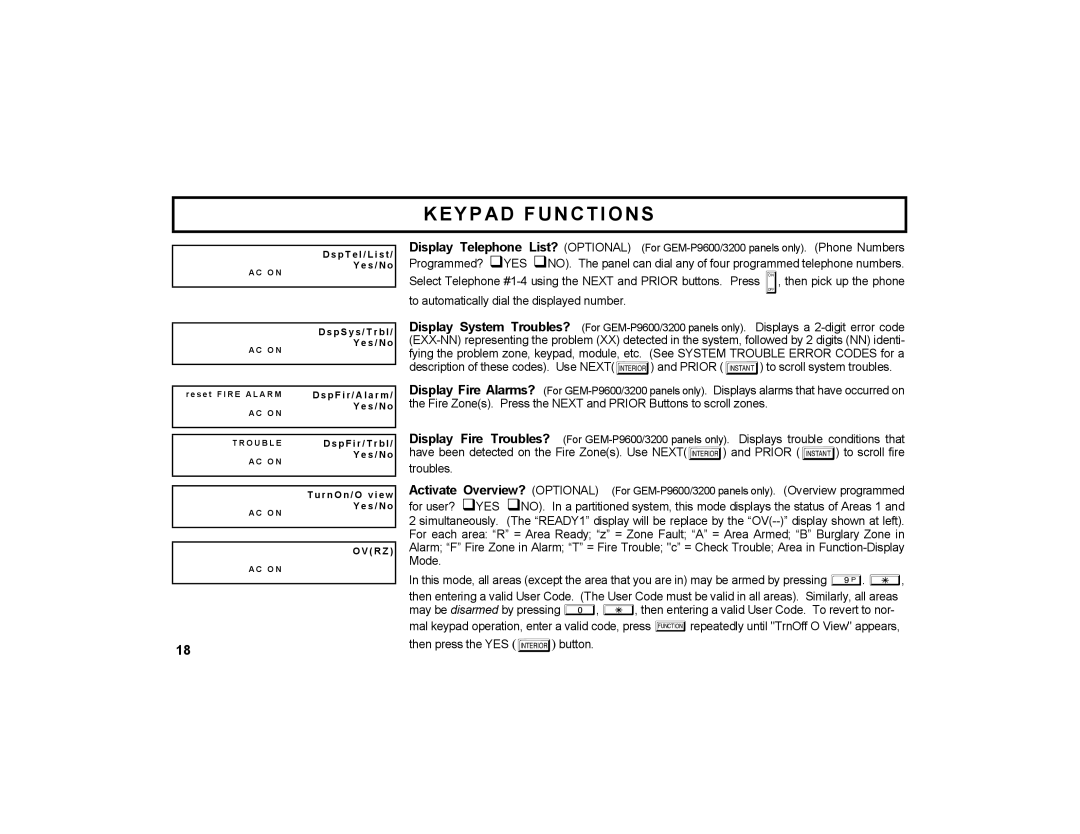
Display Telephone List? (OPTIONAL) (For
Programmed? YES NO). The panel can dial any of four programmed telephone numbers. Select Telephone
Display System Troubles? (For
Display Fire Alarms? (For
Display Fire Troubles? (For
Activate Overview? (OPTIONAL) (For
for user? YES NO). In a partitioned system, this mode displays the status of Areas 1 and 2 simultaneously. (The “READY1” display will be replace by the
In this mode, all areas (except the area that you are in) may be armed by pressing 9. G, then entering a valid User Code. (The User Code must be valid in all areas). Similarly, all areas may be disarmed by pressing 0, G, then entering a valid User Code. To revert to nor- mal keypad operation, enter a valid code, press Arepeatedly until "TrnOff O View" appears,
then press the YES (E) button.