SETTING THE ALARM ( ARMING) WHEN LEAVING
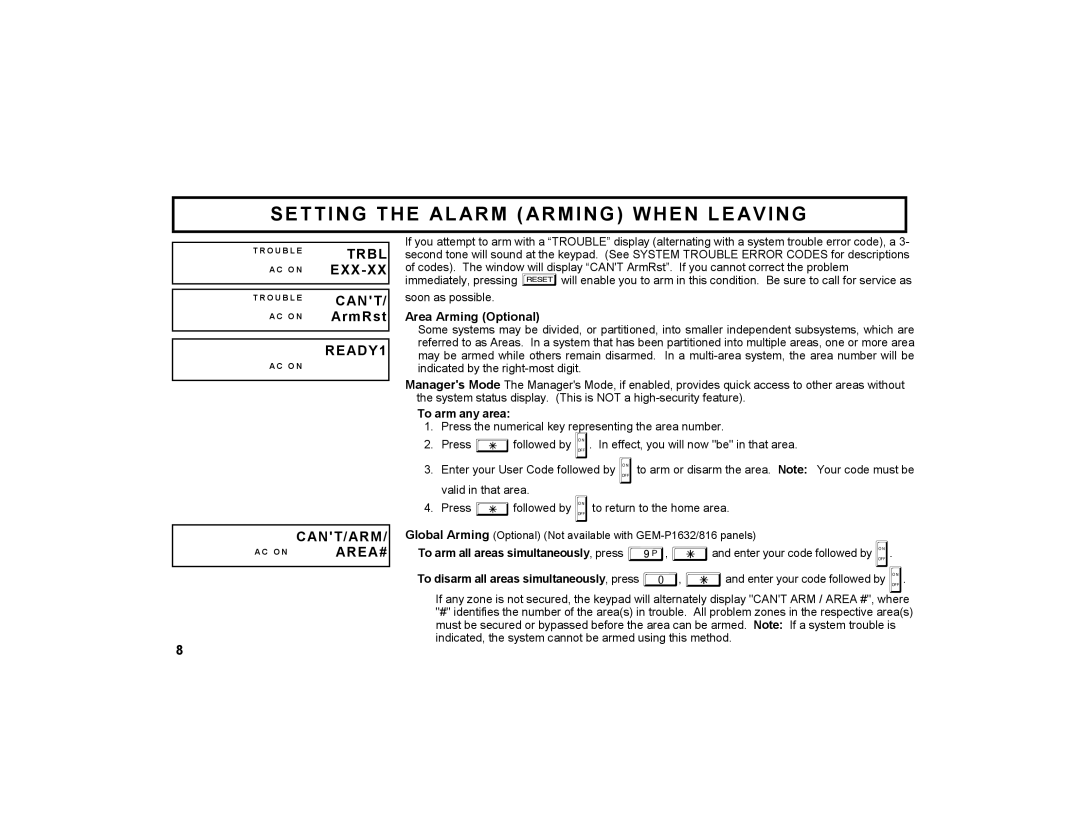
T R O U B L E | TRBL |
| |
A C O N |
|
|
|
|
|
T R O U B L E | CAN'T/ |
| |
A C O N | ArmRst |
|
|
|
|
| READY1 |
A C O N |
|
|
|
| CAN'T/ARM/ |
A C O N | AREA# |
|
|
If you attempt to arm with a “TROUBLE” display (alternating with a system trouble error code), a 3- second tone will sound at the keypad. (See SYSTEM TROUBLE ERROR CODES for descriptions of codes). The window will display “CAN'T ArmRst”. If you cannot correct the problem immediately, pressing Cwill enable you to arm in this condition. Be sure to call for service as soon as possible.
Area Arming (Optional)
Some systems may be divided, or partitioned, into smaller independent subsystems, which are referred to as Areas. In a system that has been partitioned into multiple areas, one or more area may be armed while others remain disarmed. In a
Manager's Mode The Manager's Mode, if enabled, provides quick access to other areas without the system status display. (This is NOT a
To arm any area:
1.Press the numerical key representing the area number.
2.Press Gfollowed by J. In effect, you will now "be" in that area.
3.Enter your User Code followed by J to arm or disarm the area. Note: Your code must be valid in that area.
4.Press Gfollowed by J to return to the home area.
Global Arming (Optional) (Not available with
To arm all areas simultaneously, press 9, Gand enter your code followed by J.
To disarm all areas simultaneously, press 0, Gand enter your code followed by J. If any zone is not secured, the keypad will alternately display "CAN'T ARM / AREA #", where "#" identifies the number of the area(s) in trouble. All problem zones in the respective area(s) must be secured or bypassed before the area can be armed. Note: If a system trouble is indicated, the system cannot be armed using this method.
8