Enabling/disabling remote control wireless transmission
This function enables/disables remote control wireless transmission.
Example: Setting “OFF”
On “IR REMOTE” of “OPTION3” menu, select “OFF”, then press the MENU/ENTER button.
OPTION 3 | 3 / 4 | |
PREVIOUS PAGE |
|
|
TIMER |
|
|
PWR . ON MODE |
|
|
CONTROL LOCK | : | OFF |
IR REMOTE | : | OFF |
LOOP OUT | : | OFF |
REMOTE ID | : | ALL |
ID NUMBER | : | ALL |
VIDEO WALL
NEXT PAGE
SEL. | ADJ. | EXIT RETURN |
Information
⬛IR REMOTE settings
ON: Enables remote control wireless transmission.
OFF: Disables remote control wireless transmission. Set “OFF” to avoid unwanted control from other remote controls.
Loop Out setting
When this feature is set to ON, the received signal will be looped out.
Example: Setting “ON”
On “LOOP OUT” of “OPTION3” menu, select “ON”.
OPTION 3 | 3 / 4 | |
PREVIOUS PAGE |
|
|
TIMER |
|
|
PWR . ON MODE |
|
|
CONTROL LOCK | : | OFF |
IR REMOTE | : | ON |
LOOP OUT | : | ON |
REMOTE ID | : | ALL |
ID NUMBER | : | ALL |
VIDEO WALL
NEXT PAGE
SEL. | ADJ. | EXIT RETURN |
Information
⬛LOOP OUT settings
ON: The received signal will be looped out via PC1 terminal or VIDEO1 terminal.
OFF: The received signal will not loop out.
*Even if LOOP OUT is ON, signals won’t be sent out if POWER is being turned off.
⬛To connect another display...
See page
⬛If the RGB/PC1 signal is present at the time the power switched on...
The RGB/PC1 input will be displayed regardless of the setting of LOOP OUT.
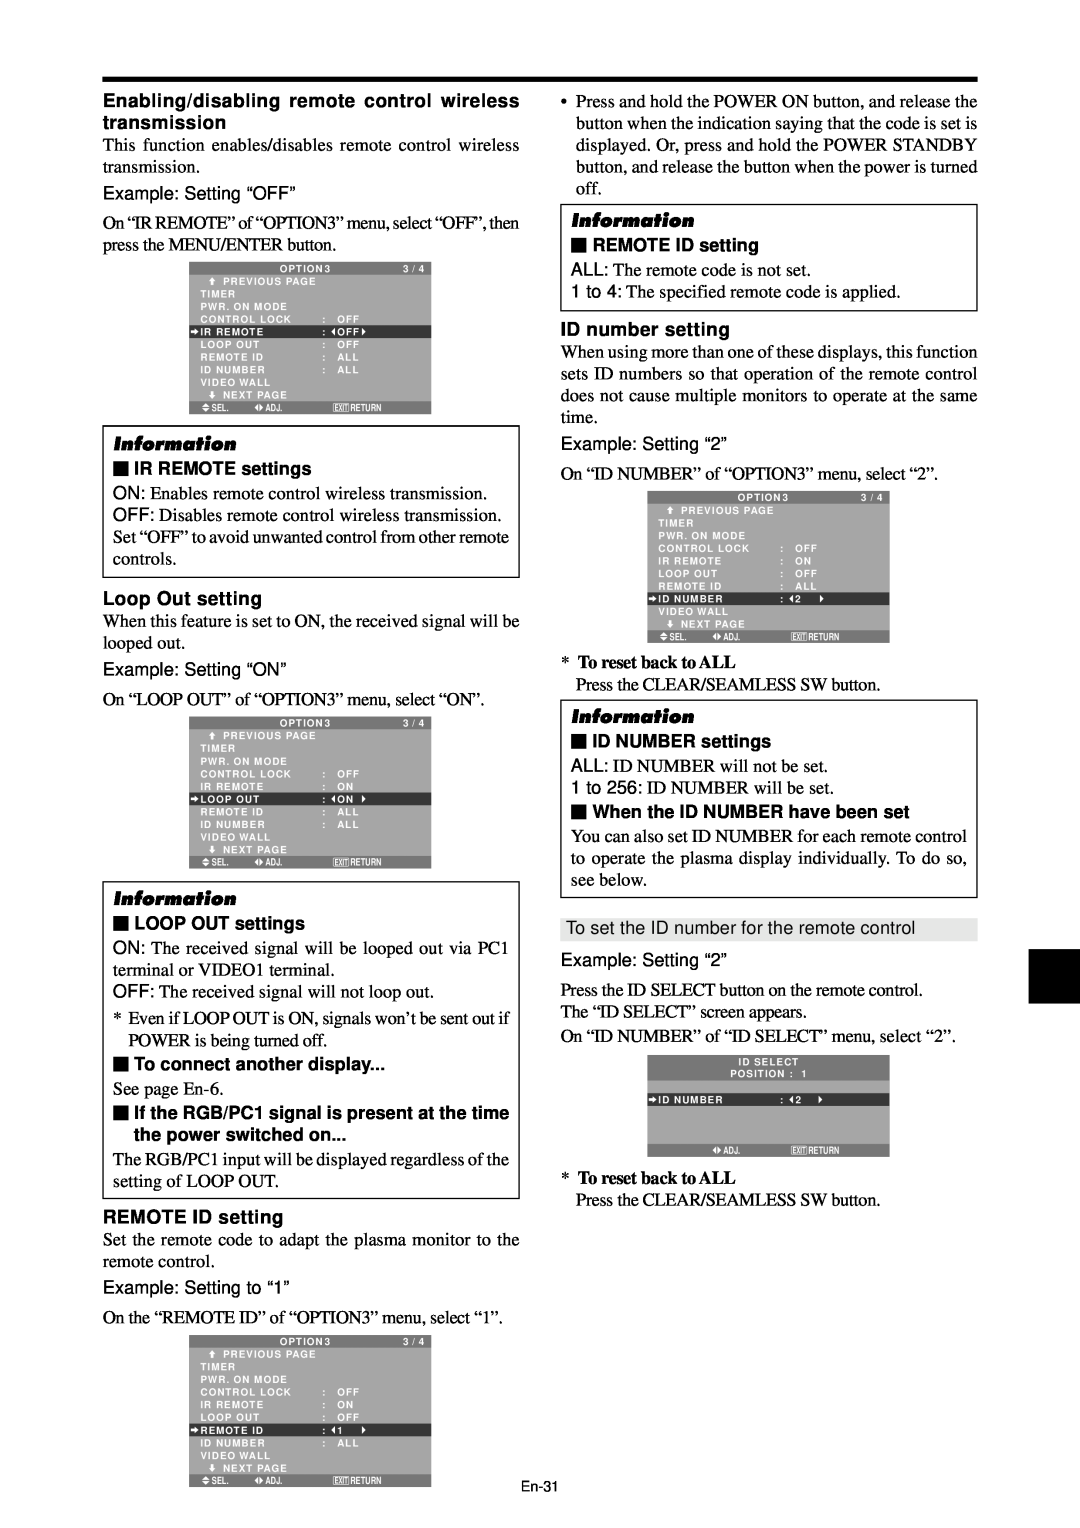
REMOTE ID setting
Set the remote code to adapt the plasma monitor to the remote control.
Example: Setting to “1”
On the “REMOTE ID” of “OPTION3” menu, select “1”.
•Press and hold the POWER ON button, and release the button when the indication saying that the code is set is displayed. Or, press and hold the POWER STANDBY button, and release the button when the power is turned off.
Information
⬛REMOTE ID setting
ALL: The remote code is not set.
1 to 4: The specified remote code is applied.
ID number setting
When using more than one of these displays, this function sets ID numbers so that operation of the remote control does not cause multiple monitors to operate at the same time.
Example: Setting “2”
On “ID NUMBER” of “OPTION3” menu, select “2”.
| OPTION 3 | 3 / 4 | |
PREVIOUS PAGE |
|
| |
TIMER |
|
|
|
PWR . ON MODE |
|
| |
CONTROL LOCK | : | OFF | |
IR REMOTE |
| : | ON |
LOOP OUT |
| : | OFF |
REMOTE ID |
| : | ALL |
ID NUMBER |
| : | 2 |
VIDEO WALL |
|
| |
NEXT PAGE |
|
| |
SEL. | ADJ. |
| EXIT RETURN |
*To reset back to ALL
Press the CLEAR/SEAMLESS SW button.
Information
⬛ID NUMBER settings
ALL: ID NUMBER will not be set.
1 to 256: ID NUMBER will be set.
⬛When the ID NUMBER have been set
You can also set ID NUMBER for each remote control to operate the plasma display individually. To do so, see below.
To set the ID number for the remote control
Example: Setting “2”
Press the ID SELECT button on the remote control. The “ID SELECT” screen appears.
On “ID NUMBER” of “ID SELECT” menu, select “2”.
| ID SELECT | |
| POSITION : | 1 |
|
|
|
ID NUMBER | : | 2 |
|
|
|
| ADJ. | EXIT RETURN |
*To reset back to ALL
Press the CLEAR/SEAMLESS SW button.
| OPTION 3 |
| 3 / 4 |
| |
PREVIOUS PAGE |
|
|
|
| |
TIMER |
|
|
|
|
|
PWR . ON MODE |
|
|
|
| |
CONTROL LOCK | : | OFF |
|
| |
IR REMOTE |
| : | ON |
|
|
LOOP OUT |
| : | OFF |
|
|
REMOTE ID |
| : | 1 |
|
|
ID NUMBER |
| : | ALL |
|
|
VIDEO WALL |
|
|
|
| |
NEXT PAGE |
|
|
|
| |
SEL. | ADJ. |
| EXIT RETURN |
| |
|
|
|
|
| |