NTI AUDIO/HD VIDEO MATRIX SWITCH
CONTROL OPTIONS
The
•Front Panel LCD with Keypad
•Directly via an RS232 Interface
•Remotely via Ethernet (web interface)
•Infrared Remote (optional).
Every unit comes standard with the Front Panel LCD with Keypad, RS232, and Ethernet connection
Front Panel LCD with Keypad Control
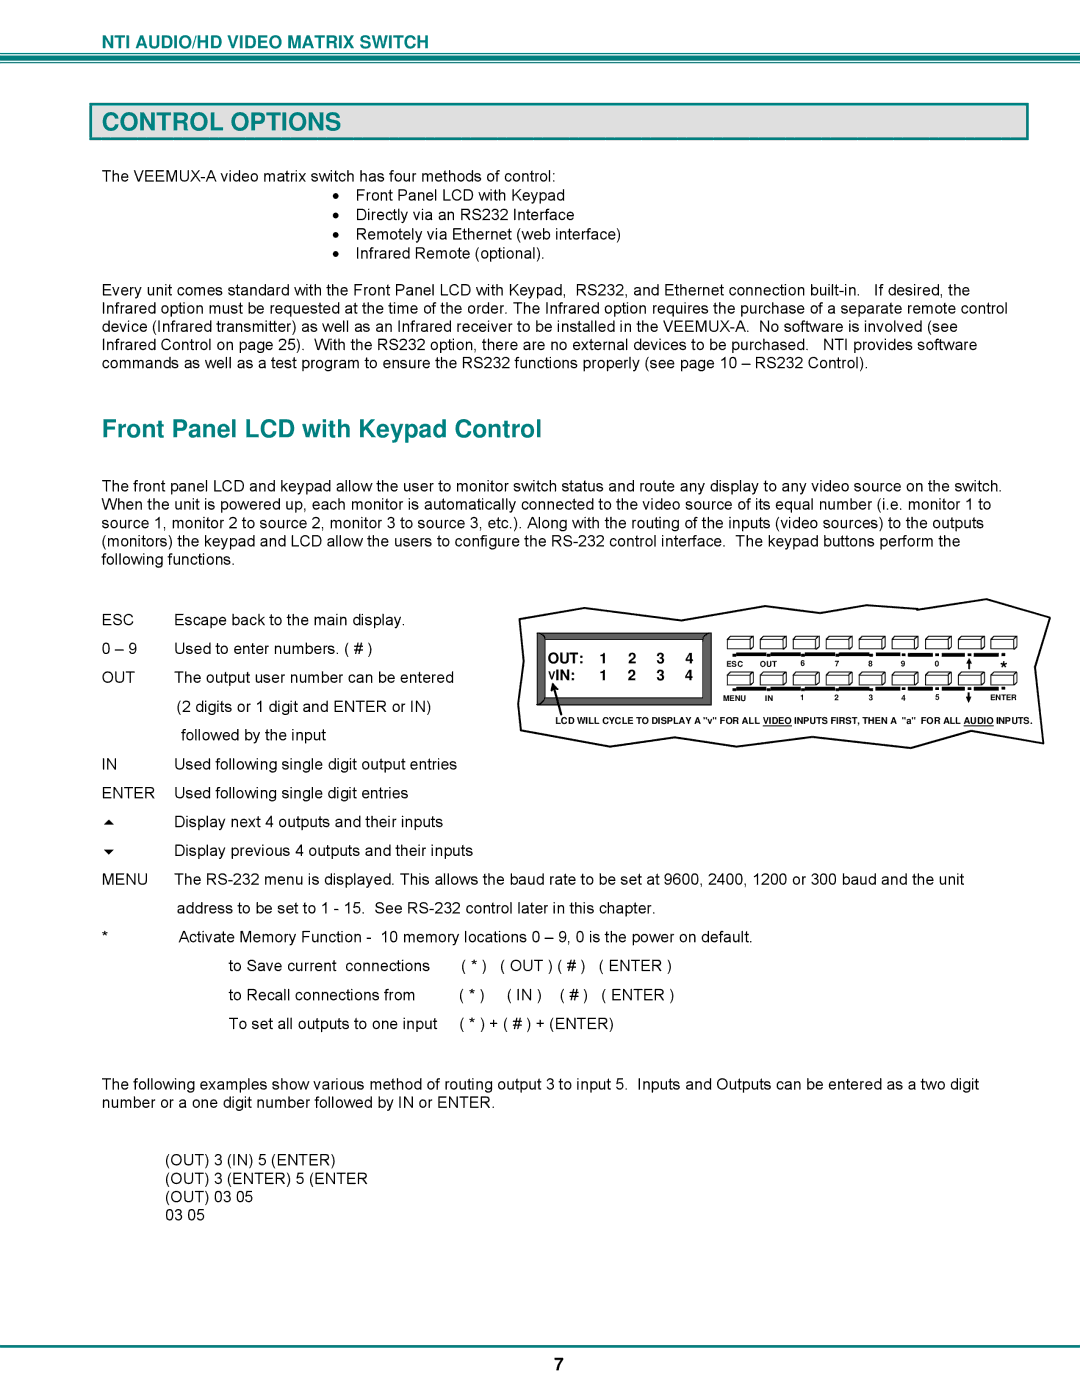
The front panel LCD and keypad allow the user to monitor switch status and route any display to any video source on the switch. When the unit is powered up, each monitor is automatically connected to the video source of its equal number (i.e. monitor 1 to source 1, monitor 2 to source 2, monitor 3 to source 3, etc.). Along with the routing of the inputs (video sources) to the outputs (monitors) the keypad and LCD allow the users to configure the
ESC | Escape back to the main display. |
|
|
|
|
|
0 – 9 | Used to enter numbers. ( # ) | OUT: | 1 | 2 | 3 | 4 |
|
| |||||
OUT | The output user number can be entered | VIN: | 1 | 2 | 3 | 4 |
(2 digits or 1 digit and ENTER or IN)
|
|
|
|
|
|
|
|
|
|
|
|
|
|
|
|
|
|
|
|
|
|
|
|
|
ESC | OUT | 6 | 7 | 8 | 9 |
| 0 |
|
|
|
| * | ||||||||||||
|
|
|
|
|
|
|
|
|
| |||||||||||||||
|
|
|
|
|
|
|
|
|
|
|
|
|
|
|
|
|
|
|
|
|
|
|
|
|
|
|
|
|
|
|
|
|
|
|
|
|
|
|
|
|
|
|
|
|
|
|
|
|
|
MENU | IN | 1 | 2 | 3 | 4 | 5 | ENTER |
LCD WILL CYCLE TO DISPLAY A "v" FOR ALL VIDEO INPUTS FIRST, THEN A "a" FOR ALL AUDIO INPUTS.
| followed by the input |
IN | Used following single digit output entries |
ENTER | Used following single digit entries |
| Display next 4 outputs and their inputs |
| Display previous 4 outputs and their inputs |
MENU | The |
| address to be set to 1 - 15. See |
*Activate Memory Function - 10 memory locations 0 – 9, 0 is the power on default.
to Save current connections | ( * ) | ( OUT ) ( # ) ( ENTER ) |
to Recall connections from | ( * ) | ( IN ) ( # ) ( ENTER ) |
To set all outputs to one input | ( * ) + ( # ) + (ENTER) | |
The following examples show various method of routing output 3 to input 5. Inputs and Outputs can be entered as a two digit number or a one digit number followed by IN or ENTER.
(OUT) 3 (IN) 5 (ENTER)
(OUT) 3 (ENTER) 5 (ENTER
(OUT) 03 05 03 05
7