Quick guide
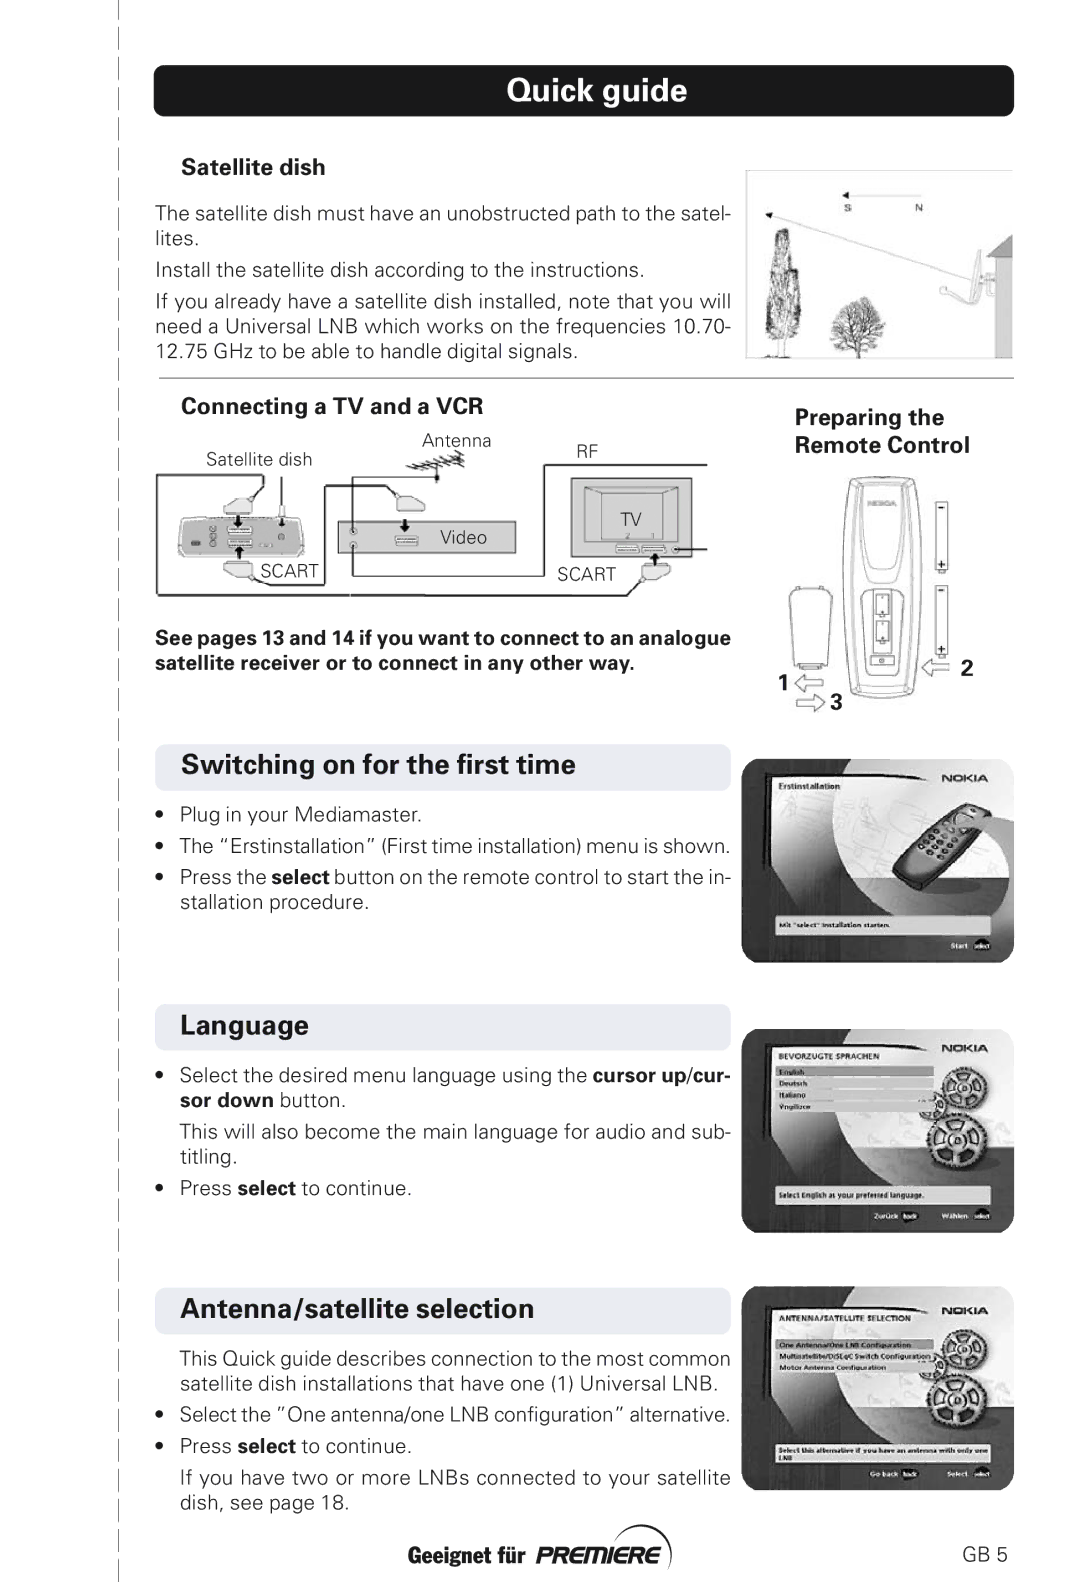
Satellite dish
The satellite dish must have an unobstructed path to the satel- lites.
Install the satellite dish according to the instructions.
If you already have a satellite dish installed, note that you will need a Universal LNB which works on the frequencies 10.70- 12.75 GHz to be able to handle digital signals.
Connecting a TV and a VCR
Satellite dish | Antenna | RF |
| ||
|
| |
| Video | TV |
|
| |
SCART |
| SCART |
Preparing the Remote Control
See pages 13 and 14 if you want to connect to an analogue satellite receiver or to connect in any other way.
1
2
3
Switching on for the first time
•Plug in your Mediamaster.
•The “Erstinstallation” (First time installation) menu is shown.
•Press the select button on the remote control to start the in- stallation procedure.
Language
•Select the desired menu language using the cursor up/cur- sor down button.
This will also become the main language for audio and sub- titling.
•Press select to continue.
Antenna/satellite selection
This Quick guide describes connection to the most common satellite dish installations that have one (1) Universal LNB.
•Select the ”One antenna/one LNB configuration” alternative.
•Press select to continue.
If you have two or more LNBs connected to your satellite dish, see page 18.
GB 5
