Printing all recorded images in a
SmartMedia or CompactFlash card
Note
•In all-frame printing, all recorded images on the card will be printed in reverse order starting from the selected frame. Make sure that the last frame number is displayed as the starting frame number when printing all images.
You can print all the images recorded in a SmartMedia or CompactFlash card. Images can be printed in one full size image per sheet or in split planes. However, all-frame printing may sometimes be unavailable when the file name display function is selected. While the file names assigned by digital cameras are usually com- posed of 7 digits, this printer prints only files whose highest three digits are the same and distinguishes the file names by the lower 4 digits. When you want to change the higher 3 digits of the file names, see page 28.
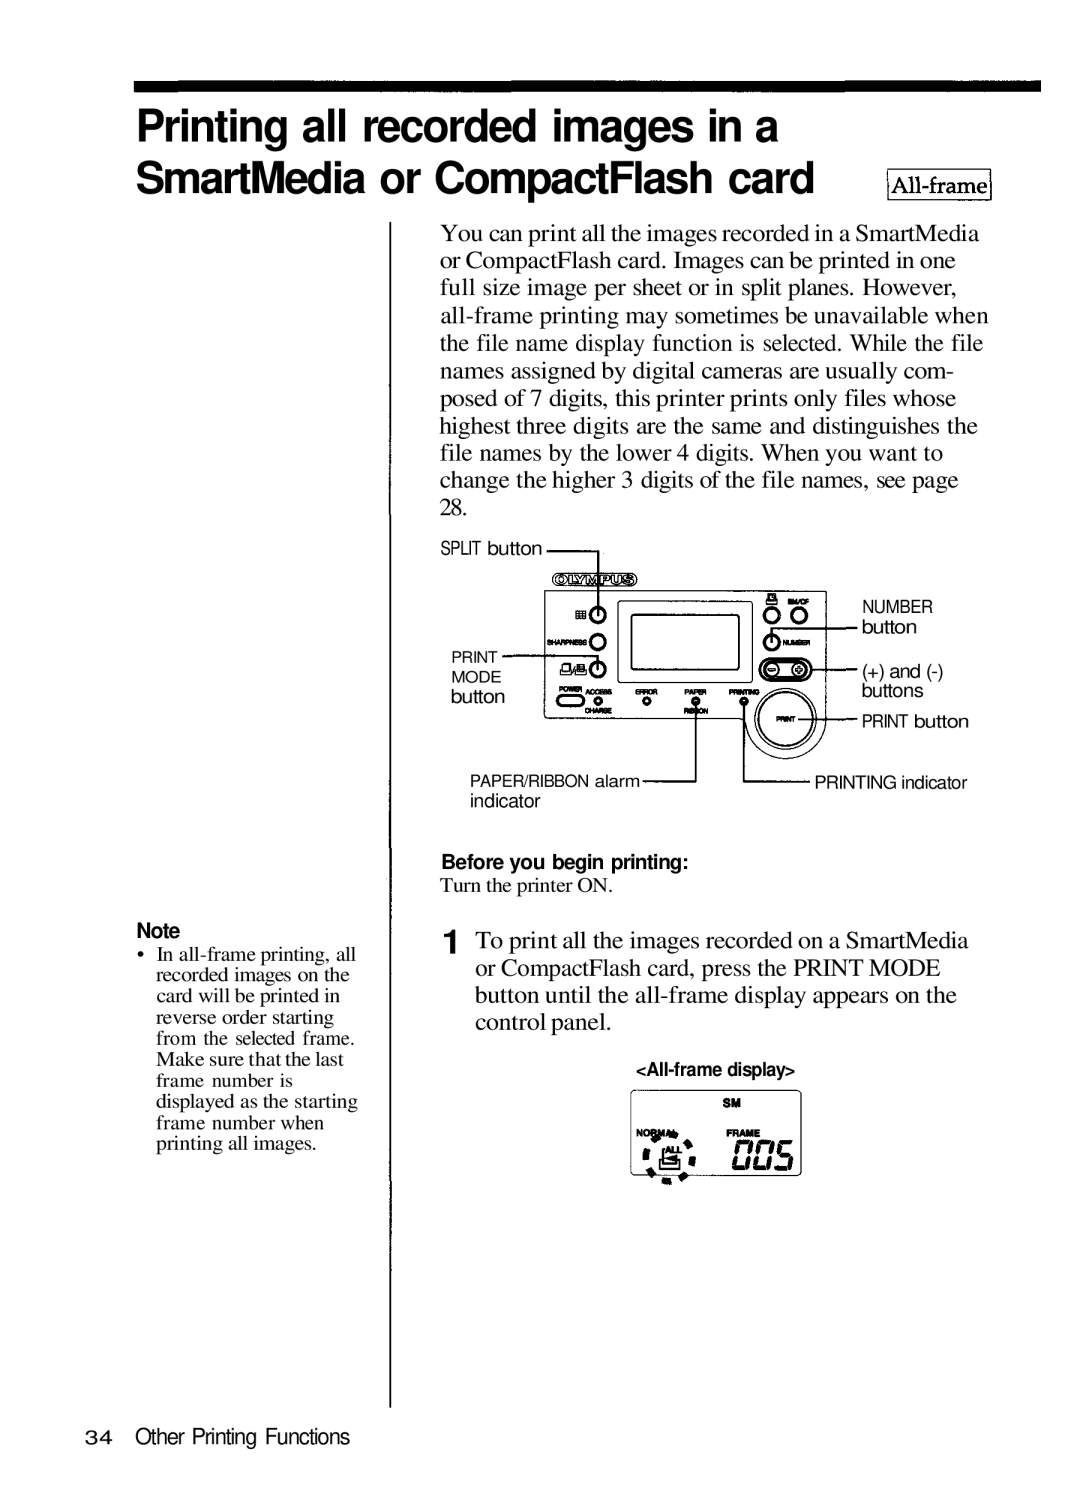
SPLIT button
| NUMBER |
| button |
PRINT | (+) and (-) |
MODE |
button | buttons |
|
| PRINT button |
PAPER/RIBBON alarm | PRINTING indicator |
indicator | |
Before you begin printing:
Turn the printer ON.
1 To print all the images recorded on a SmartMedia or CompactFlash card, press the PRINT MODE button until the all-frame display appears on the control panel.
<AII-frame display>
34 Other Printing Functions