Manuals
/
Olympus
/
Kitchen Appliance
/
Oven
Olympus
P-200
manual
Insert the floppy disk into the PCs floppy drive
Models:
P-200
1
6
68
68
Download
68 pages
62.53 Kb
3
4
5
6
7
8
9
10
Troubleshooting
Specification
Install
If indicators light or blink
Accessories as of October
Setup
Recharging the battery
Adjusting the Image Quality
Precautions
Do not damage the power cord
Page 6
Image 6
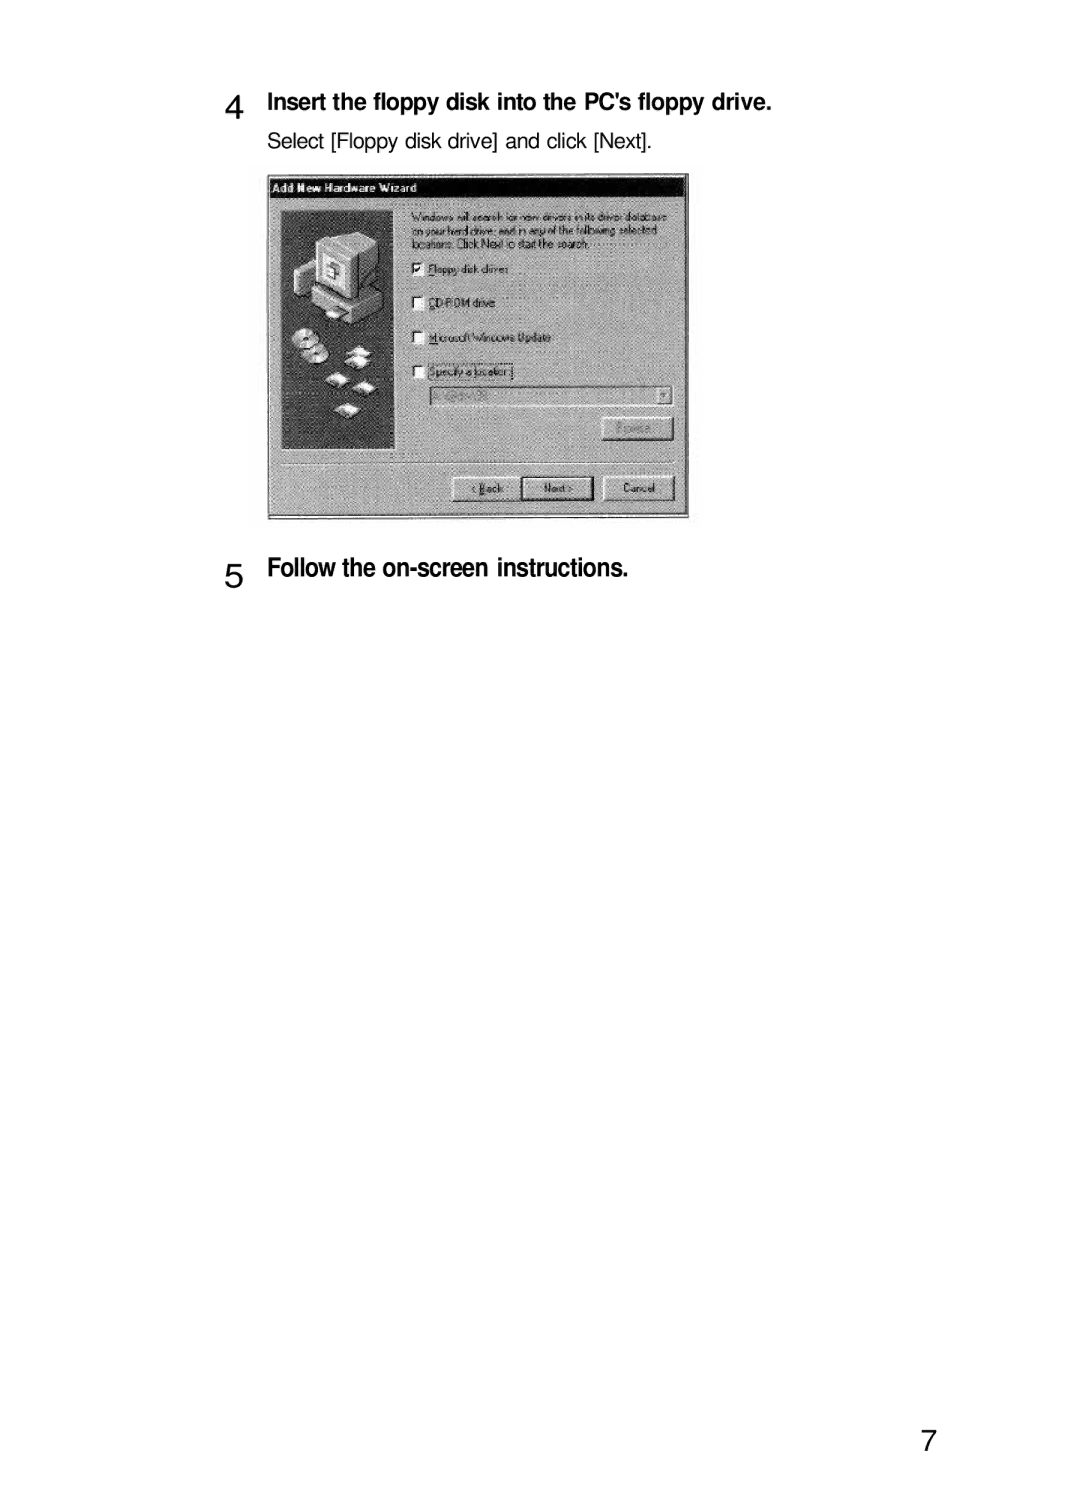
4
Insert the floppy disk into the PC's floppy drive.
Select [Floppy disk drive] and click [Next].
5
Follow the
on-screen
instructions.
7
Page 5
Page 7
Page 6
Image 6
Page 5
Page 7
Contents
200
User Registration
Table of Contents
System Requirements
Installing the Software
Connect the printer to your PC
Turn on the printer and the PC. Launch Windows
Insert the floppy disk into the PCs floppy drive
Double-click the AddPrinter icon
Select Local printer as the printer connection destination
Click End to complete installation
Uninstallation
File menu, click Delete
Printing
Run the application and open the images you want to print
Set the number of prints Copies
Click Print
To cancel printing
When the print monitor is displayed
Click the name of the queued document you want to cancel
Tips for printing
Split Print
File menu of the application, click Print
Click Properties
Single
Adjusting the Image Quality
Set the image quality in the Color adjustment sheet
Troubleshooting Guide
Jammed, etc
Before printing
Olympus America INC
200
Owners Record
Table of Contents
Precautions
Introduction
Duplication restrictions
Safety precautions
If the power cord is damaged, unplug it
Do not disassemble or modify the printer
Do not damage the power cord
Do not install the printer in the following places
Do not place liquids on the printer
Do not overload the power outlet
Connect the power cord correctly
Do not hold the power cord plug with wet hands
Do not use the printer in the following places
Page
Do not move the printer when the power cord is taut
Do not block the vent
Do not pull the cord with a jerk
Carry the printer with both hands
Beware of moisture condensation
Operate the printer at least once every six months
Transport the printer carefully
Unpacking the printer
Getting Started
Printing of images from a PC
What you can do with the P-200 Digital color printer
Making a variety of prints
High-quality overcoated prints
Identifying the parts
Operation Panel
Paper Feed Cassette
Setting up the printer
Setup
To supply power from the provided AC adapter
Recharging the battery
Battery power operation
Using print packs
Remaining battery power indication
Removing the battery
Loading the ink ribbon cartridge
If the cartridge compartment lid does not close
Remove the ink ribbon cartridge, and then re-insert it
Handling the ink ribbon cartridge
To replace an ink ribbon cartridge
To load a half-used ink ribbon cartridge
Loading print paper
Loading print paper in the paper feed Cassette
Installing the paper feed cassette Onto the printer
Storage precautions
Preparation
Basic Printing
Print all-frame print DPOFprint index print
Opening the card cover
Inserting the card into the printers slot
Basic Printing
Never attempt to insert or remove CompactFlash while
Printing
To change the frame number display to file name Display
Digital cameras with a file name display function
Frame
Basic Printing
To cancel printing
Making split prints
Making split prints of the same image
Other Printing Functions
Indexprint
Frame No. designation
AII-frame display
All-frame printing
Printing DPOF-reserved images
Appears on the control panel
Printing the date
SmartMedia or CompactFlash card. Date printing
Before you begin
Adjusting the sharpness
Troubleshooting
For Your Information
If indicators light or blink
If print paper is jammed
Paper is jammed Remove jammed paper. See below
For Your Information
About the ink ribbon cartridge and print paper
Storage after printing
Specifications
Printer
FCC notice
Protection against such interference in a residential
Accessories as of October
Print index
Are not indicated in each case in this manual
1100 6MJ
Top
Page
Image
Contents