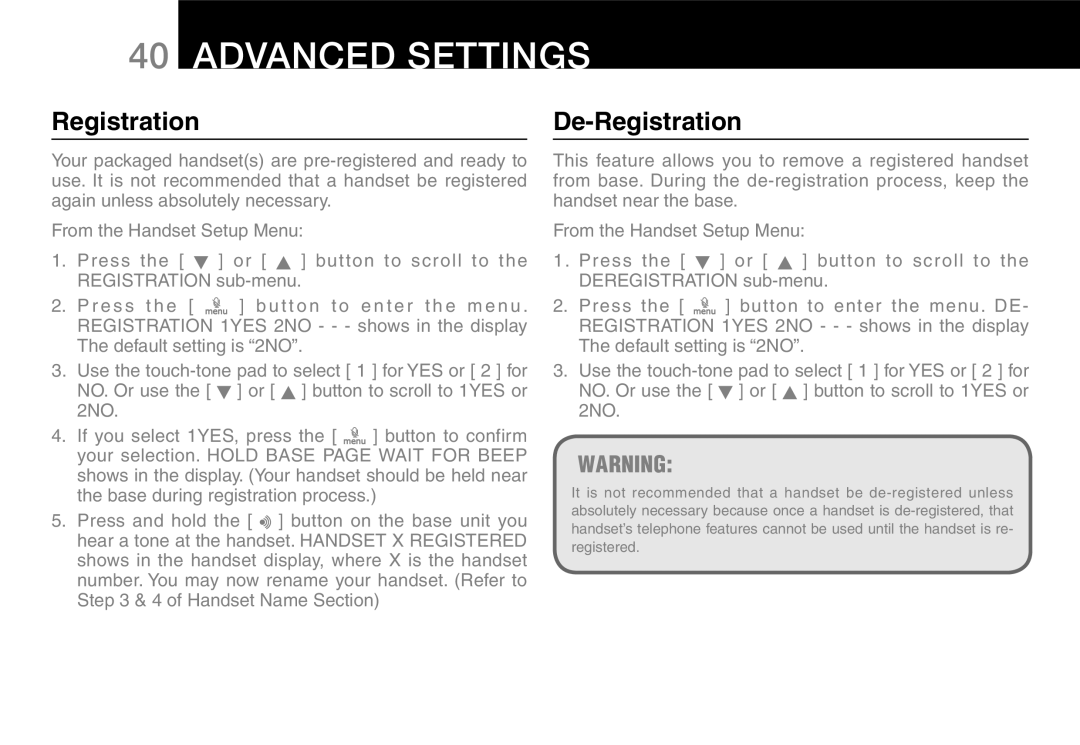
40Advanced Settings
Registration
Your packaged handset(s) are
From the Handset Setup Menu:
1. | Press the [ | ] or [ | ] button to scroll to the |
| REGISTRATION | ||
2. | P r e s s t h e [ | ] bu t t o n t o e n t e r t h e m e n u . | |
| REGISTRATION 1YES 2NO - - - shows in the display | ||
| The default setting is “2NO”. | ||
3.Use the ![]() ] or [ ] button to scroll to 1YES or
] or [ ] button to scroll to 1YES or
2NO.
4.If you select 1YES, press the [ ![]() ] button to confirm your selection. HOLD BASE PAGE WAIT FOR BEEP shows in the display. (Your handset should be held near the base during registration process.)
] button to confirm your selection. HOLD BASE PAGE WAIT FOR BEEP shows in the display. (Your handset should be held near the base during registration process.)
5.Press and hold the [ ![]()
![]() ] button on the base unit you hear a tone at the handset. HANDSET X REGISTERED shows in the handset display, where X is the handset number. You may now rename your handset. (Refer to Step 3 & 4 of Handset Name Section)
] button on the base unit you hear a tone at the handset. HANDSET X REGISTERED shows in the handset display, where X is the handset number. You may now rename your handset. (Refer to Step 3 & 4 of Handset Name Section)
De-Registration
This feature allows you to remove a registered handset from base. During the
From the Handset Setup Menu:
1. Press the [ ] or [ ] button to scroll to the
DEREGISTRATION
2.Press the [ ![]() ] button to enter the menu. DE- REGISTRATION 1YES 2NO - - - shows in the display
] button to enter the menu. DE- REGISTRATION 1YES 2NO - - - shows in the display
The default setting is “2NO”.
3.Use the ![]() ] or [ ] button to scroll to 1YES or
] or [ ] button to scroll to 1YES or
2NO.
WARNING:
It is not recommended that a handset be
