Audio Split Editing
The video edit points and audio edit points can be registered independently, and editing can be executed with the video points offset from the audio points. Audio edit points cannot be registered when the assemble editing mode has been selected.
After registering the edit points, proceed with the same operations as for insert editing.
∫Registering the edit points
Video IN point:
POWER | OFF | ON |
|
|
|
|
|
|
|
|
|
|
| CH | 1 | 2 | 3 | 4 | 5 | 6 | 7 | 8 | CUE |
|
| CH CONDITION |
|
|
| MONITOR |
| FULL/FINE |
| REMOTE | |
|
|
|
| L | R | 9P | 50P | ||||
|
|
|
|
|
|
|
|
|
| ||
HEADPHONES
|
|
|
|
|
|
|
|
| SHIFT |
| F1 |
| F2 | F3 | F4 | F5 | F6 |
|
|
|
|
|
|
| AUDIO CH SELECT |
| ABC | DEF | GHI |
|
|
|
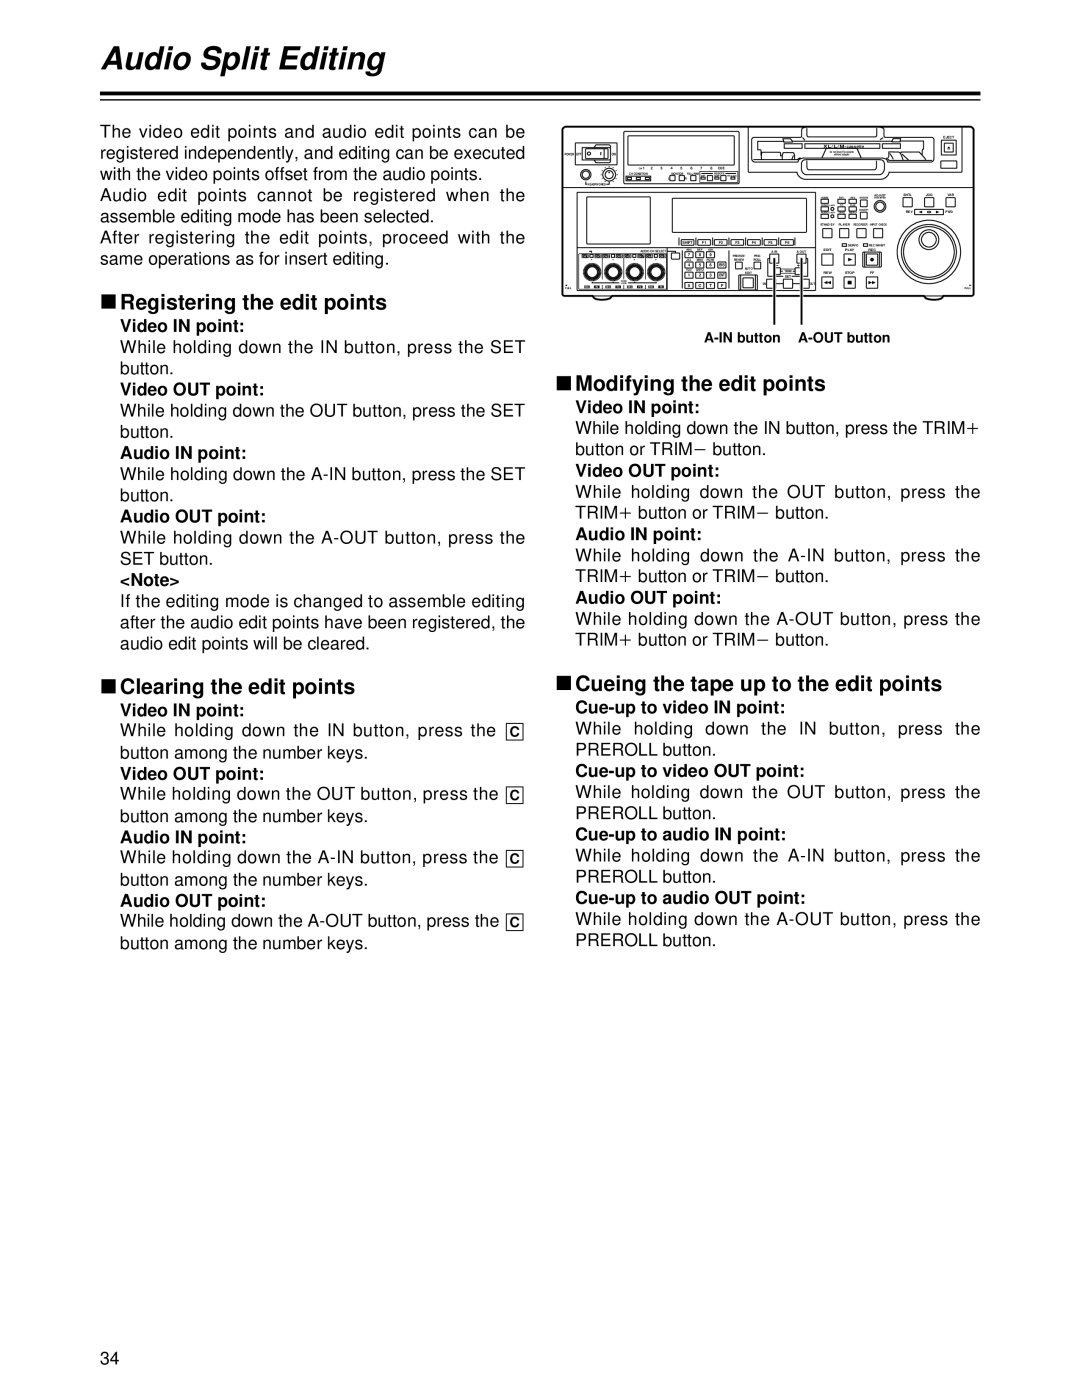
| A IN | A OUT |
|
|
|
|
|
|
|
| 7 |
| 8 | 9 |
|
|
| |||
CH | 1 | CH 5 CH | 2 | CH | 6 CH 3 | CH | 7 CH 4 | CH 8 |
|
| PREVIEW/ | PRE- |
|
| |||
|
|
|
|
|
|
|
|
| JKL | MNO | PQRS |
|
| REVIEW | ROLL |
|
|
|
|
|
|
|
|
|
|
| 4 |
| 5 | 6 | BS | AUTO |
|
|
|
|
|
|
|
|
|
|
|
| TUV | WXYZ |
|
|
|
|
| TRIM | |
|
|
|
|
|
|
|
|
| 1 |
| 2 | 3 | ENT | EDIT |
|
| |
|
|
|
|
|
|
|
|
|
|
|
|
| SET | ||||
|
|
|
|
| PUSH |
|
|
|
|
|
|
|
|
|
| IN |
|
|
|
|
|
| LOCK |
|
|
| 0 | C |
| T | F |
|
|
| |
FULL | REC | P8 | REC | P8 | REC | P8 | REC | P8 |
|
|
|
|
|
|
|
|
|
|
|
| EJECT |
XL/L/M | - cassette |
|
|
|
| ||
| Do not insert |
|
|
|
|
| |
|
| without adapter |
|
|
|
|
|
HOME |
| RF1 | RF2ASSEM | ADJUST | SHTL | JOG | VAR |
|
|
|
| ||||
VIDEO | UNITY | TC | CUE |
|
|
|
|
|
|
|
| INSERT | REV |
| FWD |
AUDIO | UNITY | DIAG | MENU |
|
| ||
STAND BY |
| PLAYER | RECORDER | INPUT CHECK |
|
|
|
|
|
| SERVO | REC INHIBIT |
|
|
|
EDIT PLAY REC
REW STOPFF
OUT
FULL
While holding down the IN button, press the SET button.
Video OUT point:
While holding down the OUT button, press the SET button.
Audio IN point:
While holding down the
Audio OUT point:
While holding down the A-OUT button, press the SET button.
<Note>
If the editing mode is changed to assemble editing after the audio edit points have been registered, the audio edit points will be cleared.
∫Clearing the edit points
Video IN point:
While holding down the IN button, press the button among the number keys.
Video OUT point:
While holding down the OUT button, press the button among the number keys.
Audio IN point:
While holding down the
Audio OUT point:
While holding down the
C
C
C
C
∫Modifying the edit points
Video IN point: |
|
|
|
While holding down the IN button, press the TRIM | i | ||
button or TRIM | j button. |
|
|
Video OUT point: |
|
|
|
While holding down the OUT button, press the |
| ||
TRIM i button or TRIM | j button. |
| |
Audio IN point: |
|
|
|
While holding down the |
| ||
TRIM i button or TRIM | j button. |
| |
Audio OUT point: |
|
|
|
While holding down the |
| ||
TRIM i button or TRIM | j button. |
| |
∫Cueing the tape up to the edit points
While holding down the IN button, press the
PREROLL button.
While holding down the OUT button, press the
PREROLL button.
While holding down the
PREROLL button.
While holding down the
PREROLL button.
34