First-time Operation
4 Set Windows up
The [Windows 95 Setup] will run after the computer is turned on. Simply follow the on- screen instructions.
NOTE
only | 5 | |
(For all other models, go to Step 6) |
| |
6
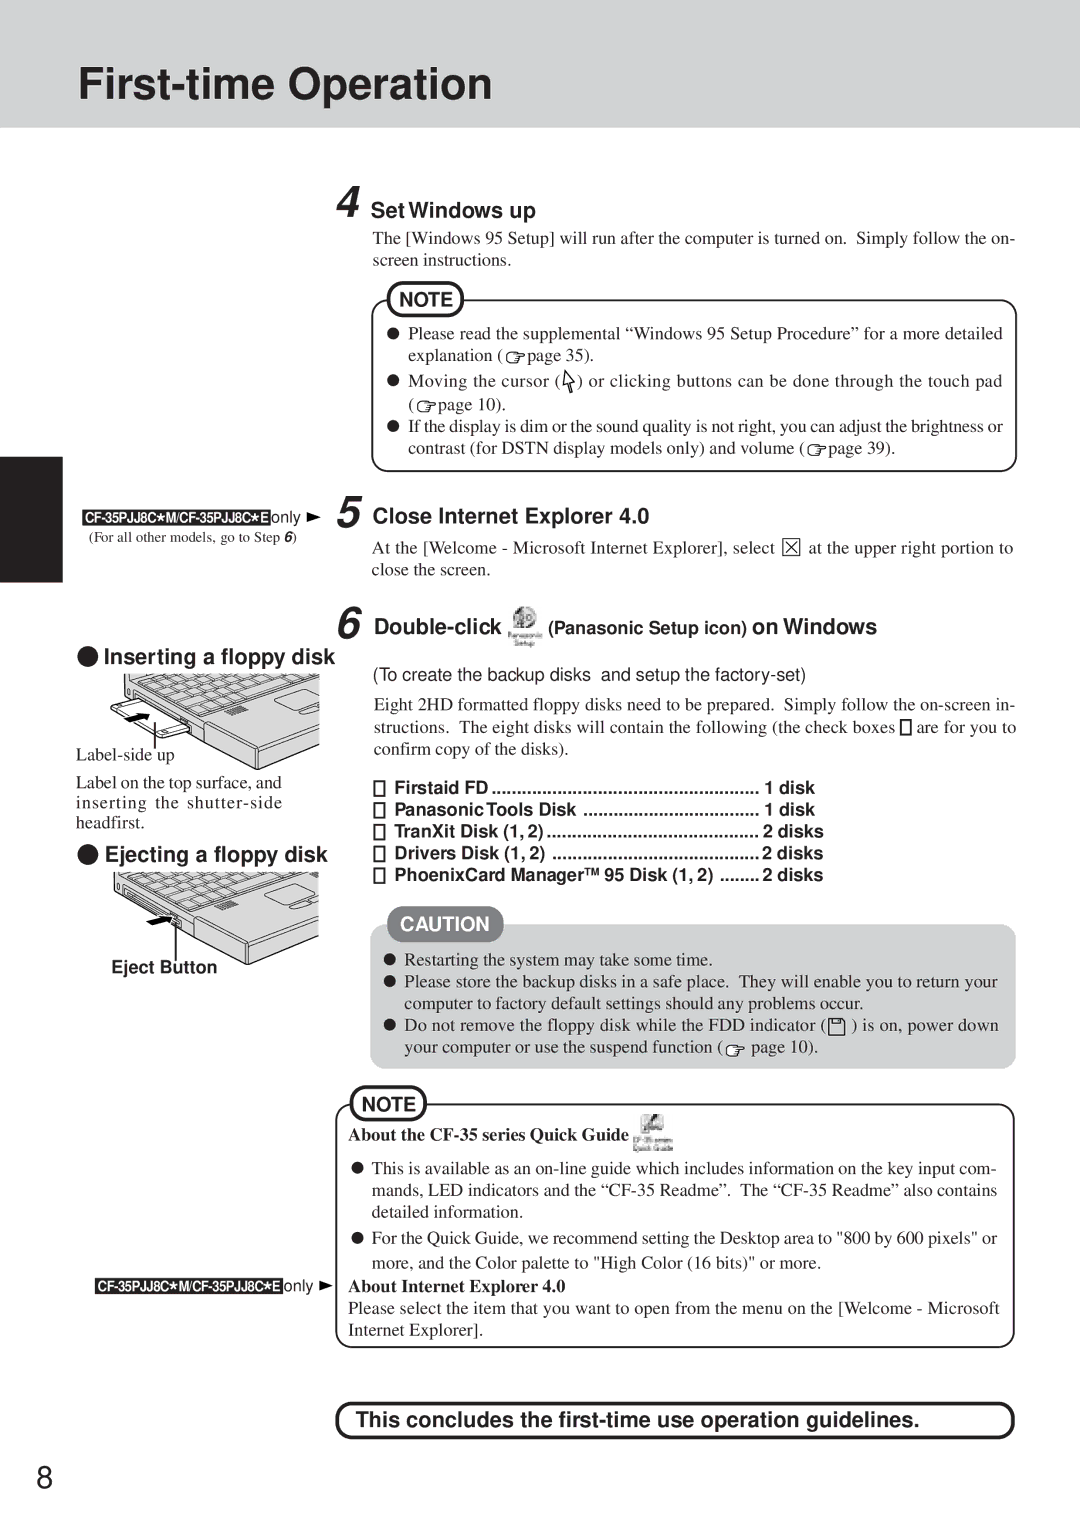
![]() Inserting a floppy disk
Inserting a floppy disk
Label on the top surface, and inserting the
 Ejecting a floppy disk
Eject Button
Please read the supplemental “Windows 95 Setup Procedure” for a more detailed explanation ( ![]() page 35).
page 35).
Moving the cursor ( ![]() ) or clicking buttons can be done through the touch pad (
) or clicking buttons can be done through the touch pad ( ![]() page 10).
page 10).
If the display is dim or the sound quality is not right, you can adjust the brightness or contrast (for DSTN display models only) and volume (![]() page 39).
page 39).
Close Internet Explorer 4.0
At the [Welcome - Microsoft Internet Explorer], select ![]() at the upper right portion to close the screen.
at the upper right portion to close the screen.
Double-click  (Panasonic Setup icon) on Windows
(To create the backup disks and setup the factory-set)
Eight 2HD formatted floppy disks need to be prepared. Simply follow the ![]()
![]() are for you to confirm copy of the disks).
are for you to confirm copy of the disks).
Firstaid FD | 1 disk |
Panasonic Tools Disk | 1 disk |
TranXit Disk (1, 2) | 2 disks |
Drivers Disk (1, 2) | 2 disks |
PhoenixCard ManagerTM 95 Disk (1, 2) | 2 disks |
CAUTION
Restarting the system may take some time.
Please store the backup disks in a safe place. They will enable you to return your computer to factory default settings should any problems occur.
Do not remove the floppy disk while the FDD indicator (![]() ) is on, power down
) is on, power down
your computer or use the suspend function (![]() page 10).
page 10).
NOTE
About the CF-35 series Quick Guide 
This is available as an
For the Quick Guide, we recommend setting the Desktop area to "800 by 600 pixels" or more, and the Color palette to "High Color (16 bits)" or more.
only | About Internet Explorer 4.0 |
Please select the item that you want to open from the menu on the [Welcome - Microsoft
Internet Explorer].
This concludes the
8
