Manuals
/
Brands
/
Photography
/
Camcorder
/
Panasonic
/
Photography
/
Camcorder
Panasonic
HDC-MDH1 operating instructions
1
1
120
120
Download
120 pages, 5.89 Mb
Operating Instructions
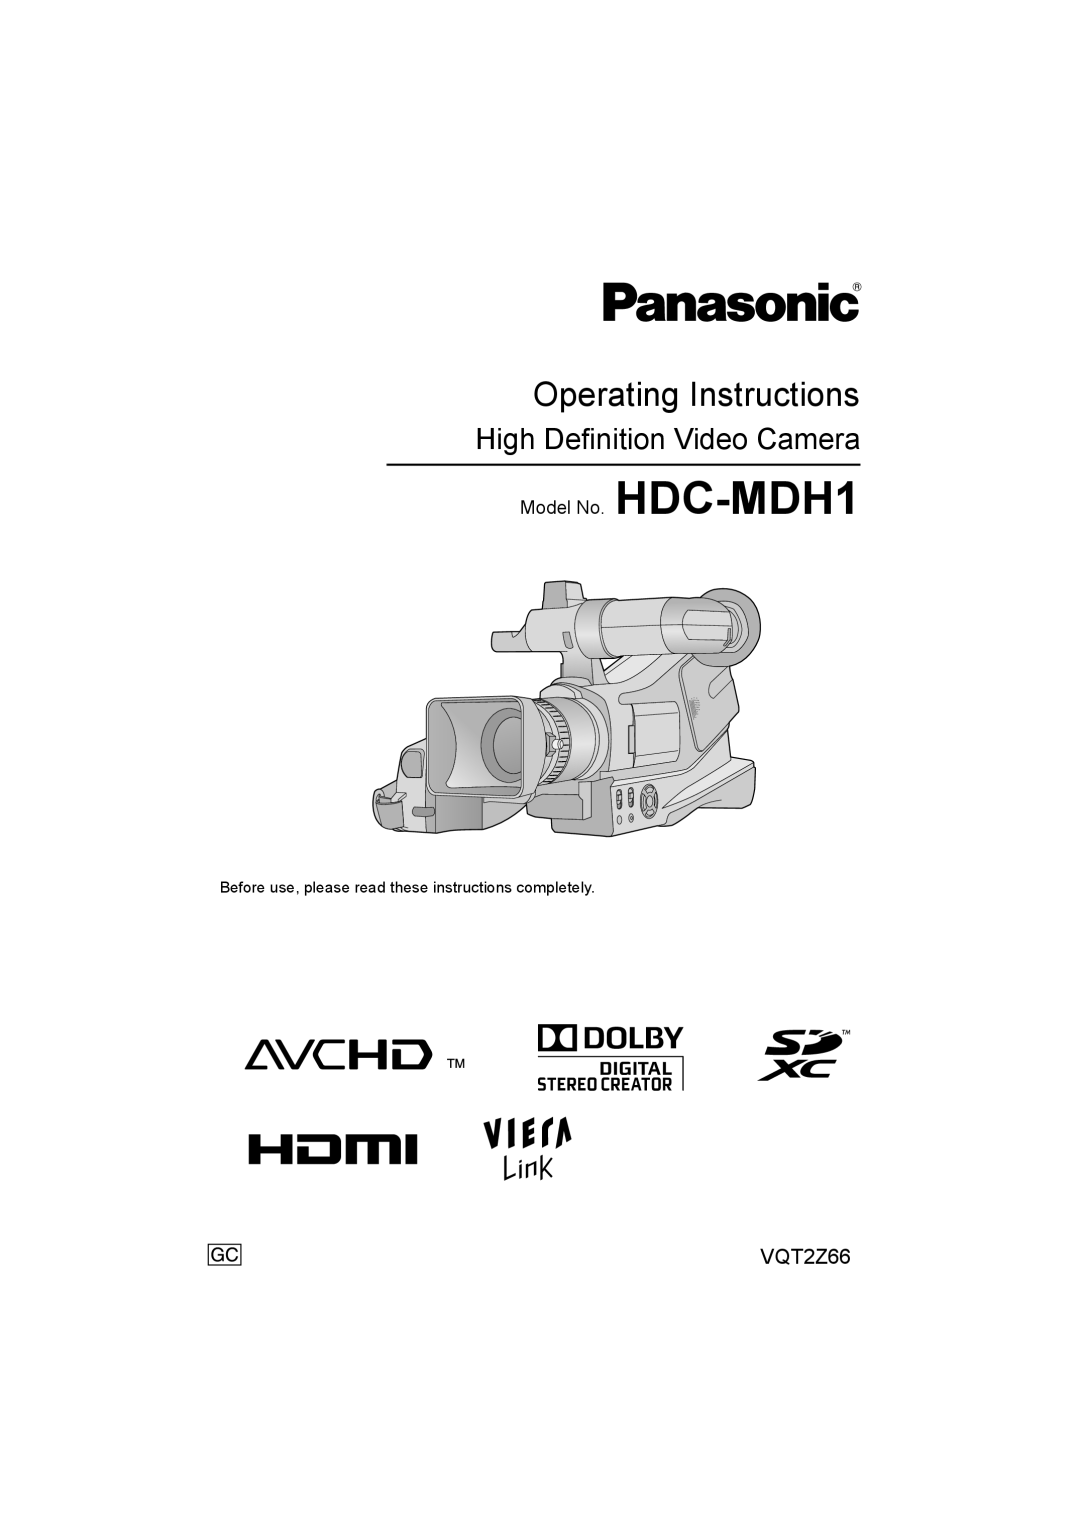
High Definition Video Camera
Model No.
HDC-MDH1
Before use, please read these instructions completely
.
VQT2Z66
until
2010/8/30
HDC-MDH1GC-VQT2Z66_mst.book 1 ページ 2010年8月4日 水曜日 午前9時29分
Contents
Main
Information for Your Safety
WARNING:
CAUTION!
Product identification marking
Warning
How to replace the fuse
content
Cards that you can use with this unit
For the purposes of these operating instructions
Contents
PreparationBasicAdvancedCopy/DubbingWith a PCOthers
Preparation
Before using
Basic
Copy/Dubbing
With this unit/other products
With a PC
Before using
Using with a PC
Accessories
A B A
B
handling
910
11
24
3 6
Page
2521
26 2827
242322
29 30 31
Page
About the Lens cap
About the Shoulder strap
1 Pull the end of the shoulder strap through the shoulder strap fixture on the unit.
About the external stereo microphone External stereo microphone
About the supplied accessories
Inserting a battery
Attaching the external stereo microphone to the unit
CAUTION
Using the external stereo microphone
1 Set the OFF/MONO/STERE O switch to MONO or STEREO.
Changing the WIND CUT OFF/ON switch
Caution for use about the external stereo microphone
About batteries that you can use with this unit
1 2
Charging the battery
Charging lamp [CHARGE] A
Inserting/removing the battery
Removing the battery
CAUTION
Charging/Recording time
Charging and recording time
Battery capacity indication
1 2 3
Connecting to the AC outlet
Cards that you can use with this unit
1
insert (remove) the SD card into (from) the card slot.
2
cover.
Inserting/removing an SD card
Turning the unit on and off with the power switch
Page
viewfinder
How to use the touch screen
Touch
Drag
About the operation icons
Viewfinder adjustment
Recording showing the contents to a partner
2
3
Holding the unit for recording Normal recording
Low-angle recording
Page
2
3
Screen indications in the motion picture recording mode
About the compatibility of the recorded motion pictures
HA
0h00m00s0h00m00s0h00m00s
2
Focus indication:
About the screen indications in still picture recording
About the focus indication
About the focusing area
Recording still pictures in motion picture recording mode
Intelligent auto/manual/manual focus switch
Intelligent auto mode
Automatic white balance
Auto focus
picture playback
2
3
4
5
selecting the operation icon and
Change the thumbnail display
Speaker/Headphone volume adjustment
Motion picture compatibility
Still picture compatibility
1 2
3
4
5
1 Select [SET WORLD TIME] using the cursor button and press the button in the centre.
[DISPLAY] [EXT.DISPLAY] [CLOCK SET] [SET WORLD TIME]
4 Select [DESTINATION] and press the button in the centre.
5
To return the display to the home setting
[DATE/TIME] [DATE FORMAT] [ECONOMY]
[QUICK POWER ON] [REC LAMP] [ALERT SOUND] [LCD SET]
[EVF SET]
Page
Page
Extra optical zoom mechanism
Extra optical zoom
Zoom lever/Sub zoom lever
Motion picture recording mode
Still picture recording mode
Setting to display/not-display the O.I.S. LOCK icon
Optical image stabilizer lock
Power LCD button
operation icons
1
button and press the button in the centre to display the operation icons on the screen.
2
Select an operation icon and
Fade
Intelligent contrast control
PRE-REC
PRE-REC
Page
Colour night view
Headphone volume adjustment
menus
[SCENE MODE]
[ZOOM MODE]
[REC MODE]
[REC ASPECT]
[AGS]
[Digital Cinema Colour]
[WIND NOISE CANCELLER]
[ZOOM MIC]
1 Select the menu.
2 Adjust the microphone input level using the cursor button right or left.
[MIC LEVEL]
[BASS SETTING]
[PICTURE ADJUST]
[ZEBRA]
[LUMINANCE]
[HISTOGRAM]
Example of the display
Picture size and Maximum zoom ratio
Picture size in motion picture recording mode
[PICTURE SIZE]
Page
Set the iA/MANUAL/FOCUS switch to manual mode.
1
button right or left and press the button in the centre.
2
using the cursor button up or down and press the button in the centre.
To set the white balance manually
1
the cursor button right or left and press the button in the centre.
2
cursor button up or down and
Manual shutter speed/iris adjustment
focus
1
2
the focus ring.
Motion picture playback using operation icon
1
playback.
2
Creating still picture from motion picture
1
2
3
4
Time frame index
Resuming the previous playback
functions
1
2
3
Playing back motion pictures/still pictures by date
1
2 3
Changing the playback settings and playing back the slide show
4 5
2
3
When you stop deleting halfway
To complete editing
2 3
4 5
Dividing a scene to partially delete
2
Protecting scenes/still pictures
on your TV
1
2
3
To display the on-screen information on the TV
Connecting with a HDMI cable
Connecting with the component cable
Playback using VIERA Link (HDAVI Control
)
Change the mode to .
2
with a HDMI cable.
3
Other linked operations
other video devices
1
2 3
With a PC
PC
HD Writer AE 2.5S
Smart wizard
Important Notice
http://panasonic.net/avc/sdcard/information/SDXC.html
End User License Agreement
With a PC
Operating environment for HD Writer AE 2.5S
To use the HDWriter AE 2.5S
Operating environment for the card reader function (mass storage)
1
2 3
4
5
Page
1
2
3
4
http://panasonic.net/avc/sdcard/information/SDXC.html
To disconnect USB cable safely
Copying your still pictures to your PC
About the PC display
DCIM
CAM_SD
2.5S
Reading the operating instructions of the software applications
1
2
3
4
Recording indications
R 1h20m
Playback indications
Indication of connection to other devices Confirmatory indications
About recovery
Troubleshooting
Page
Page
Page
Page
If scenes do not change smoothly when played back on another device
Cautions for use
About this unit
About the battery
About the AC adaptor
About the SD card LCD monitor/viewfinder
Causes of condensation
About condensation
About copyright
Carefully observe copyright laws
Licenses
Recording modes/approximate recordable time
Approximate number of recordable
Specifications
Page
Motion pictures
Still pictures
Page
Optional accessories
Attaching the optional accessories on the accessory shoe
Attaching the conversion lens/ filter kit