[QUICK POWER ON] | [OFF]/[ON] |
The unit is put into recording pause approx. 1 second when the unit is turned on with the
mode set to ![]() or
or ![]() .
.
≥Depending on the recording conditions, start time may be longer than 1 second.
≥In the quick power on mode, the zoom magnification becomes 1k.
[REC LAMP] | [OFF]/[ON] |
The recording lamp lights up during recording. When this is set to [OFF], it does not light during recording.
[ALERT SOUND] | [OFF]/ / |
Touch screen operation, start and stop of recording and unit on/off can be confirmed with this sound.
![]()
![]() (Volume low)/
(Volume low)/ ![]()
![]() (Volume high)
(Volume high)
2 Beeps for 4 times
When an error occurs. Check the sentence displayed on the screen. (l 99)
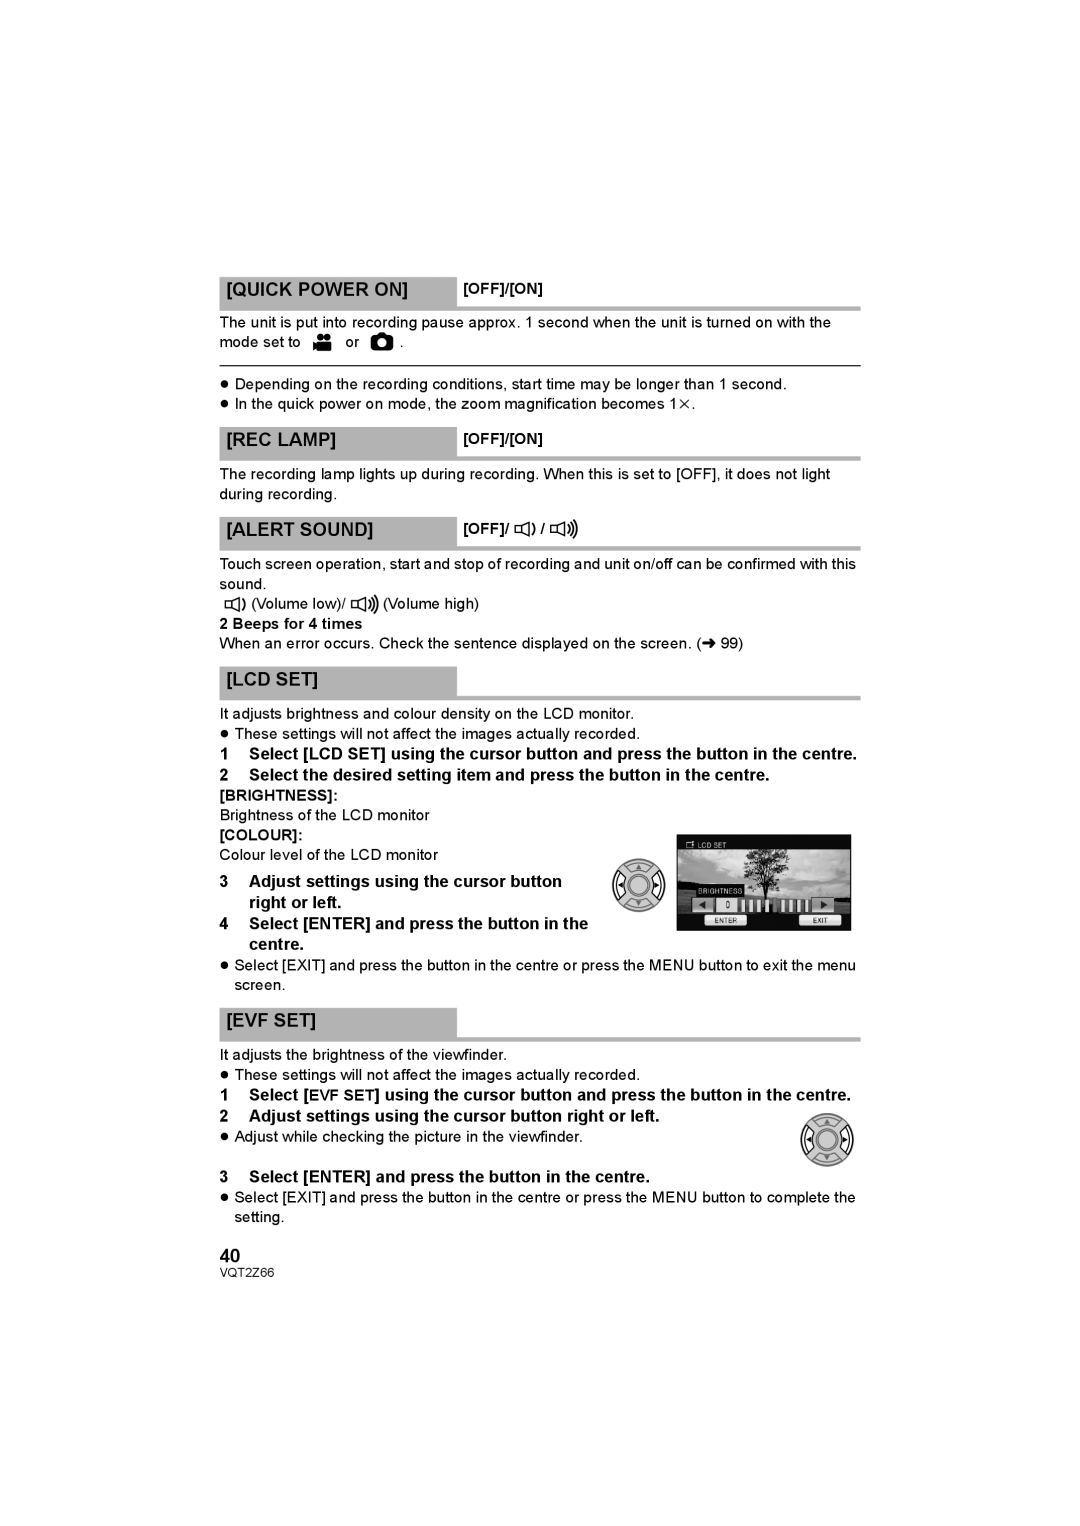
[LCD SET]
It adjusts brightness and colour density on the LCD monitor.
≥These settings will not affect the images actually recorded.
1Select [LCD SET] using the cursor button and press the button in the centre.
2Select the desired setting item and press the button in the centre. [BRIGHTNESS]:
Brightness of the LCD monitor
[COLOUR]:
Colour level of the LCD monitor
3 Adjust settings using the cursor button right or left.
4 Select [ENTER] and press the button in the centre.
≥Select [EXIT] and press the button in the centre or press the MENU button to exit the menu screen.
[EVF SET]
It adjusts the brightness of the viewfinder.
≥These settings will not affect the images actually recorded.
1 Select [EVF SET] using the cursor button and press the button in the centre. 2 Adjust settings using the cursor button right or left.![]()
≥ Adjust while checking the picture in the viewfinder.
3 Select [ENTER] and press the button in the centre.
≥Select [EXIT] and press the button in the centre or press the MENU button to complete the setting.
40
VQT2Z66
