Recording programs
RAM DVD-R
•Use a disc that can be recorded on and that has enough space available.
•Ensure the write protect tab is not set to “PROTECT”.
•Ensure the disc is not
RAM
•When using a disc in this unit for the first time, format it for more precise recording.
(1)Press [OPEN/CLOSE ![]() ] to open the tray and insert a disc.
] to open the tray and insert a disc.
•Insert one disc only within the tray’s guides.
•Press [OPEN/CLOSE ![]() ] to close the tray.
] to close the tray.
•Insert
• Disc with cartridge | • Disc without cartridge |
Press to the rear | Label up |
|
Arrow in
(2)Select the input on the MENU window.
•Select “(VIDEO)”,
(3)Select the recording mode.
•Select “XP”, “SP”, or “LP”.
(4)Select the audio mode.
•Select “LPCM” or “Dolby Digital”.
(5)Adjust the audio recording level.
•Adjust the audio REC Level control (CH1/MIC or CH2) on the front panel.
(6)Press [REC  ] to start recording.
•The program which has already been recorded is not overwritten.
Notes:
•This unit does not support recording the signal from a computer.
•If recording is impossible when using DV IN, check the connections and the settings of DV equipment, turn the unit off, and then turn it on again.
•You can record up to 99 programs on one disc.
•The message “Cannot record. Maximum number of programs recorded.” is displayed if you try to start recording when there are already 99 programs on a disc. Erase unneeded programs
•Do not vibrate the unit while recording.
For your reference:
•Poor video quality or coloring may indicate that the material you are recording has copy protection.
•Select the TV system (NTSC/PAL) of the program you wish to record.
•We recommend connecting one piece of DV equipment at a time.
•When DV equipment is connected, it is not possible to use the DV terminal and operate the unit from other equipment.
•In the case of some DV equipment, pictures and sound may not be received properly.
•If there is no monitor television picture when playing back from an external device, turn the external device off and then on once again.
•Almost all videos and DVD software on sale have been treated to prevent illegal copying. Any software that has been so treated cannot be recorded using this unit.
•When recording from DV equipment, the audio setting can be made at “Audio Mode for DV Input”.
•You cannot change the input or the recording mode during recording or when recording is paused.
•An error message appears if you try to start recording when a disc is full; the remaining time will be shown as “0:00”. To continue recording, erase unneeded programs
•If the character set recorded on a disc is different from the set designated for each region when recording to, editing, or finalizing its disc, titles may not be displayed.
When using discs recorded with a DVD video recorder for a different destination, do not perform all operations except play.
•There are limitations when recording to
•
•The condition of the unit and video input may cause the picture to be momentarily disrupted.
•Scratches and dirt on a disc may make it impossible to record for a few seconds.
![]() To pause recording
To pause recording
Press [PAUSE ![]()
![]() ].
].
Press again to restart recording.
![]() To stop recording
To stop recording
Press [STOP ![]() ].
].
![]()
You can get up to 8 hours recording when you use
![]() Recording modes and approximate recording times in hours
Recording modes and approximate recording times in hours
| |||
| |||
| (4.7 GB) | ||
| (4.7 GB) | (9.4 GB) | |
|
| ||
|
|
|
|
XP (High quality) | 1 | 2 | 1 |
|
|
|
|
SP (Normal) | 2 | 4 | 2 |
LP (Long play) | 4 | 8 | 4 |
 When using
 DVD-R
•You can play
•The video is recorded in a 4:3 aspect irrespective of the video signal input.
 Recording sound using LPCM
To obtain higher quality recordings using LPCM, prepare as follows:
(1)Select “LPCM” in the SETUP menu,
(2)Set recording mode to “XP” or “SP”.
Note:
•Sound recordings made using LPCM require more information than usual. Consequently the picture quality of LPCM recordings may worsen.
 When using
 DVD-R or discs with LPCM recording
When recording bilingual audio with connecting to a decoder or a digital receiver, select the audio type either “M1(Main audio)” or “M2(Secondary audio)” on the connected devices.
(You cannot select the audio type on this unit.)
For your reference:
RAM
•Both audio types of “M1” and “M2” can be recorded. (When playing, you can select either one.)
Note:
•You cannot use the DISPLAY menu to change audio type when a
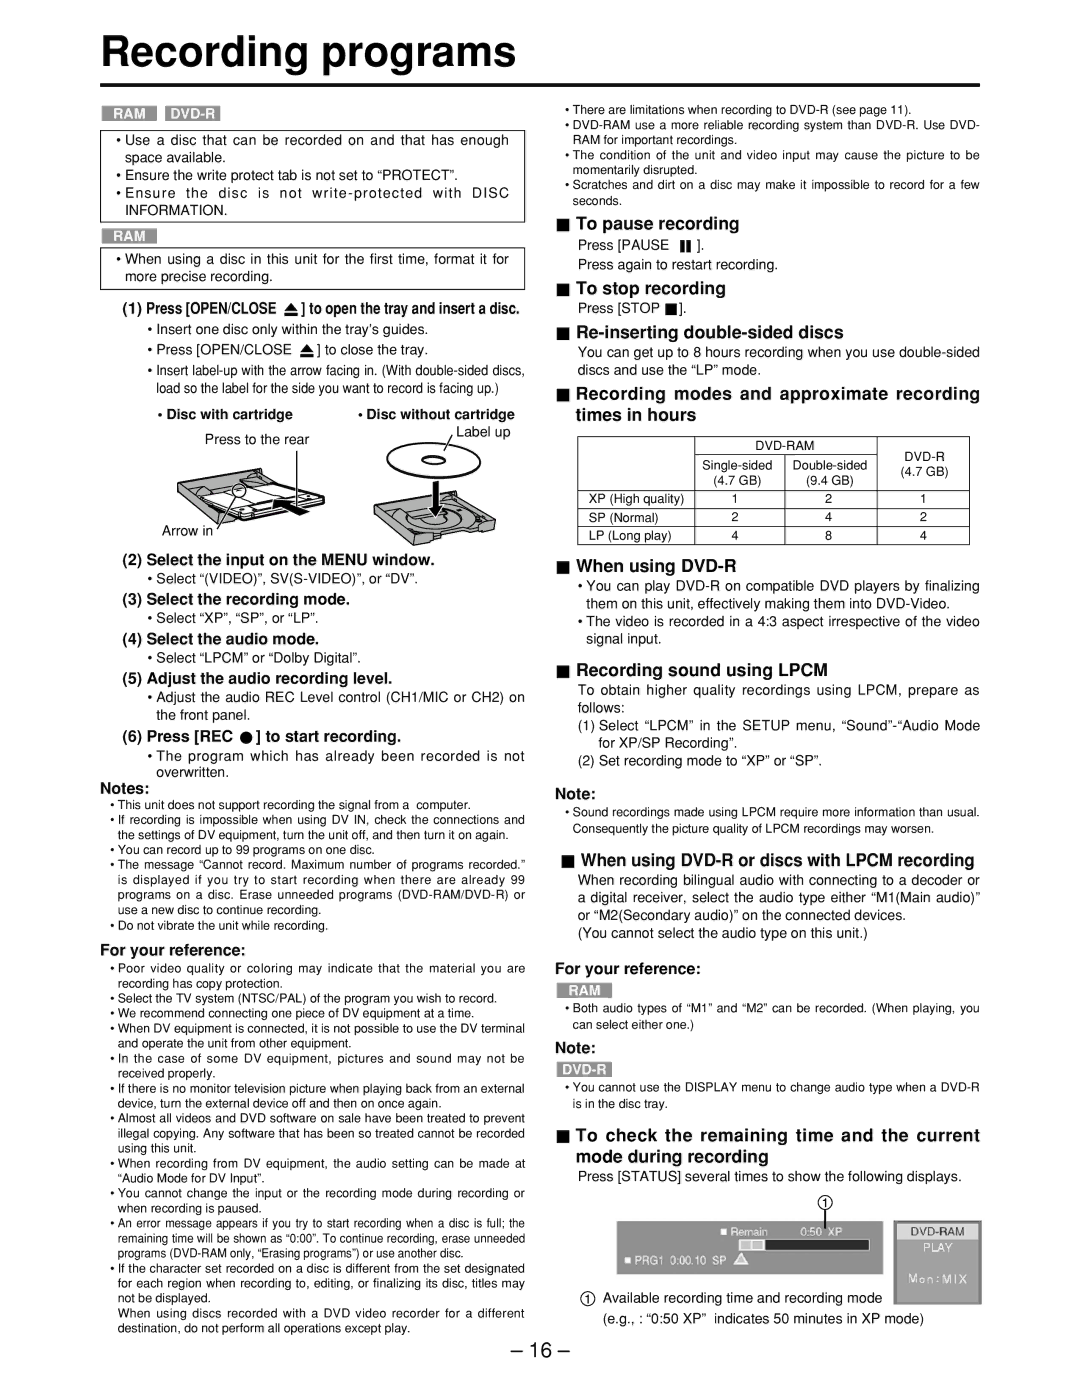
![]() To check the remaining time and the current mode during recording
To check the remaining time and the current mode during recording
Press [STATUS] several times to show the following displays.
Available recording time and recording mode
(e.g., : “0:50 XP” indicates 50 minutes in XP mode)
– 16 –