With a PC
With DV cable (optional)
1Set the movie camera to tape recording mode or tape playback mode.
≥You cannot use SweetMovieLife in tape recording mode.
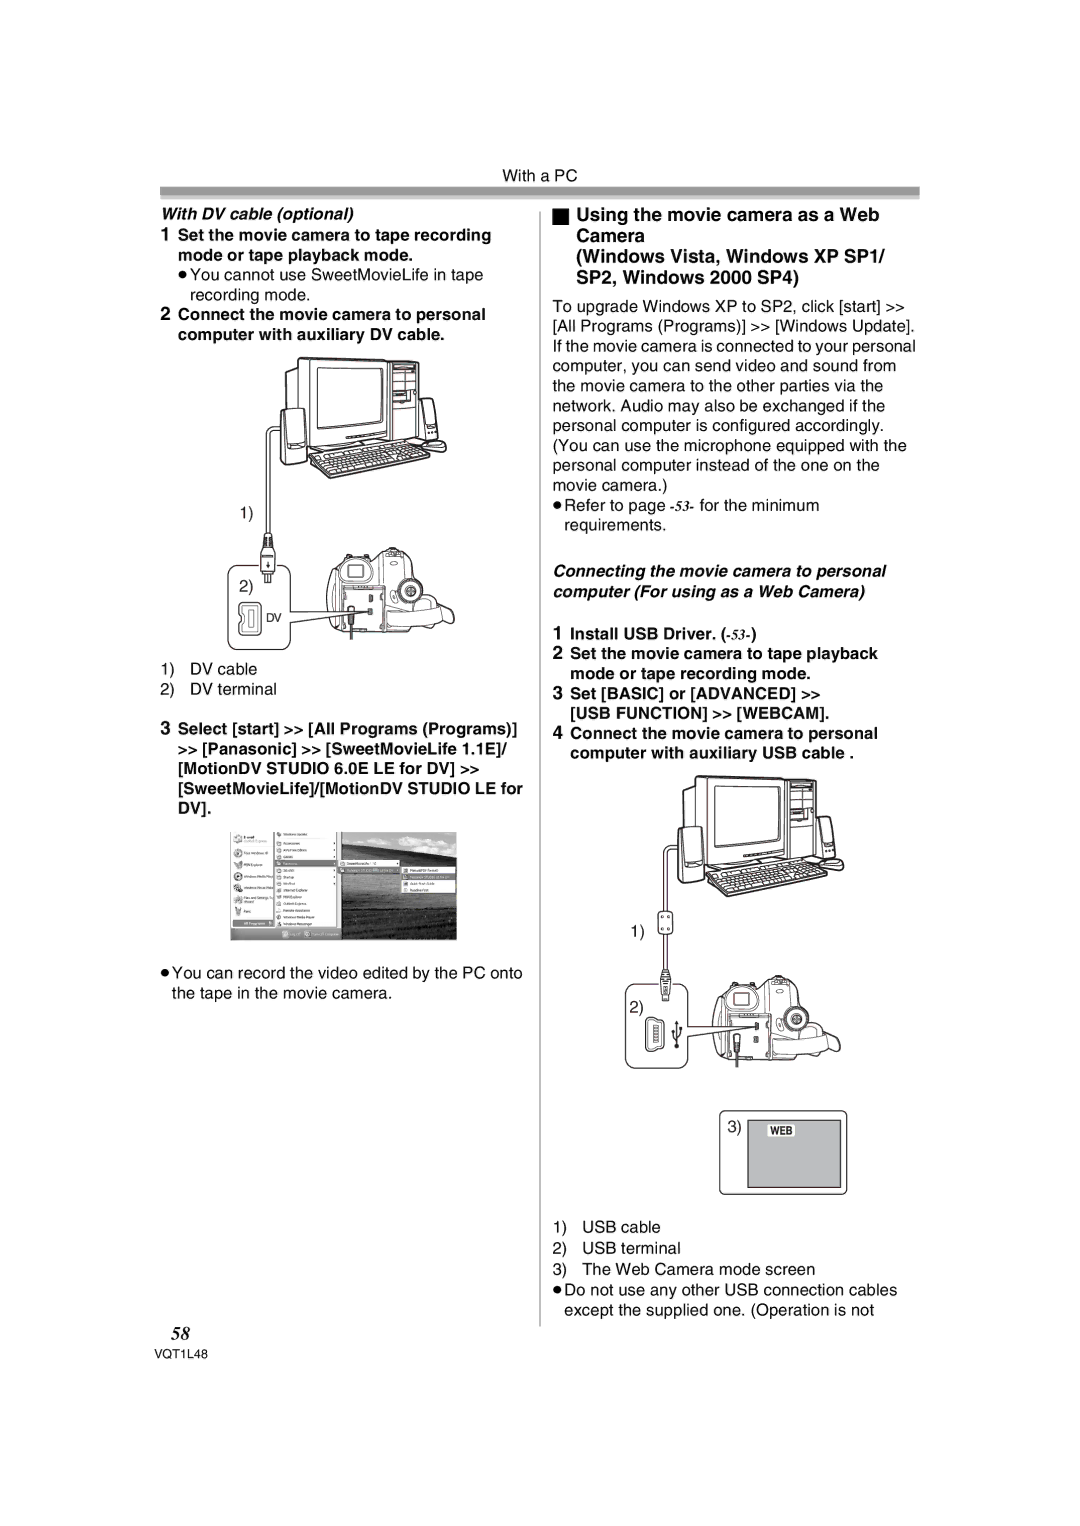
2Connect the movie camera to personal computer with auxiliary DV cable.
1)
2)
1)DV cable
2)DV terminal
3Select [start] >> [All Programs (Programs)] >> [Panasonic] >> [SweetMovieLife 1.1E]/ [MotionDV STUDIO 6.0E LE for DV] >> [SweetMovieLife]/[MotionDV STUDIO LE for DV].
1.1
6.0
≥You can record the video edited by the PC onto the tape in the movie camera.
58
ªUsing the movie camera as a Web Camera
(Windows Vista, Windows XP SP1/ SP2, Windows 2000 SP4)
To upgrade Windows XP to SP2, click [start] >> [All Programs (Programs)] >> [Windows Update]. If the movie camera is connected to your personal computer, you can send video and sound from the movie camera to the other parties via the network. Audio may also be exchanged if the personal computer is configured accordingly. (You can use the microphone equipped with the personal computer instead of the one on the movie camera.)
≥Refer to page -53- for the minimum requirements.
Connecting the movie camera to personal computer (For using as a Web Camera)
1Install USB Driver. (-53-)
2Set the movie camera to tape playback mode or tape recording mode.
3Set [BASIC] or [ADVANCED] >> [USB FUNCTION] >> [WEBCAM].
4Connect the movie camera to personal computer with auxiliary USB cable .
1)
2)
3)
1)USB cable
2)USB terminal
3)The Web Camera mode screen
≥Do not use any other USB connection cables except the supplied one. (Operation is not
VQT1L48