How to use network module (optional)
Page for control of image files
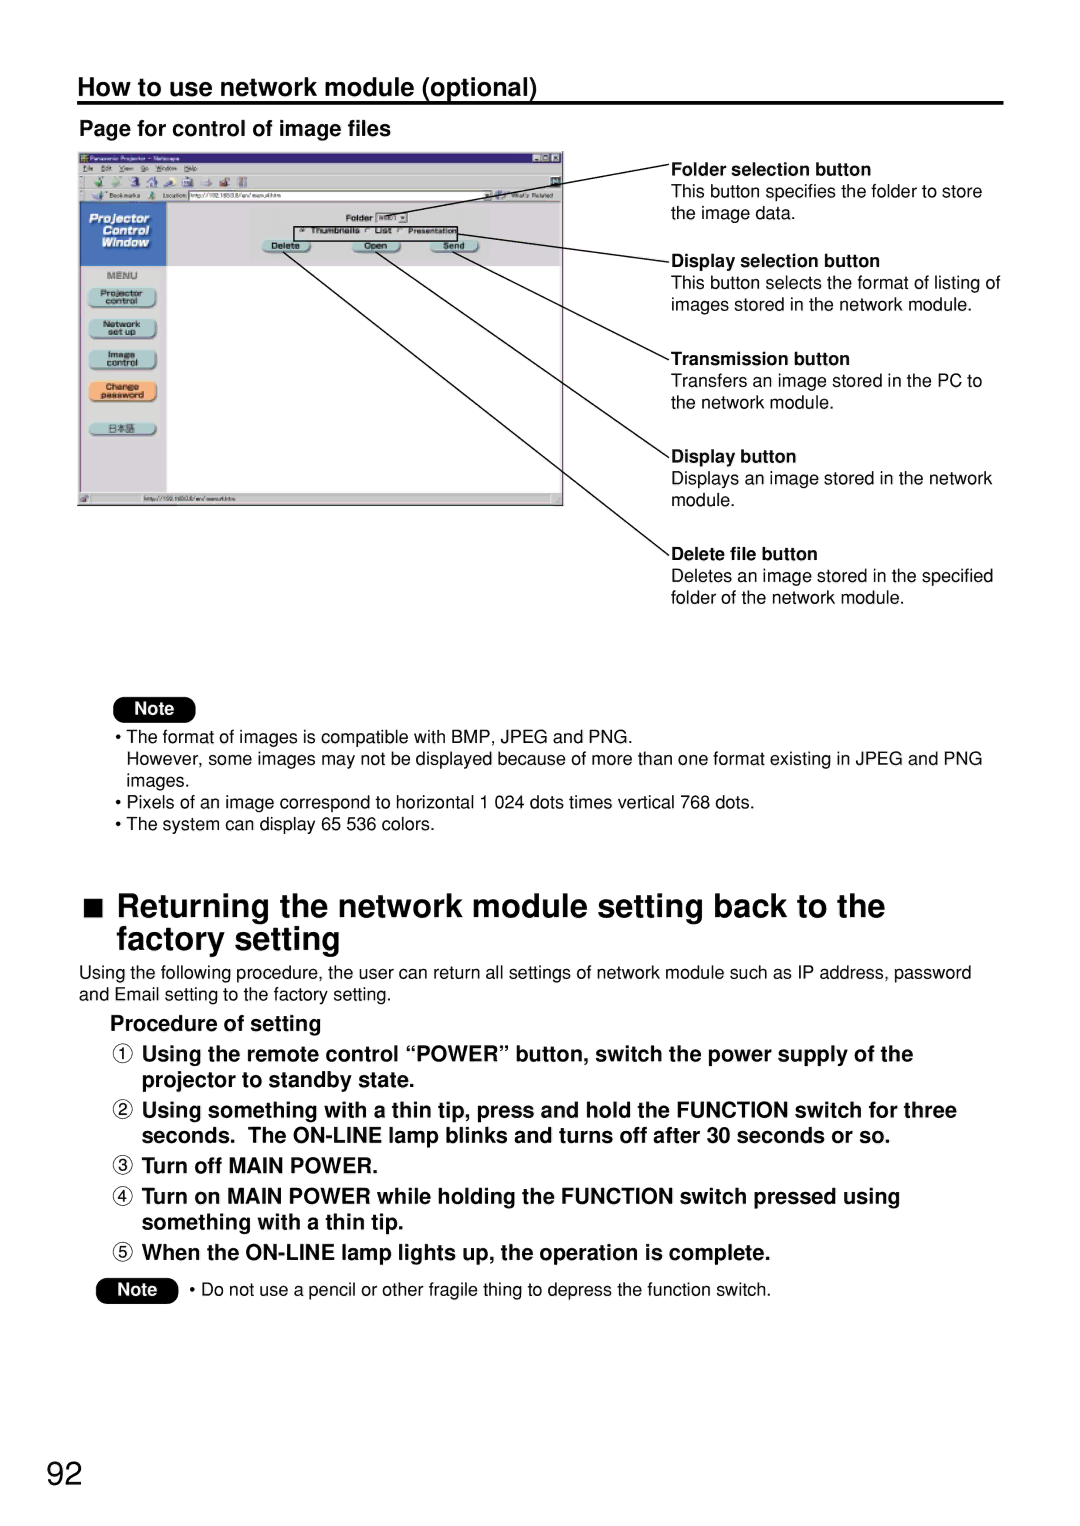
Folder selection button
This button specifies the folder to store the image data.
Display selection button
This button selects the format of listing of images stored in the network module.
Transmission button
Transfers an image stored in the PC to the network module.
Display button
Displays an image stored in the network module.
Delete file button
Deletes an image stored in the specified folder of the network module.
Note
•The format of images is compatible with BMP, JPEG and PNG.
However, some images may not be displayed because of more than one format existing in JPEG and PNG images.
•Pixels of an image correspond to horizontal 1 024 dots times vertical 768 dots.
•The system can display 65 536 colors.
![]() Returning the network module setting back to the factory setting
Returning the network module setting back to the factory setting
Using the following procedure, the user can return all settings of network module such as IP address, password and Email setting to the factory setting.
Procedure of setting
![]() Using the remote control “POWER” button, switch the power supply of the projector to standby state.
Using the remote control “POWER” button, switch the power supply of the projector to standby state.
![]() Using something with a thin tip, press and hold the FUNCTION switch for three seconds. The
Using something with a thin tip, press and hold the FUNCTION switch for three seconds. The
![]() Turn off MAIN POWER.
Turn off MAIN POWER.
![]() Turn on MAIN POWER while holding the FUNCTION switch pressed using something with a thin tip.
Turn on MAIN POWER while holding the FUNCTION switch pressed using something with a thin tip.
![]() When the
When the
Note • Do not use a pencil or other fragile thing to depress the function switch.
92
