$ Open the "DCIM" directory which has been created, press the "![]() " and "N" keys to create a new folder (directory), and change the name of the directory to a name that conforms to the DCF standard (example: 100abcde).
" and "N" keys to create a new folder (directory), and change the name of the directory to a name that conforms to the DCF standard (example: 100abcde).
In the same way as in step # above, an existing directory which is al- ready
%Drag and drop the JPEG file you would like to save into the directory.
The file will be copied into the directory. (The original file will not be de- leted from the Macintosh.)
&Change the name of the copied file to a name which is DCF- compliant (example: abcd0001.jpg).
After the file copying is complete, take the SD memory card out of the Macintosh by following the steps below and then insert it into the projector to play back the file.
Removing the SD memory card
Remove the SD memory card from the Macintosh by following the steps below. Close all applications which are using the SD memory card.
#Drag the drive icon for the SD memory card on the Desktop to the Trash, and take out the PC card adapter.
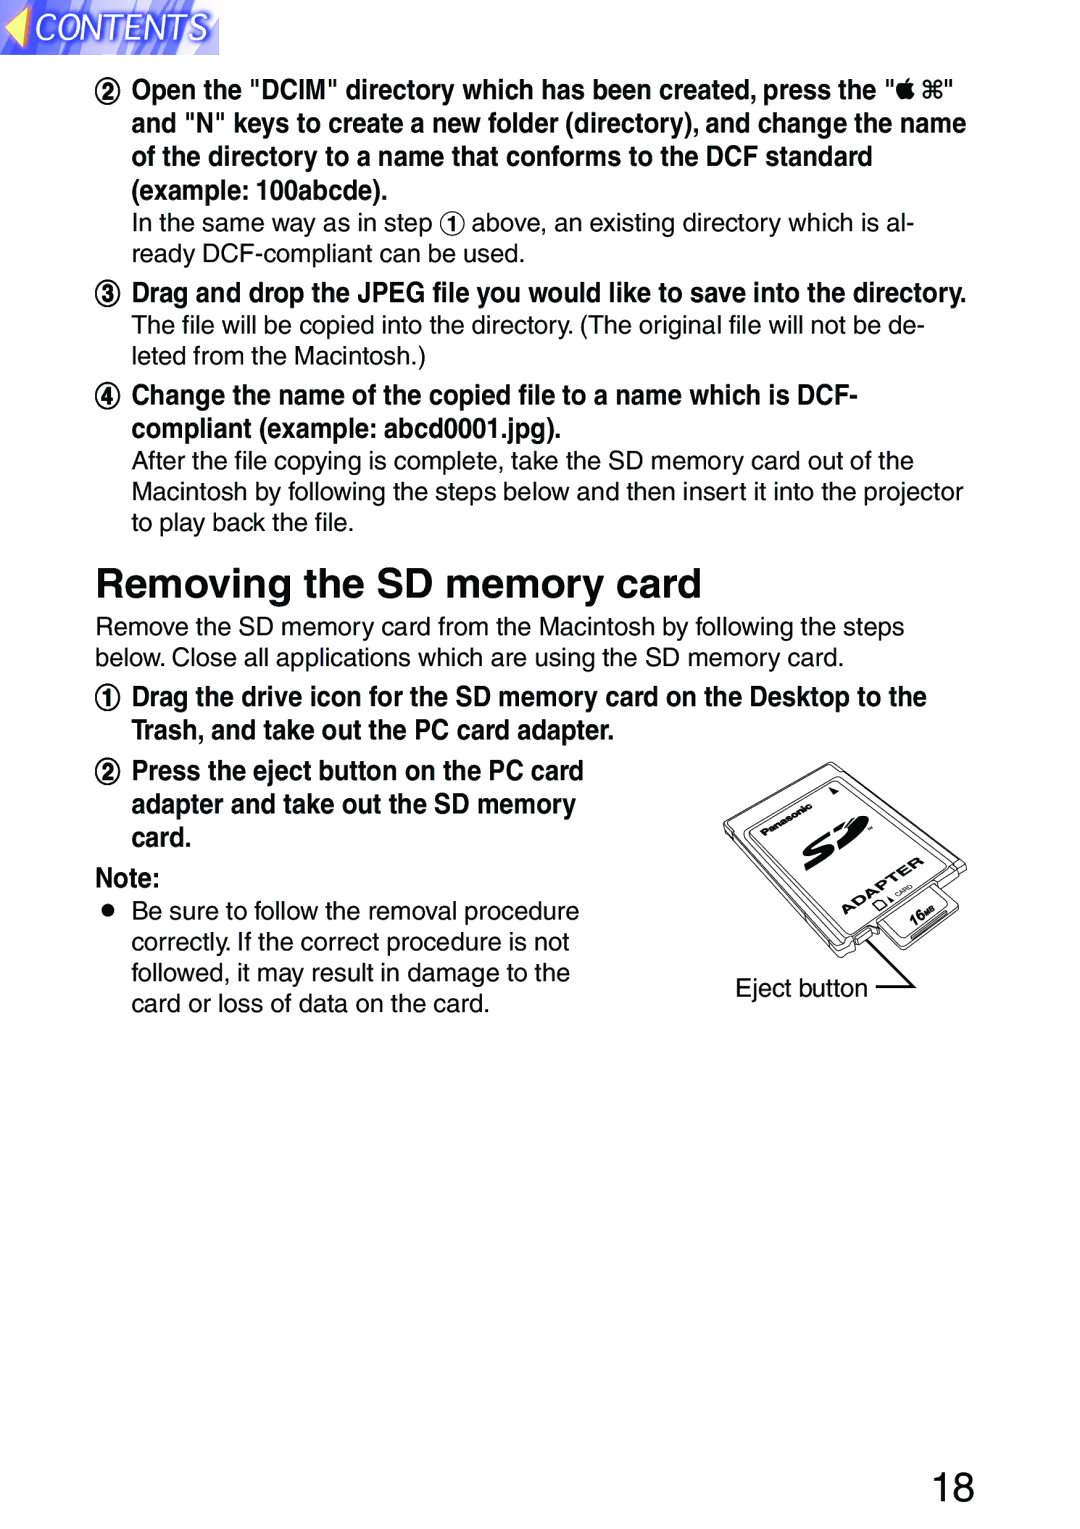
$ Press the eject button on the PC card adapter and take out the SD memory card.
Note:
B Be sure to follow the removal procedure correctly. If the correct procedure is not followed, it may result in damage to the
card or loss of data on the card.
Eject button
18