PV-DV101 specifications
The Panasonic PV-DV101 is a versatile camcorder that emerged as a popular choice among amateur filmmakers and enthusiasts during the early 2000s. Packed with a selection of advanced features and innovative technologies, it aimed to enhance the user experience and provide high-quality video recording in a compact design.One of the key features of the PV-DV101 is its digital video recording capability. It uses Mini DV tapes, which were a standard in the industry, allowing for high-resolution video capture and clear audio. The camcorder records in 720 x 480 resolution, providing excellent video quality for casual users and budding videographers alike. Additionally, the digital format ensures that footage can be easily edited and transferred to computers with minimal loss of quality.
In terms of design, the PV-DV101 boasts a lightweight and user-friendly body. Weighing just over two pounds, it is designed for portability, making it easier for users to carry during events or outings. The ergonomic grip and intuitive control layout allow for comfortable handling, enabling users to focus on capturing their memories rather than struggling with the equipment.
The camcorder is equipped with a 20x optical zoom lens, which allows users to get up close to their subjects without sacrificing image quality. This feature is particularly useful for recording distant action, whether it's a sporting event or a scenic landscape. Additionally, it’s complemented by a digital zoom capability, although users are encouraged to rely on the optical zoom to maintain the best possible image integrity.
Another noteworthy characteristic of the PV-DV101 is its built-in image stabilization technology. This system aims to reduce the effects of camera shake, providing smoother footage even when the camcorder is handheld. This enhancement is crucial for capturing high-quality videos without the need for additional stabilizing equipment.
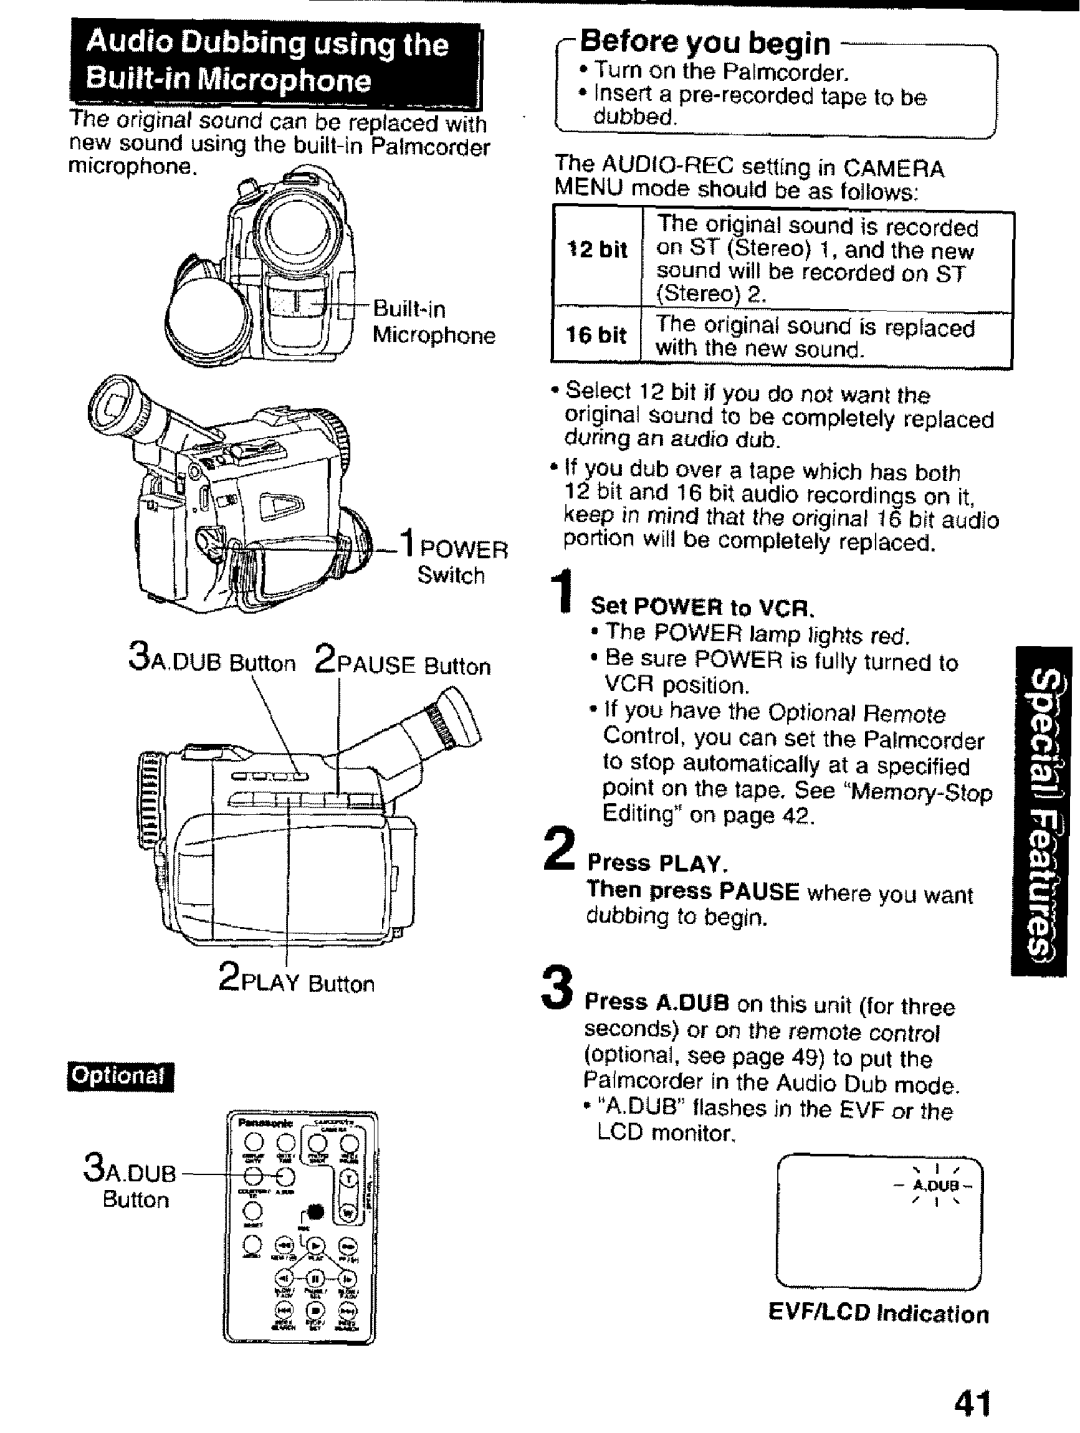
For audio, the PV-DV101 features a built-in microphone along with a headphone jack for monitoring sound. This allows users to ensure their audio quality is up to par, crucial for video projects where sound clarity matters.
Overall, the Panasonic PV-DV101 combines practicality with performance, making it a reliable choice for anyone looking to dive into the world of video recording. Despite the advancements in technology, its classic features still hold value for vintage enthusiasts and collectors today. With its combination of portability, ease of use, and solid video quality, the PV-DV101 remains a memorable addition to Panasonic's lineup of camcorders.

