Operation
Adjusting the image
This TV set has 4
- 11 -
Image menu adjustment
1.Press the ACTION button to display the main menu.
2.Use CHANNEL buttons ($ or 4) or VOLUME buttons (Ò or Ó) to select the menu PICTURE.
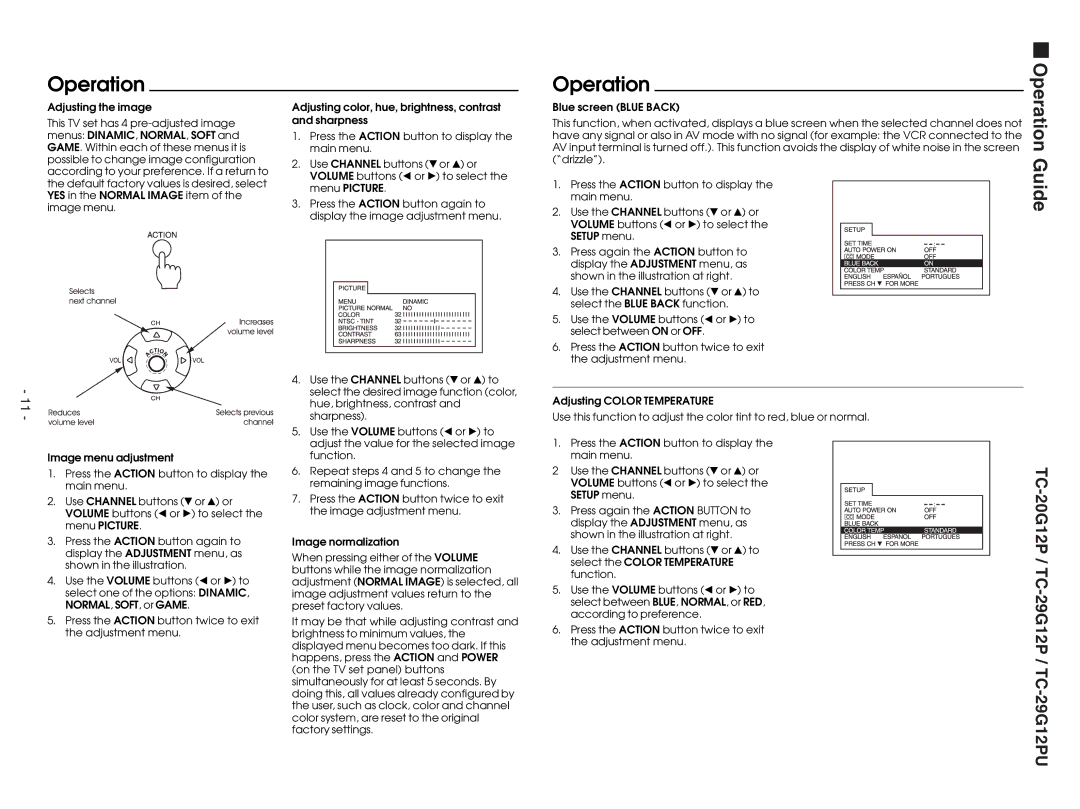
3.Press the ACTION button again to display the ADJUSTMENT menu, as shown in the illustration.
4.Use the VOLUME buttons (Ò or Ó) to select one of the options: DINAMIC, NORMAL, SOFT, or GAME.
5.Press the ACTION button twice to exit the adjustment menu.
Adjusting color, hue, brightness, contrast and sharpness
1.Press the ACTION button to display the main menu.
2.Use CHANNEL buttons ($ or 4) or VOLUME buttons (Ò or Ó) to select the menu PICTURE.
3.Press the ACTION button again to display the image adjustment menu.
4.Use the CHANNEL buttons ($ or 4) to select the desired image function (color, hue, brightness, contrast and sharpness).
5.Use the VOLUME buttons (Ò or Ó) to adjust the value for the selected image function.
6.Repeat steps 4 and 5 to change the remaining image functions.
7.Press the ACTION button twice to exit the image adjustment menu.
Image normalization
When pressing either of the VOLUME buttons while the image normalization adjustment (NORMAL IMAGE) is selected, all image adjustment values return to the preset factory values.
It may be that while adjusting contrast and brightness to minimum values, the displayed menu becomes too dark. If this happens, press the ACTION and POWER (on the TV set panel) buttons simultaneously for at least 5 seconds. By doing this, all values already configured by the user, such as clock, color and channel color system, are reset to the original factory settings.
Operation
Blue screen (BLUE BACK)
This function, when activated, displays a blue screen when the selected channel does not have any signal or also in AV mode with no signal (for example: the VCR connected to the AV input terminal is turned off.). This function avoids the display of white noise in the screen (“drizzle”).
1.Press the ACTION button to display the main menu.
2.Use the CHANNEL buttons ($ or 4) or VOLUME buttons (Ò or Ó) to select the SETUP menu.
3. Press again the ACTION button to display the ADJUSTMENT menu, as shown in the illustration at right.
4. Use the CHANNEL buttons ($ or 4) to select the BLUE BACK function.
5.Use the VOLUME buttons (Ò or Ó) to select between ON or OFF.
6.Press the ACTION button twice to exit the adjustment menu.
Adjusting COLOR TEMPERATURE
Use this function to adjust the color tint to red, blue or normal.
1.Press the ACTION button to display the main menu.
2Use the CHANNEL buttons ($ or 4) or VOLUME buttons (Ò or Ó) to select the SETUP menu.
3. Press again the ACTION BUTTON to display the ADJUSTMENT menu, as shown in the illustration at right.
4.Use the CHANNEL buttons ($ or 4) to select the COLOR TEMPERATURE function.
5.Use the VOLUME buttons (Ò or Ó) to select between BLUE, NORMAL, or RED, according to preference.
6.Press the ACTION button twice to exit the adjustment menu.