Operation
Color system and color saturation adjustment for each channel
This TV set is compatible with three broadcast standards. That means this TV set can be used where either the
Operation
Game Guard
Blocking Games (accessible only through the remote control unit)
This function blocks the use of the TV set for games or other video input. Channels 3 and 4, together with the video input terminals, can be disabled for 12, 24 or 48 hours, depending on your preference.
Operation Guide
Channel color system
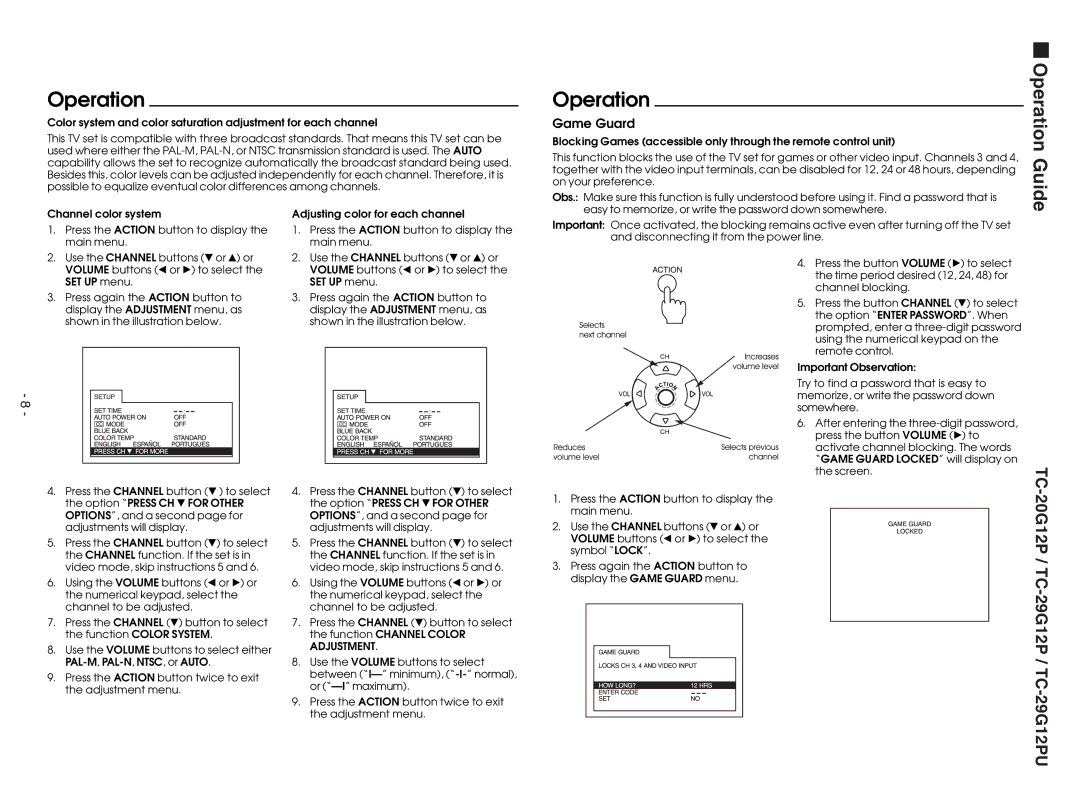
1.Press the ACTION button to display the main menu.
2.Use the CHANNEL buttons ($ or 4) or VOLUME buttons (Ò or Ó) to select the SET UP menu.
3.Press again the ACTION button to display the ADJUSTMENT menu, as shown in the illustration below.
Adjusting color for each channel
1.Press the ACTION button to display the main menu.
2.Use the CHANNEL buttons ($ or 4) or VOLUME buttons (Ò or Ó) to select the SET UP menu.
3.Press again the ACTION button to display the ADJUSTMENT menu, as shown in the illustration below.
Obs.: Make sure this function is fully understood before using it. Find a password that is easy to memorize, or write the password down somewhere.
Important: Once activated, the blocking remains active even after turning off the TV set and disconnecting it from the power line.
4. Press the button VOLUME (Ó) to select the time period desired (12, 24, 48) for channel blocking.
5. Press the button CHANNEL ($) to select the option “ENTER PASSWORD”. When prompted, enter a
Important Observation:
- 8 -
Try to find a password that is easy to memorize, or write the password down somewhere.
6. After entering the
TC
4.Press the CHANNEL button ($ ) to select the option “PRESS CH $ FOR OTHER OPTIONS”, and a second page for adjustments will display.
5.Press the CHANNEL button ($) to select the CHANNEL function. If the set is in video mode, skip instructions 5 and 6.
6.Using the VOLUME buttons (Ò or Ó) or the numerical keypad, select the channel to be adjusted.
7.Press the CHANNEL ($) button to select the function COLOR SYSTEM.
8.Use the VOLUME buttons to select either
9.Press the ACTION button twice to exit the adjustment menu.
4.Press the CHANNEL button ($) to select the option “PRESS CH $ FOR OTHER OPTIONS”, and a second page for adjustments will display.
5.Press the CHANNEL button ($) to select the CHANNEL function. If the set is in video mode, skip instructions 5 and 6.
6.Using the VOLUME buttons (Ò or Ó) or the numerical keypad, select the channel to be adjusted.
7.Press the CHANNEL ($) button to select the function CHANNEL COLOR ADJUSTMENT.
8.Use the VOLUME buttons to select between
9.Press the ACTION button twice to exit the adjustment menu.
1.Press the ACTION button to display the main menu.
2. Use the CHANNEL buttons ($ or 4) or VOLUME buttons (Ò or Ó) to select the symbol “LOCK”.
3.Press again the ACTION button to display the GAME GUARD menu.