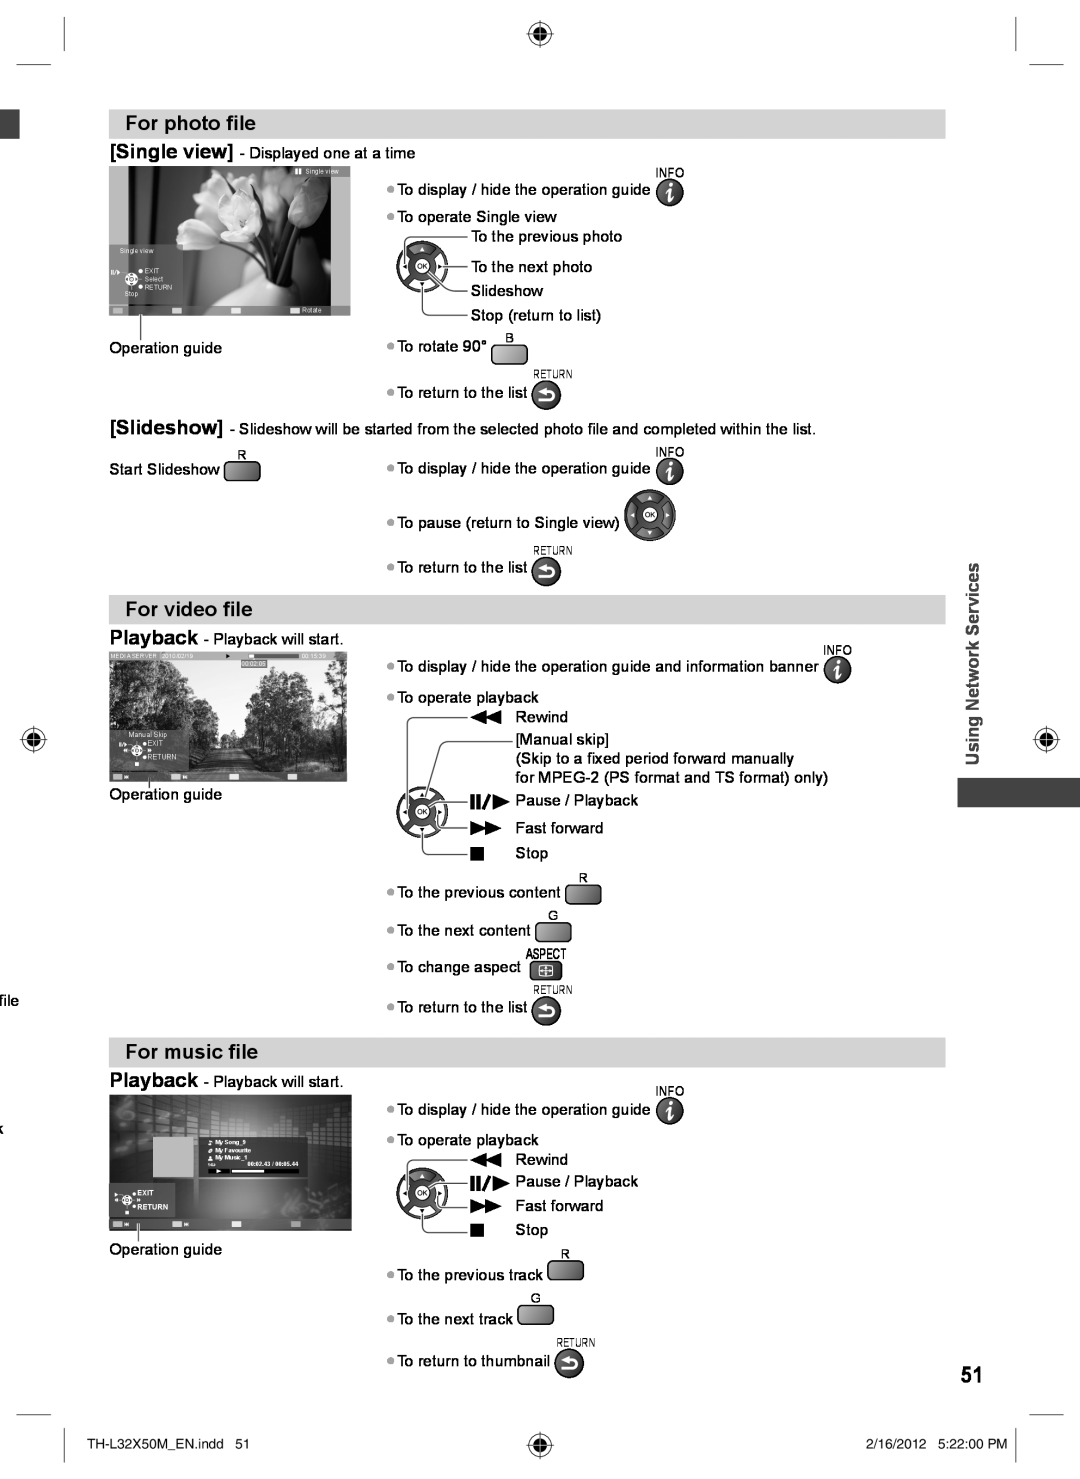
English
TH-L32X50M
Operating Instructions
LED TV
Corporation and Sony
“AVCHD” and the
“AVCHD” logo are
trademarks of Panasonic
Quick Start Guide
Contents
Enjoy your TV
Be Sure to Read
Do not remove covers and NEVER modify the TV yourself
Safety Precautions
Power source
Handling the mains plug and lead
This appliance is intended for use in tropical climates
When cleaning the TV, remove the mains plug
Do not expose your ears to excessive volume from the headphones
Safety Precautions
Accessories / Options
Standard accessories
Optional accessories
Two or more people are required to install and remove the TV
Installing / removing remote’s batteries
Attaching / removing the pedestal
Wireless LAN Adaptor and exclusive stand
Bracket
Preventing the TV from falling over
Assembly screw
Assembly screw
1 On / Standby switch
Remote Control
Identifying Controls
How to use remote control
Indicator / Control panel
Using the On Screen Displays - Operation guide
Auto power standby function
USB 2 p. 36
Basic Connection
Terminals
ConnectionBasic
Mains Lead
Connections
Mains lead and aerial
Basic Connection
Network
Wired connection
Wireless connection
AV devices
Auto Tuning
Auto Tuning
1 Plug the TV into mains socket and switch On
Auto Tuning starts
∗Viewing environment mode
Auto Tuning is completed
Select Home
Auto Tuning
WPSPush button
Setup the wireless LAN connection
Wireless LAN connection setup is completed
Search for access point
2 Select TV mode 3 Select a channel
Off Timer
Watching TV
1 Turn on the TV
Volume Correction
Display the selectable settings for the current programme
Display Information banner
Last view
Press repeatedly until you reach the desired mode
Change aspect ratio
Change OSD language
If Aspect Selection list is displayed after you press ASPECT
Viewing Teletext
1 Switch to Teletext
To change mode Teletext in the Setup Menu p
To adjust contrast
FULL / TOP / BOTTOM
Watch TV while waiting for update
Broadcast
View in multi window
Watching External Inputs
1 Display the Input Selection menu
2 Select the input mode of the connected equipment
Follow the operations of each feature
How to Use VIERA TOOLS
1 Display the icon of the features
Select a feature
Adjust using the slide bar
How to Use the Menu Functions
4 Adjust or select
How to Use the Menu Functions
Enter characters by free input menu
Menu List
Picture
theMenu
Adjustments / Configurations alternatives
Reset to
Adjustments / Configurations alternatives
Reset to
Defaults
Headphone Volume
Sound
How to Use the Menu Functions
Adjustments / Configurations alternatives
Clock Phase
Setup
How to Use the Menu Functions
Setup
Timeout
Setup
How to Use the Menu Functions
Adjustments / Configurations alternatives
Select a function
Tuning and Editing Channels
Select Tuning Menu
Tuning and Editing Channels
1 Start Auto Tuning
Select a channel and reveal / hide
To edit channels
or CH
To change the PIN number
Child Lock
Select Child Lock
Child Lock
Select an input terminal and set
Select Display Settings
Input Labels
Select Input Labels
Auto Tuning in “Tuning and Editing Channels” p
Shipping Condition Reset settings
Shipping Condition - Restore settings
Shipping Condition Reset settings
Player
Using Media Player
Using
USB Flash Memory
Insert the SD Card or USB Flash Memory
2 Switch to Media Player 3 Select the icon you want to access
4 Select the content
Using Media Player
Player
Photo mode
To sort by folder, recorded date or recorded month
Using
1 Select the file from the thumbnail of photos
Photo Setup
Media Player
Using
This function is available when Frame is set to Off
Adjustments / Configurations alternatives
Using Media Player
Selects the transition effect for photo switching during slideshow
Using Media Player
Change the contents
Video mode
Playback from Title view
Using Media Player
Video Setup
How to operate playback
To change the content “Change the contents” p
2 Select Sound
Audio output settings
Confirm or change the current status
1 Display the menu
Playback from File view
Music Setup
Music mode
Playback from Folder view
DLNA
Using Network Services
Internet contents
Using Network Services
Network
Services
Network connections
Example
To return to TV
Select Network Setup
Network Setup
Network settings for the LAN Cable connection
Proxy
2 Proxy Settings
Using Network Services
Select Proxy Settings and set the items
Select the connection type and set
Network settings for the Wireless LAN connection
Update TV’s software
Select Connection Test and access to test
Network Services
1 Display the icon of the features 2 Select Media Server
3 Select one of the media servers you want to access
Using DLNA features
Using Network Services
For photo file
For video file
For music file
1 Display the
Photo Setup for photo contents
Audio Output Settings for video contents
Video Setup for video contents
Using Network Services
1 Display the icon of the features 2 Select the icon
Accessing the Internet contents
USB Keyboard
Fe C
Summary of features
VIERA Link Functions
VIERA Link “HDAVI Control”
Preparations
Features available Channel download
Power on link
Power off link
To return to Live TV
Access and pause the live TV programme
Pause Live TV
VIERA Link Functions
“Summary of features”, “Connection”, “Preparations” p. 54
Access and operate the menu of the equipment
If you access non-VIERA Link equipment
If multiple recorders or players are connected
Multi-channel sound
Access and control the speaker volume
Speaker Selection - Speaker control
Home Cinema
External Equipment
Types of connectable equipment to each terminal
External Equipment
To listen with Home Theater
To play back
HDMI equipment
To watch DVDs
Camcorder / Game equipment
Headphones
USB devices
Camcorder / HDMI equipment
Channel Allocation
Technical Information
“Input signal that can be displayed” p
HDMI connection
Technical Information
Applicable HDMI features
Pin No. Signal Name
PC connection
Signal Name
Signal Name
PC from HDMI terminal
Input signal that can be displayed
COMPONENT Y, P B/C B, P R/C R, HDMI
PC from D-sub 15P
Stereo / Bilingual Sound Selection
Technical Information
C N N T
Technical Information
Media Player
Message
Meaning / Action
Image resolution
Photo
Video
Music
To show DivX VOD registration code
Regarding DivX content that can only be played a set number of times
DivX
Subtitle text file of DivX
This might be a problem of the media server. Read the manual of
USB connection
An internal error occurred
Check the settings. p. 47
Display panel, Cabinet, Pedestal
Maintenance
Maintenance
First, remove the mains plug from the socket outlet
Causes / Actions
FAQs
Problem
FAQs
contents
FAQs
Problem
Cannot access the Internet
Dimensions W × H × D
Specifications
Power Source
Power Rating
AUDIO OUTPUT
AV1 IN
AUDIO L - R
VIDEO
Model Number
Information on Disposal in other Countries outside the European Union
Customer’s Record
Web Site http//panasonic.net