Using the setup menu
This manual describe procedures for operating system controller
All setting configuration procedures start from the setup menu. This section explains how to display the setup menu and provides details about the menu items that it contains.
■Displaying the Setup Menu
●When using the WV-CU650
(1)Select the camera (this camera), and the monitor where displays the setup menu.
(2)Press the MENU button to display LCD MENU CAM 101.
(3)Press the ENTER button or CAM (SET) button to display CAMERA SETUP.
(4)Press the F1 button.
MODEL |
|
|
|
| ||||
CAMERA ID |
| OFF |
| q | ||||
| ||||||||
SCENE SELECT |
|
|
|
|
|
| ||
|
|
|
| e w | ||||
PRESET POSITION |
|
|
| |||||
|
|
| ||||||
AUTO TRACKING |
|
|
|
|
|
| ||
|
|
| t r | |||||
LANGUAGE |
|
|
|
|
| |||
|
|
|
|
| ||||
→ADVANCED SETUP ![]() y
y
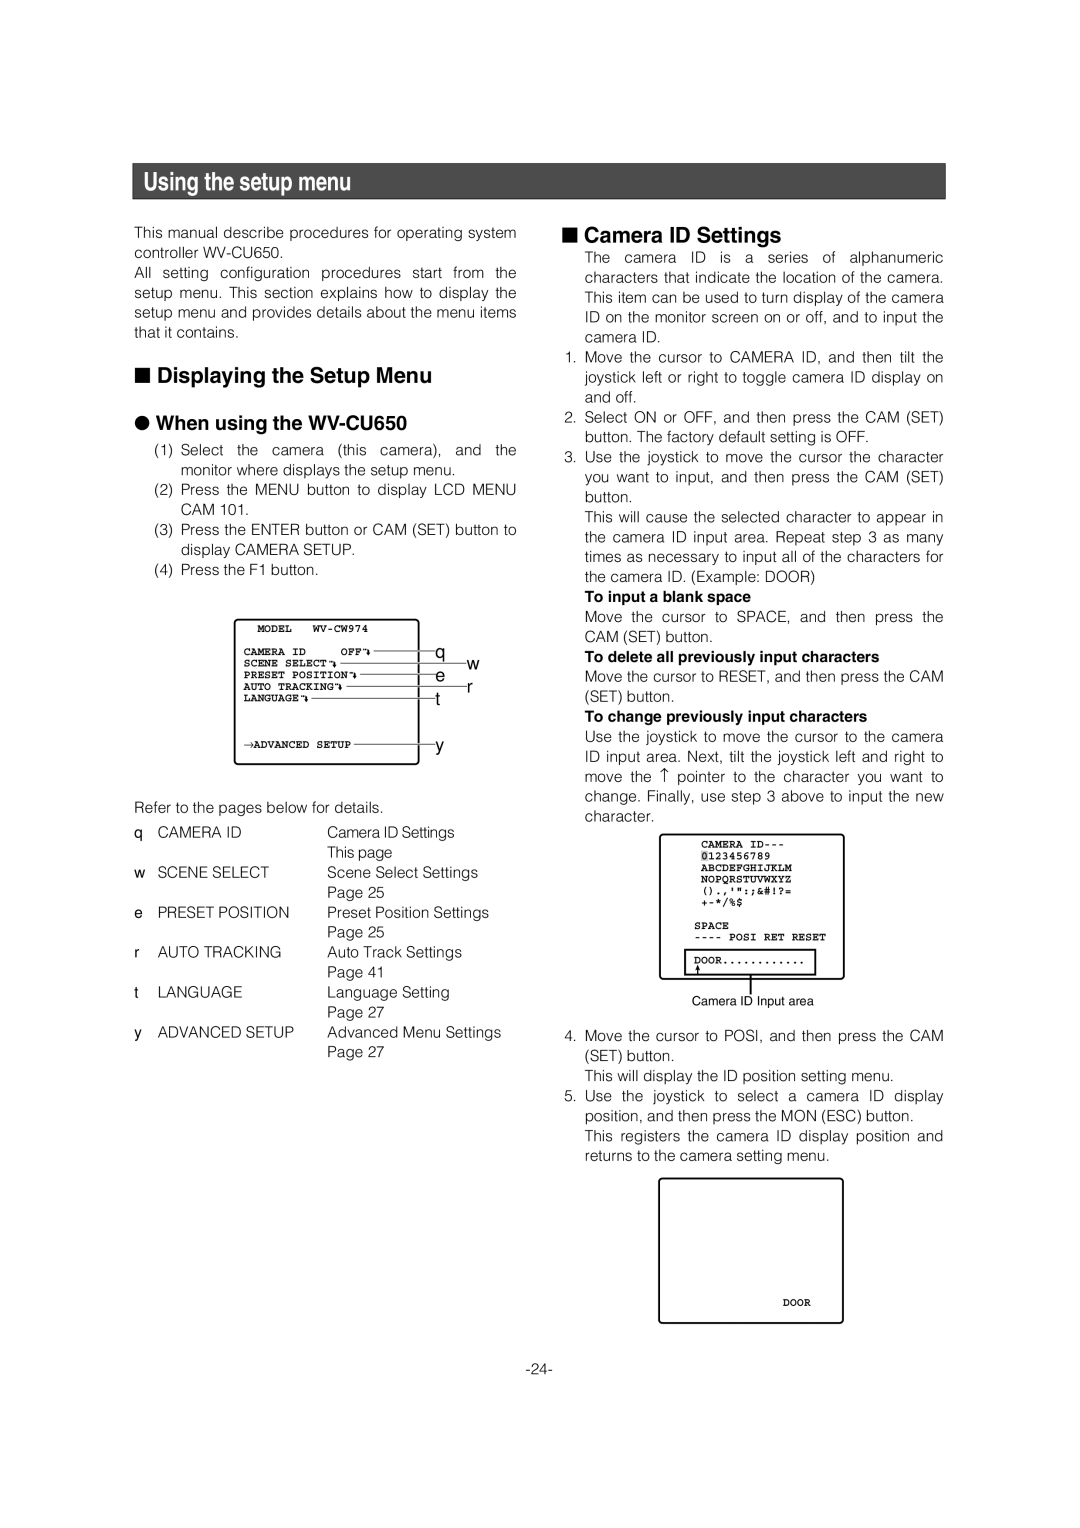
Refer to the pages below for details.
q CAMERA ID | Camera ID Settings |
| This page |
w SCENE SELECT | Scene Select Settings |
| Page 25 |
e PRESET POSITION | Preset Position Settings |
| Page 25 |
r AUTO TRACKING | Auto Track Settings |
| Page 41 |
t LANGUAGE | Language Setting |
| Page 27 |
y ADVANCED SETUP | Advanced Menu Settings |
| Page 27 |
■Camera ID Settings
The camera ID is a series of alphanumeric characters that indicate the location of the camera. This item can be used to turn display of the camera ID on the monitor screen on or off, and to input the camera ID.
1.Move the cursor to CAMERA ID, and then tilt the joystick left or right to toggle camera ID display on and off.
2.Select ON or OFF, and then press the CAM (SET) button. The factory default setting is OFF.
3.Use the joystick to move the cursor the character you want to input, and then press the CAM (SET) button.
This will cause the selected character to appear in the camera ID input area. Repeat step 3 as many times as necessary to input all of the characters for the camera ID. (Example: DOOR)
To input a blank space
Move the cursor to SPACE, and then press the CAM (SET) button.
To delete all previously input characters
Move the cursor to RESET, and then press the CAM (SET) button.
To change previously input characters
Use the joystick to move the cursor to the camera
ID input area. Next, tilt the joystick left and right to move the ↑ pointer to the character you want to
change. Finally, use step 3 above to input the new character.
CAMERA
0123456789 ABCDEFGHIJKLM NOPQRSTUVWXYZ ().,'":;&#!?=
SPACE
----POSI RET RESET DOOR............
Camera ID Input area
4.Move the cursor to POSI, and then press the CAM (SET) button.
This will display the ID position setting menu.
5.Use the joystick to select a camera ID display position, and then press the MON (ESC) button. This registers the camera ID display position and returns to the camera setting menu.
DOOR