PREINSTALLATION
f.After it has been determined that each appliance remaining connected to the common venting system properly vents when tested as outlined above, return doors, windows, exhaust fans, fireplace dampers and any other
g.Any improper operation of the common venting system should be corrected so the installation conforms with the current edition of the National Fuel Gas Code, ANSI Z223.1/NFPA 54 and/or CAN/CGA B149, Installation Codes. When resizing any portion of the common venting system, the common venting system should be resized to approach the minimum size as determined using the appropriate tables located in the chapter Sizing of Category I Venting Systems in the current edition of the National Fuel Gas Code, ANSI Z223.1/NFPA 54 and/or CAN/CGA B149, Installation Codes.
E.BOILER SETTING
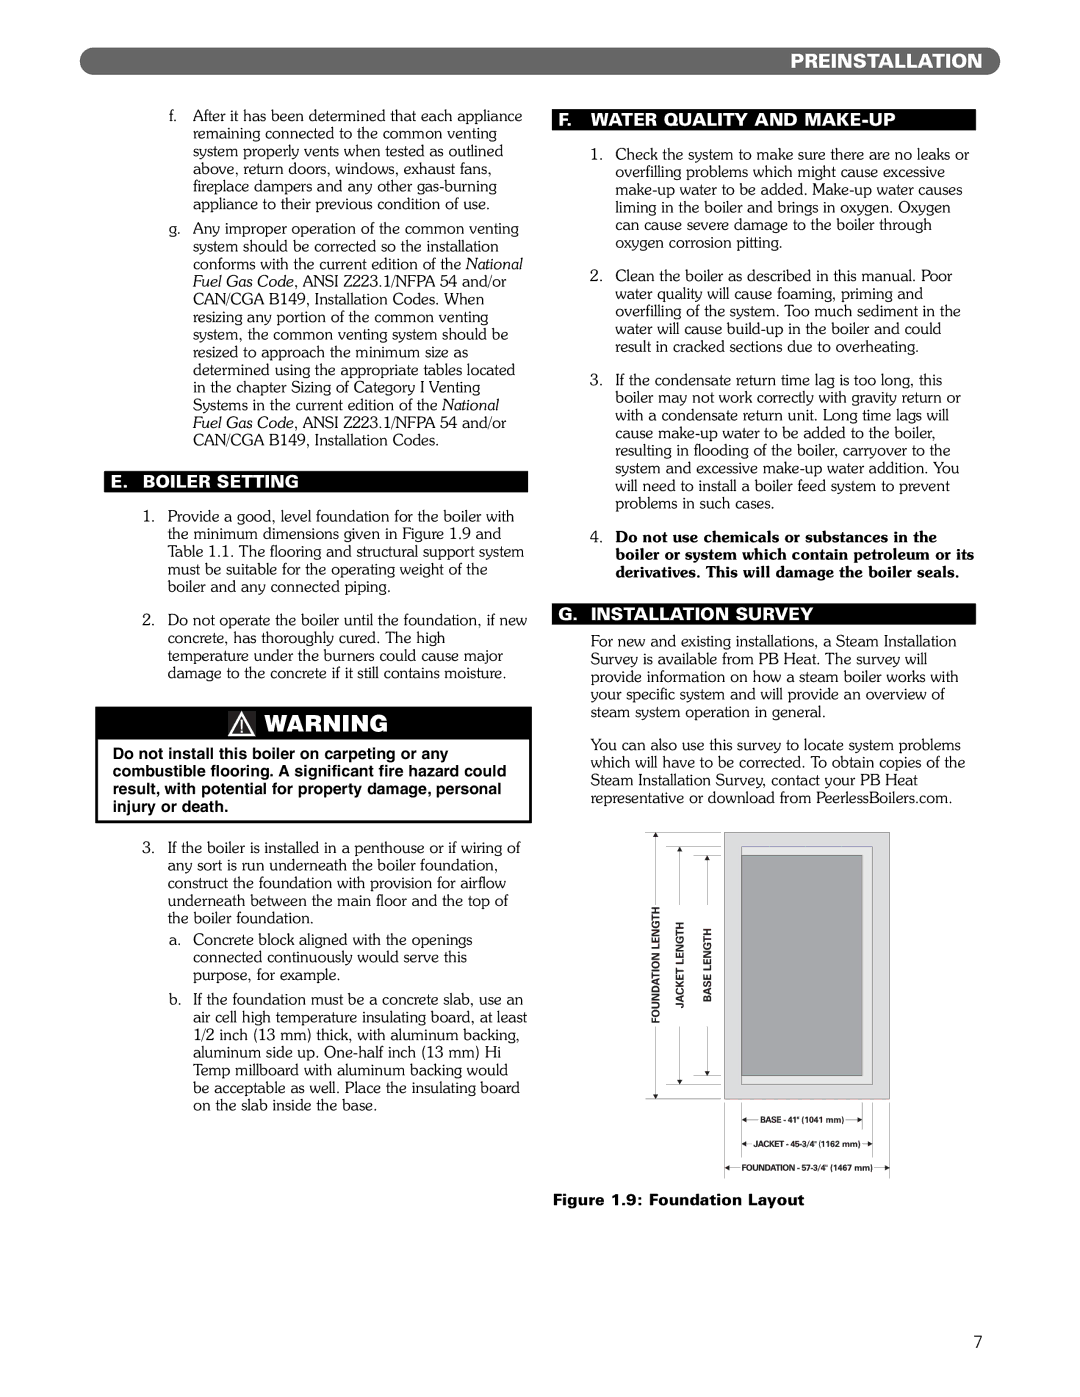
1.Provide a good, level foundation for the boiler with the minimum dimensions given in Figure 1.9 and Table 1.1. The flooring and structural support system must be suitable for the operating weight of the boiler and any connected piping.
2.Do not operate the boiler until the foundation, if new concrete, has thoroughly cured. The high temperature under the burners could cause major damage to the concrete if it still contains moisture.
![]() WARNING
WARNING
Do not install this boiler on carpeting or any combustible flooring. A significant fire hazard could result, with potential for property damage, personal injury or death.
3.If the boiler is installed in a penthouse or if wiring of any sort is run underneath the boiler foundation, construct the foundation with provision for airflow underneath between the main floor and the top of the boiler foundation.
a.Concrete block aligned with the openings connected continuously would serve this purpose, for example.
b.If the foundation must be a concrete slab, use an air cell high temperature insulating board, at least 1/2 inch (13 mm) thick, with aluminum backing, aluminum side up.
F.WATER QUALITY AND MAKE-UP
1.Check the system to make sure there are no leaks or overfilling problems which might cause excessive
2.Clean the boiler as described in this manual. Poor water quality will cause foaming, priming and overfilling of the system. Too much sediment in the water will cause
3.If the condensate return time lag is too long, this boiler may not work correctly with gravity return or with a condensate return unit. Long time lags will cause
4.Do not use chemicals or substances in the boiler or system which contain petroleum or its derivatives. This will damage the boiler seals.
G.INSTALLATION SURVEY
For new and existing installations, a Steam Installation Survey is available from PB Heat. The survey will provide information on how a steam boiler works with your specific system and will provide an overview of steam system operation in general.
You can also use this survey to locate system problems which will have to be corrected. To obtain copies of the Steam Installation Survey, contact your PB Heat representative or download from PeerlessBoilers.com.
Figure 1.9: Foundation Layout
7
