DD53CBW-X specifications
The Pelco DD53CBW-X is an advanced outdoor PTZ (pan-tilt-zoom) camera designed for high-performance surveillance in various environments. This model is part of Pelco's extensive lineup of security solutions, known for their durability and innovative technology.One of the standout features of the DD53CBW-X is its high-definition imaging capabilities. It boasts a 2-megapixel high-definition resolution, providing detailed images that are crucial for identifying subjects and capturing clear footage in demanding conditions. The camera supports multiple video streams, allowing users to access real-time monitoring while recording at different resolutions for more efficient bandwidth usage.
The DD53CBW-X incorporates a powerful optical zoom lens, offering up to 30x optical zoom. This feature enables users to focus on distant subjects without compromising image quality. The camera also supports digital zoom, enhancing its versatility in various surveillance scenarios. Whether monitoring a wide area or zooming in on specific details, this PTZ camera remains effective.
Another key aspect of the DD53CBW-X is its robust construction, designed for all-weather performance. It features an IP66 rating, ensuring it is dust-tight and can withstand heavy rain and other environmental challenges. This rugged design makes it suitable for deployment in outdoor settings, including parking lots, perimeters, and public spaces.
The camera is equipped with advanced low-light technology, allowing it to deliver clear images even in challenging lighting conditions. With features such as adaptive IR illumination, the DD53CBW-X can capture quality video in complete darkness, making it a reliable option for 24/7 surveillance.
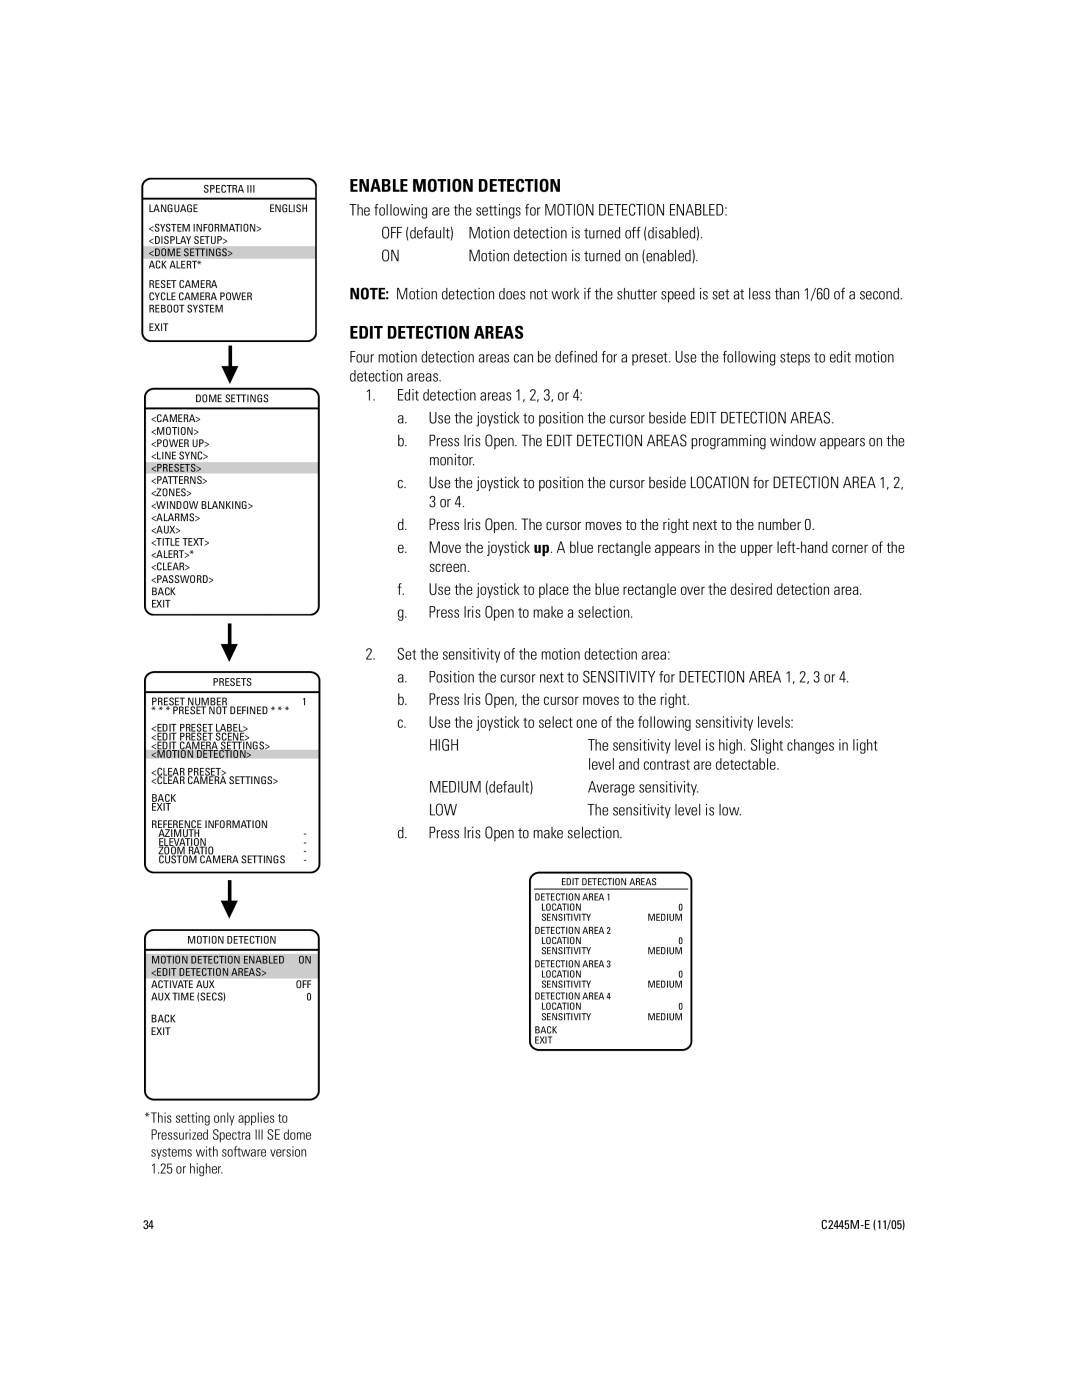
Additionally, the DD53CBW-X supports various network protocols for flexible integration into existing security systems. Its compatibility with ONVIF ensures that it can operate seamlessly with a wide range of software and video management systems. Furthermore, the camera offers intelligent analytics capabilities, including motion detection and line crossing alerts, which enhance security efforts by automating monitoring processes.
In summary, the Pelco DD53CBW-X is a high-performance PTZ camera that combines advanced imaging technology, rugged design, and intelligent features. Its versatility makes it suitable for a range of surveillance applications, ensuring comprehensive security solutions for both commercial and residential environments. With its focus on quality and reliability, the DD53CBW-X stands out as a top choice for modern surveillance needs.

