PARTITIONING THE DATA DISK
1.
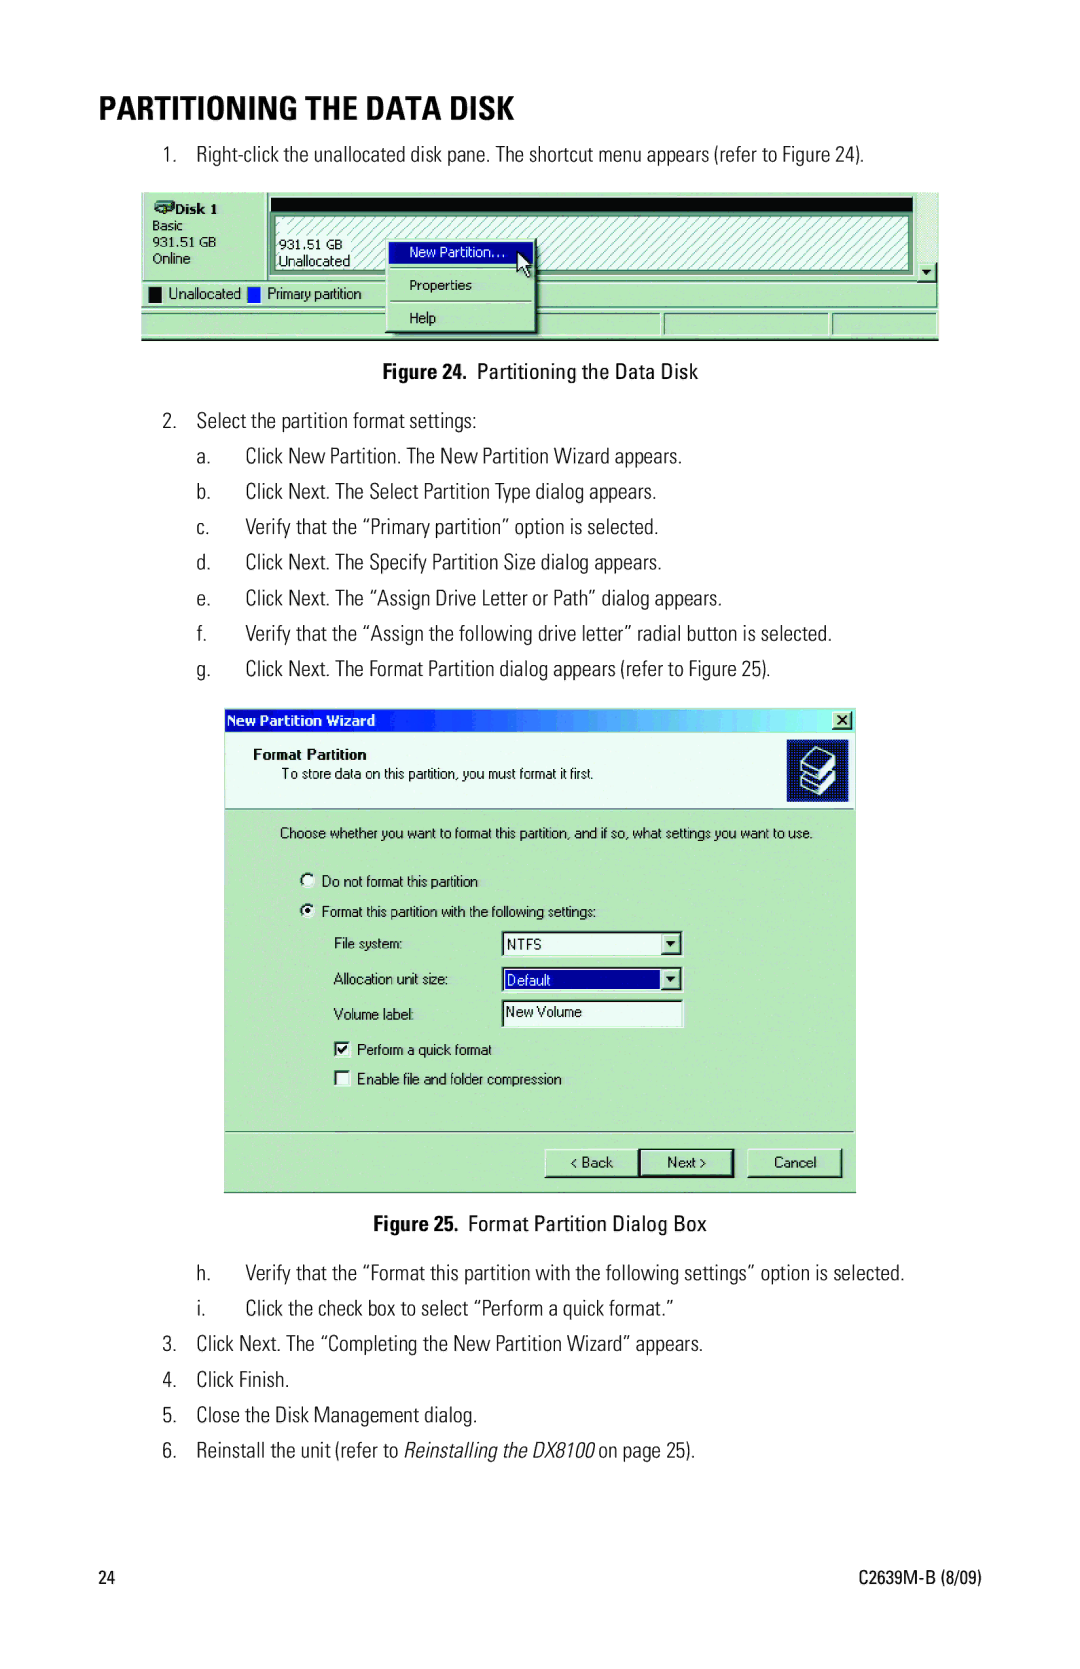
Figure 24. Partitioning the Data Disk
2.Select the partition format settings:
a.Click New Partition. The New Partition Wizard appears.
b.Click Next. The Select Partition Type dialog appears.
c.Verify that the “Primary partition” option is selected.
d.Click Next. The Specify Partition Size dialog appears.
e.Click Next. The “Assign Drive Letter or Path” dialog appears.
f.Verify that the “Assign the following drive letter” radial button is selected.
g.Click Next. The Format Partition dialog appears (refer to Figure 25).
Figure 25. Format Partition Dialog Box
h.Verify that the “Format this partition with the following settings” option is selected.
i.Click the check box to select “Perform a quick format.”
3.Click Next. The “Completing the New Partition Wizard” appears.
4.Click Finish.
5.Close the Disk Management dialog.
6.Reinstall the unit (refer to Reinstalling the DX8100 on page 25).
24 |
