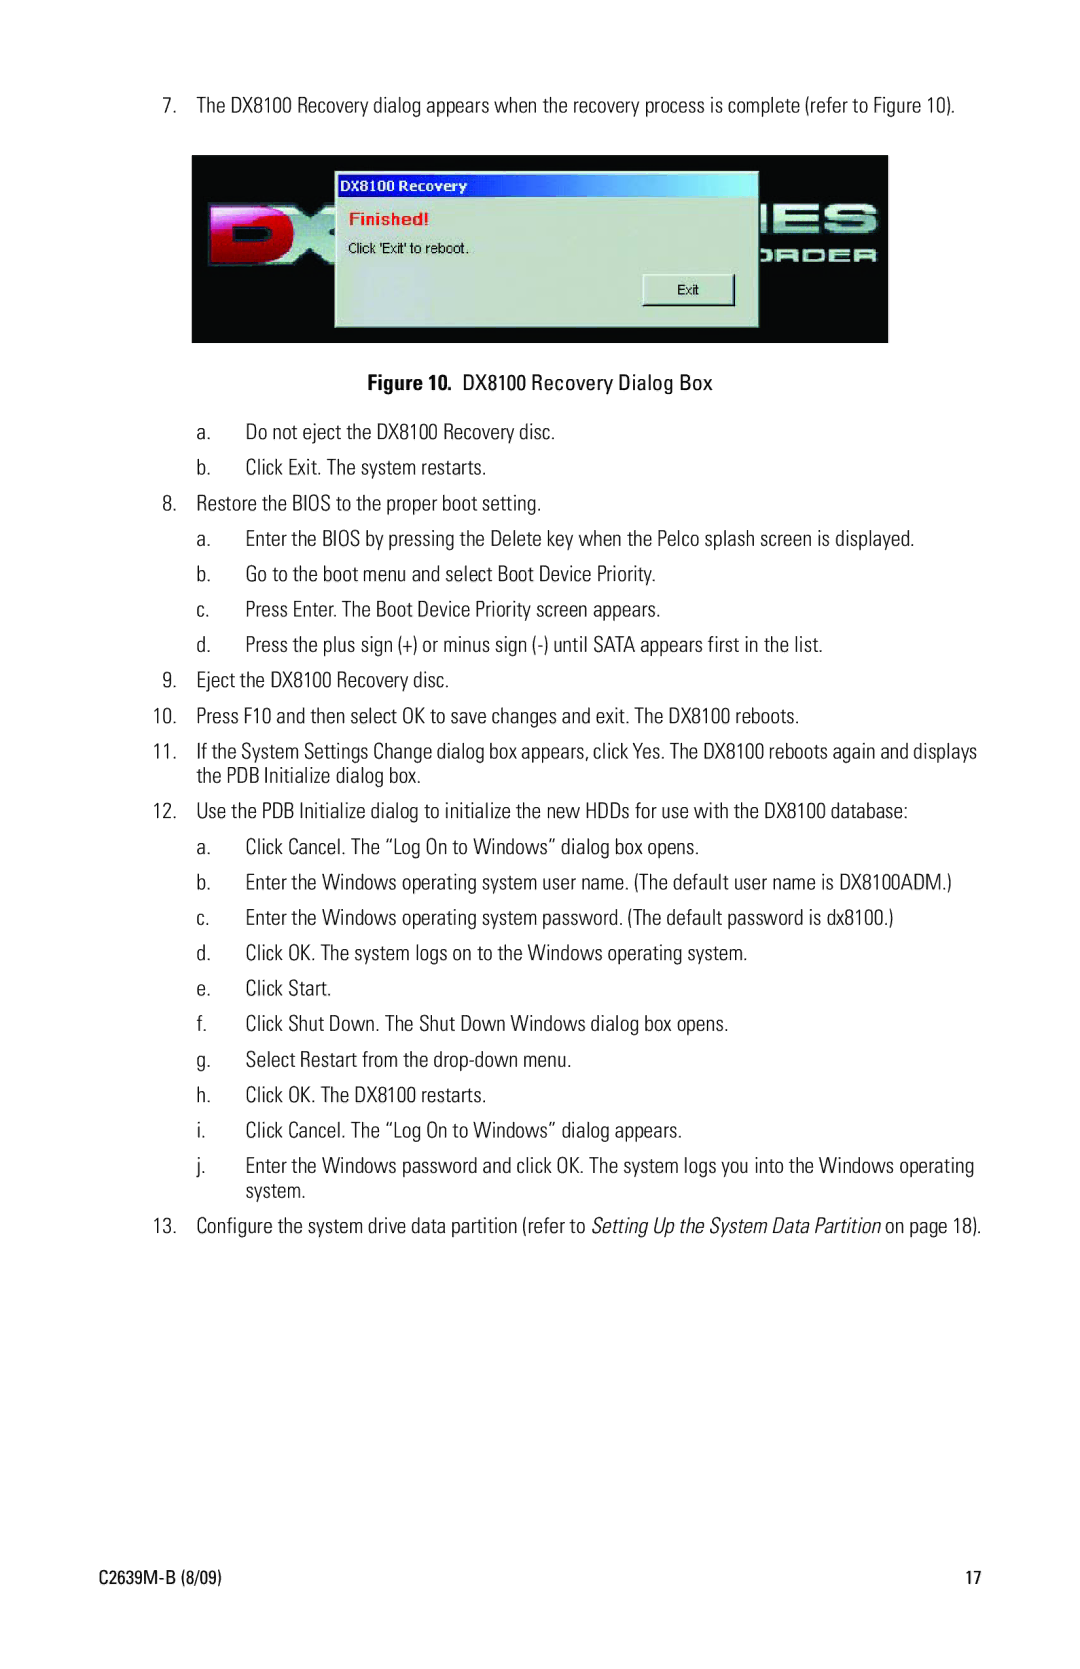
7. The DX8100 Recovery dialog appears when the recovery process is complete (refer to Figure 10).
Figure 10. DX8100 Recovery Dialog Box
a.Do not eject the DX8100 Recovery disc.
b.Click Exit. The system restarts.
8.Restore the BIOS to the proper boot setting.
a.Enter the BIOS by pressing the Delete key when the Pelco splash screen is displayed.
b.Go to the boot menu and select Boot Device Priority.
c.Press Enter. The Boot Device Priority screen appears.
d.Press the plus sign (+) or minus sign
9.Eject the DX8100 Recovery disc.
10.Press F10 and then select OK to save changes and exit. The DX8100 reboots.
11.If the System Settings Change dialog box appears, click Yes. The DX8100 reboots again and displays the PDB Initialize dialog box.
12.Use the PDB Initialize dialog to initialize the new HDDs for use with the DX8100 database:
a.Click Cancel. The “Log On to Windows” dialog box opens.
b.Enter the Windows operating system user name. (The default user name is DX8100ADM.)
c.Enter the Windows operating system password. (The default password is dx8100.)
d.Click OK. The system logs on to the Windows operating system.
e.Click Start.
f.Click Shut Down. The Shut Down Windows dialog box opens.
g.Select Restart from the
h.Click OK. The DX8100 restarts.
i.Click Cancel. The “Log On to Windows” dialog appears.
j.Enter the Windows password and click OK. The system logs you into the Windows operating system.
13.Configure the system drive data partition (refer to Setting Up the System Data Partition on page 18).
17 |