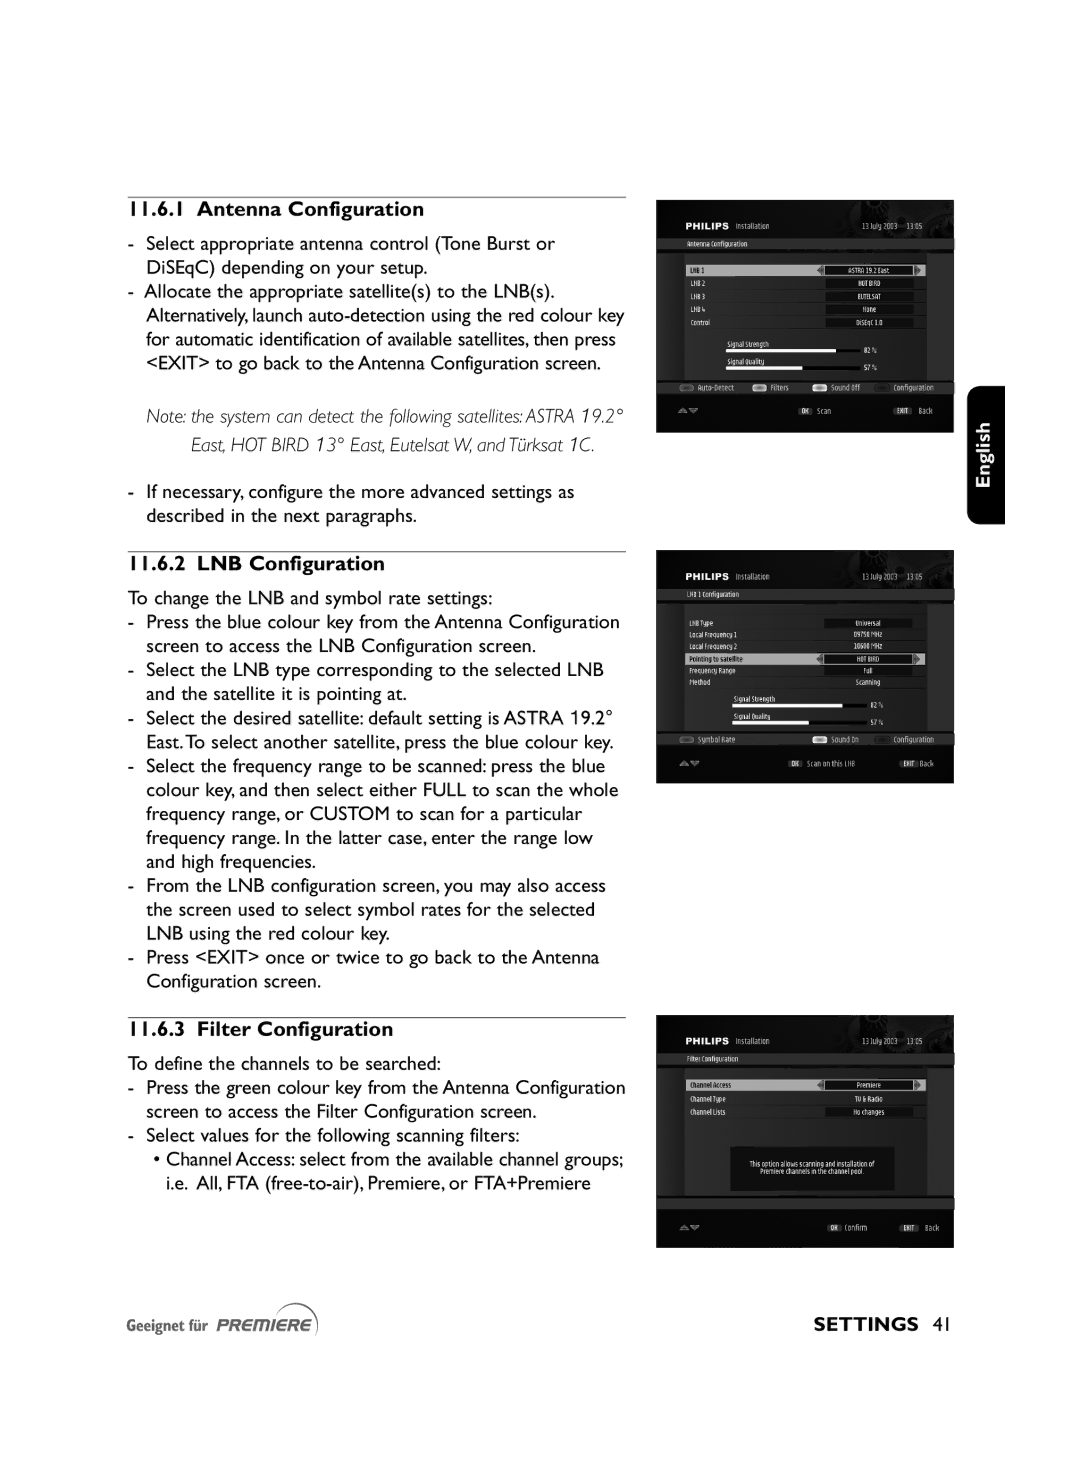
11.6.1 Antenna Configuration
-Select appropriate antenna control (Tone Burst or DiSEqC) depending on your setup.
-Allocate the appropriate satellite(s) to the LNB(s). Alternatively, launch
Note: the system can detect the following satellites: ASTRA 19.2° East, HOT BIRD 13° East, Eutelsat W, and Türksat 1C.
-If necessary, configure the more advanced settings as described in the next paragraphs.
11.6.2 LNB Configuration
To change the LNB and symbol rate settings:
-Press the blue colour key from the Antenna Configuration screen to access the LNB Configuration screen.
-Select the LNB type corresponding to the selected LNB and the satellite it is pointing at.
-Select the desired satellite: default setting is ASTRA 19.2° East.To select another satellite, press the blue colour key.
-Select the frequency range to be scanned: press the blue colour key, and then select either FULL to scan the whole frequency range, or CUSTOM to scan for a particular frequency range. In the latter case, enter the range low and high frequencies.
-From the LNB configuration screen, you may also access the screen used to select symbol rates for the selected LNB using the red colour key.
-Press <EXIT> once or twice to go back to the Antenna Configuration screen.
11.6.3 Filter Configuration
To define the channels to be searched:
-Press the green colour key from the Antenna Configuration screen to access the Filter Configuration screen.
-Select values for the following scanning filters:
•Channel Access: select from the available channel groups; i.e. All, FTA
English