EN Getting your baby monitor ready for use
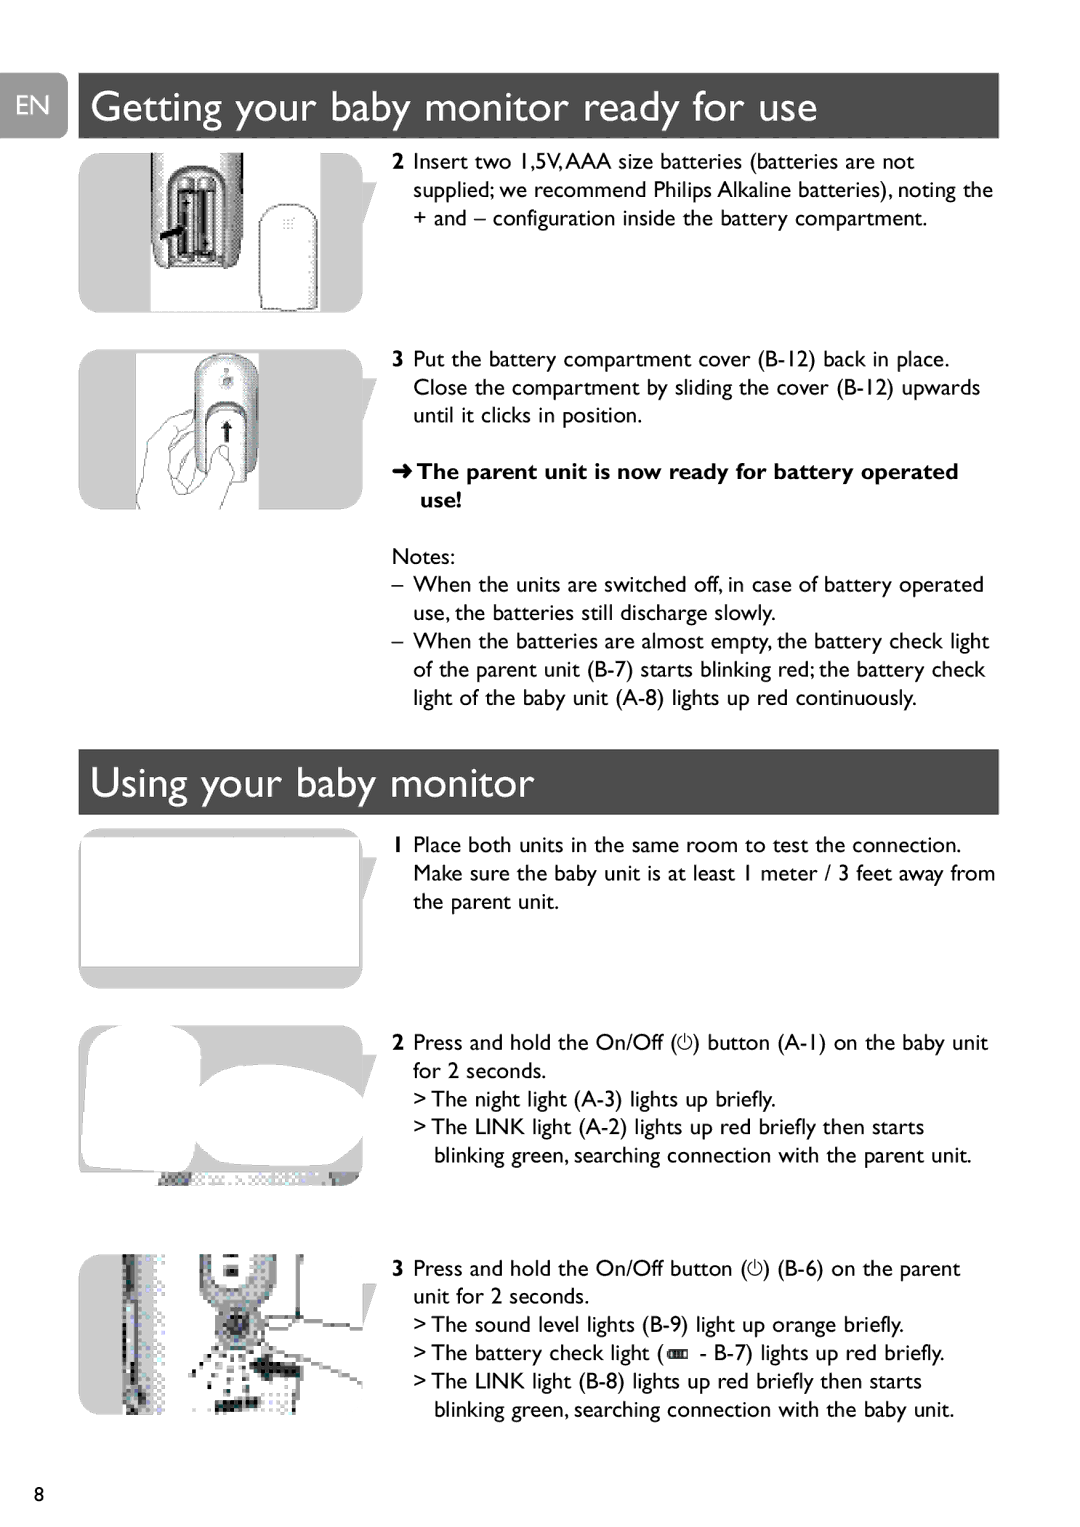
2Insert two 1,5V,AAA size batteries (batteries are not supplied; we recommend Philips Alkaline batteries), noting the + and – configuration inside the battery compartment.
3Put the battery compartment cover
➜The parent unit is now ready for battery operated use!
Notes:
–When the units are switched off, in case of battery operated use, the batteries still discharge slowly.
–When the batteries are almost empty, the battery check light of the parent unit
Using your baby monitor
1Place both units in the same room to test the connection. Make sure the baby unit is at least 1 meter / 3 feet away from the parent unit.
2Press and hold the On/Off (y) button
>The night light
>The LINK light
3Press and hold the On/Off button (y)
>The sound level lights
>The battery check light ( ![]() -
-
>The LINK light
8