Using the Power Features
Creating and Editing Timers
Adding a Timer
1Tap and hold the ProntoPro NG icon ![]() in the upper left corner of the touch screen for 3 seconds. The Tools Menu appears.
in the upper left corner of the touch screen for 3 seconds. The Tools Menu appears.
2Tap ![]() in the Tools Menu.
in the Tools Menu.
The ‘Timer Tool’ information screen appears.
3Tap ![]() .
.
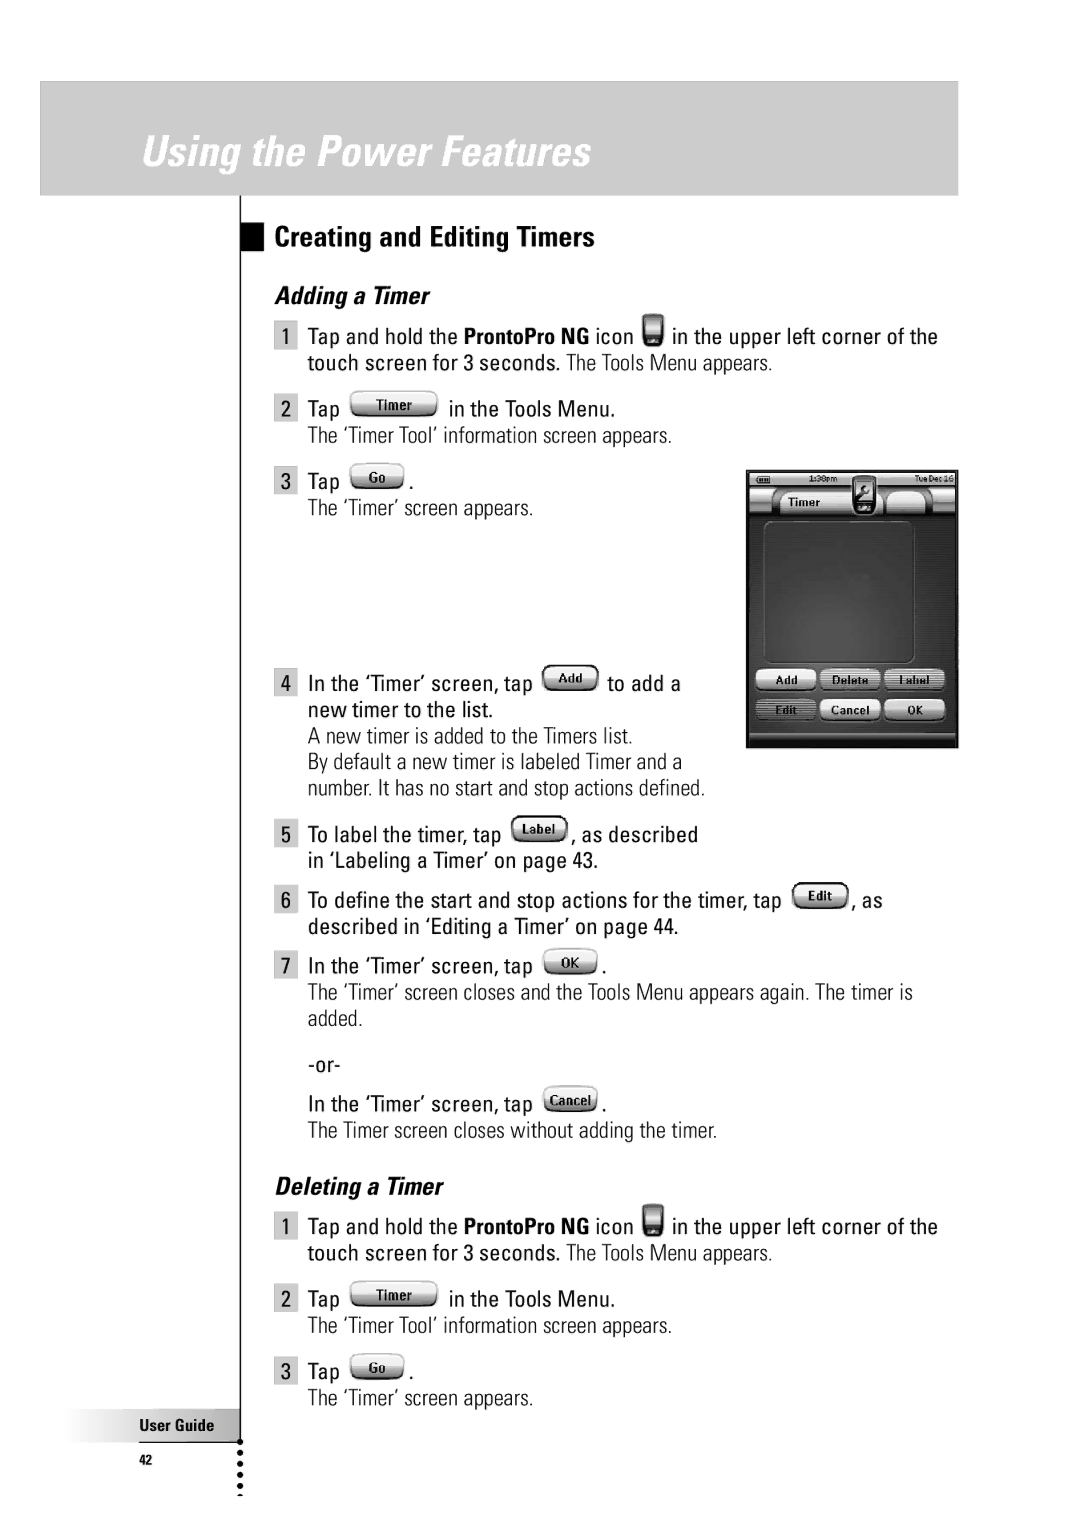
The ‘Timer’ screen appears.
4In the ‘Timer’ screen, tap ![]() to add a new timer to the list.
to add a new timer to the list.
A new timer is added to the Timers list.
By default a new timer is labeled Timer and a number. It has no start and stop actions defined.
5To label the timer, tap ![]() , as described in ‘Labeling a Timer’ on page 43.
, as described in ‘Labeling a Timer’ on page 43.
6To define the start and stop actions for the timer, tap ![]() , as described in ‘Editing a Timer’ on page 44.
, as described in ‘Editing a Timer’ on page 44.
7In the ‘Timer’ screen, tap ![]() .
.
The ‘Timer’ screen closes and the Tools Menu appears again. The timer is added.
In the ‘Timer’ screen, tap ![]() .
.
The Timer screen closes without adding the timer.
Deleting a Timer
1Tap and hold the ProntoPro NG icon ![]() in the upper left corner of the touch screen for 3 seconds. The Tools Menu appears.
in the upper left corner of the touch screen for 3 seconds. The Tools Menu appears.
2Tap ![]() in the Tools Menu.
in the Tools Menu.
The ‘Timer Tool’ information screen appears.
3Tap ![]() .
.
The ‘Timer’ screen appears.
User Guide |
42 |