The insert functions
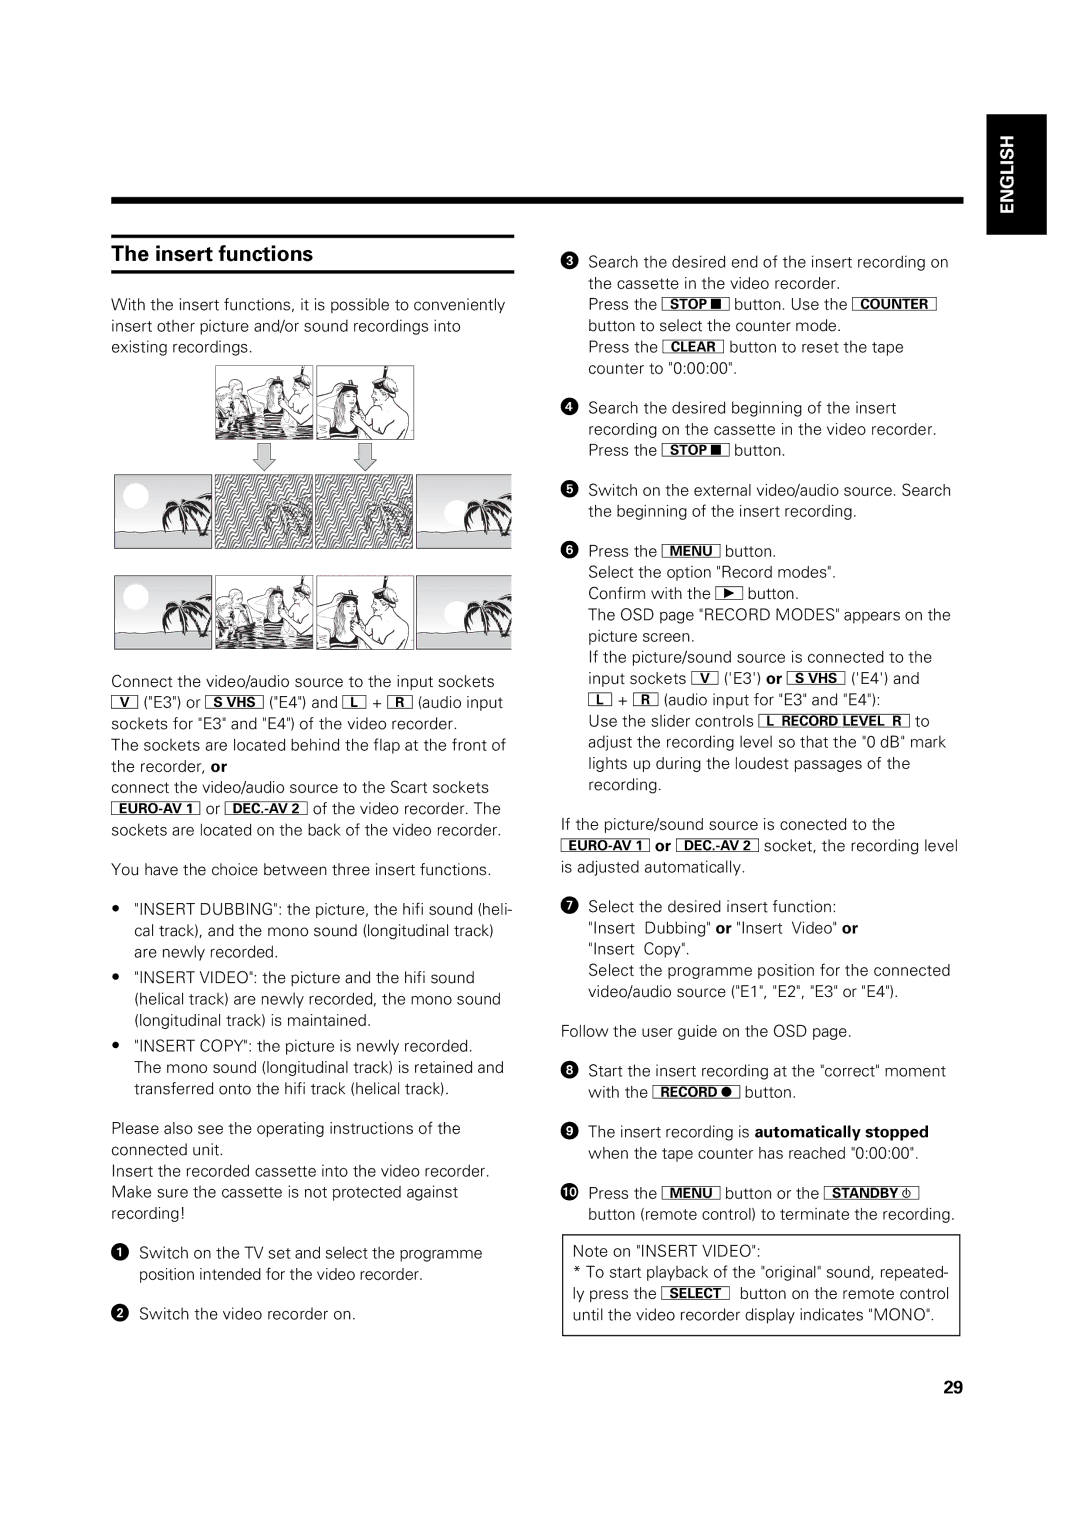
With the insert functions, it is possible to conveniently insert other picture and/or sound recordings into existing recordings.
Connect the video/audio source to the input sockets
©("E3") or ("E4") and »+ ¼(audio input sockets for "E3" and "E4") of the video recorder.
The sockets are located behind the flap at the front of the recorder, or
connect the video/audio source to the Scart sockets
tor uof the video recorder. The sockets are located on the back of the video recorder.
You have the choice between three insert functions.
•"INSERT DUBBING": the picture, the hifi sound (heli- cal track), and the mono sound (longitudinal track) are newly recorded.
•"INSERT VIDEO": the picture and the hifi sound (helical track) are newly recorded, the mono sound (longitudinal track) is maintained.
•"INSERT COPY": the picture is newly recorded. The mono sound (longitudinal track) is retained and transferred onto the hifi track (helical track).
Please also see the operating instructions of the connected unit.
Insert the recorded cassette into the video recorder. Make sure the cassette is not protected against recording!
!Switch on the TV set and select the programme position intended for the video recorder.
"Switch the video recorder on.
ENGLISH
¤Search the desired end of the insert recording on the cassette in the video recorder.
Press the rbutton. Use the s button to select the counter mode.
Press the mbutton to reset the tape counter to "0:00:00".
$Search the desired beginning of the insert recording on the cassette in the video recorder. Press the rbutton.
%Switch on the external video/audio source. Search the beginning of the insert recording.
&Press the lbutton.
Select the option "Record modes". Confirm with the Gbutton.
The OSD page "RECORD MODES" appears on the picture screen.
If the picture/sound source is connected to the
input sockets ©('E3') or | ('E4') and |
»+ ¼(audio input for "E3" and "E4"):
Use the slider controls {}to adjust the recording level so that the "0 dB" mark lights up during the loudest passages of the recording.
If the picture/sound source is conected to the
tor usocket, the recording level is adjusted automatically.
/Select the desired insert function: "Insert Dubbing" or "Insert Video" or "Insert Copy".
Select the programme position for the connected video/audio source ("E1", "E2", "E3" or "E4").
Follow the user guide on the OSD page.
(Start the insert recording at the "correct" moment with the gbutton.
)The insert recording is automatically stopped when the tape counter has reached "0:00:00".
<: Press the lbutton or the d button (remote control) to terminate the recording.
Note on "INSERT VIDEO":
*To start playback of the "original" sound, repeated- ly press the pbutton on the remote control until the video recorder display indicates "MONO".
29