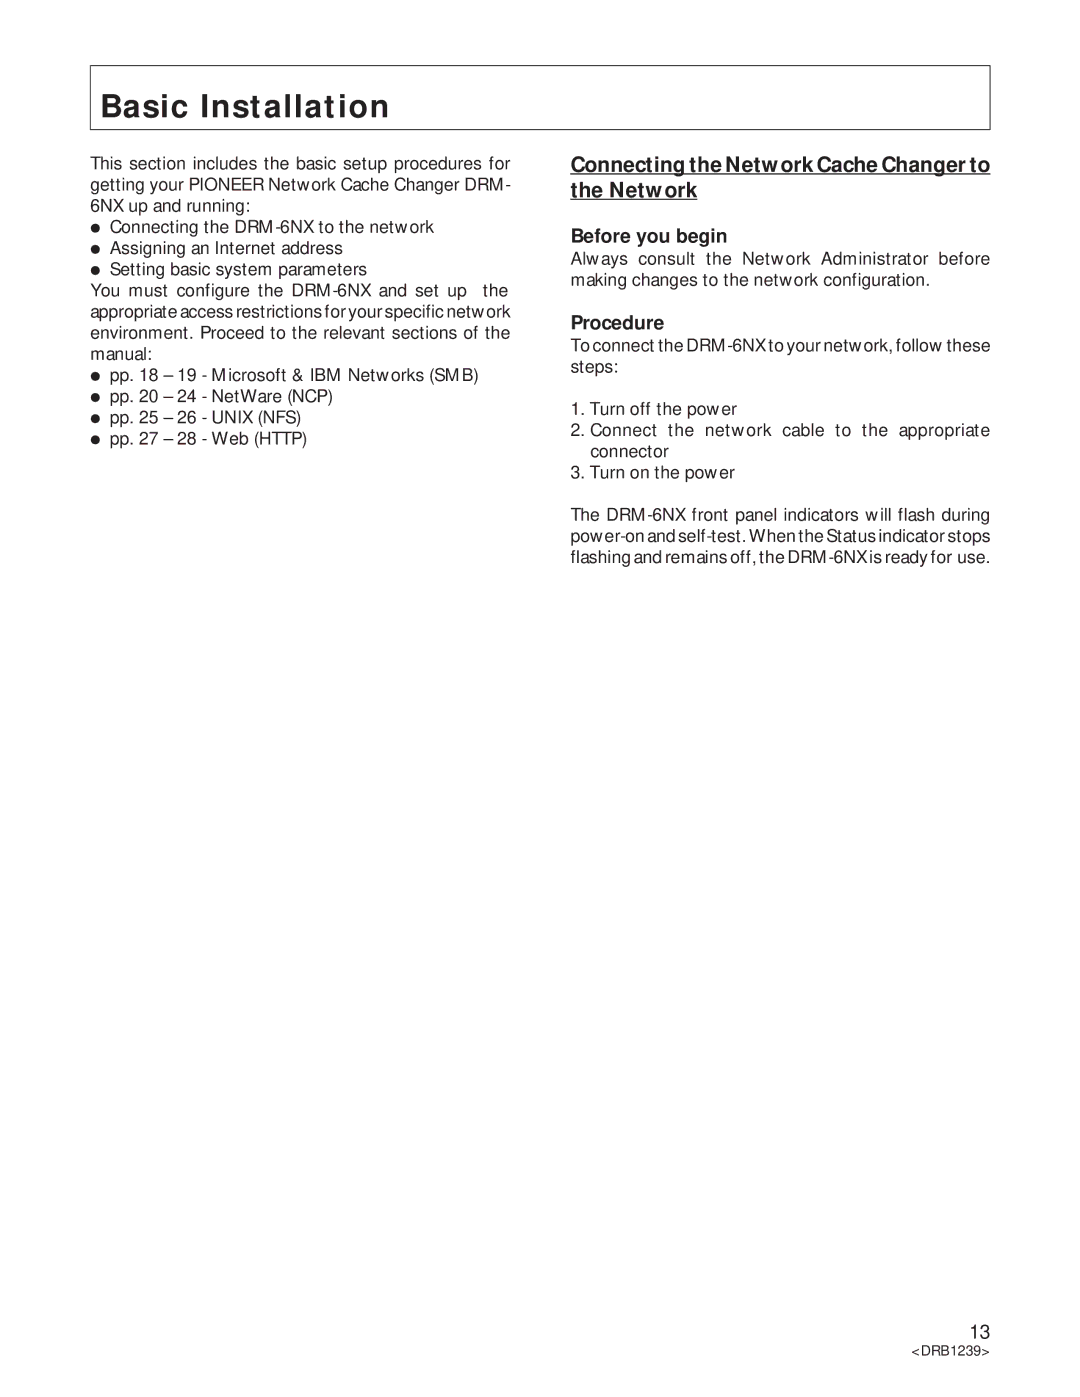
DRM-6NX specifications
The Pioneer DRM-6NX is an innovative audio component that combines advanced technology, high-quality construction, and a sleek design, making it an ideal choice for audiophiles and regular listeners alike. This product is part of Pioneer’s ongoing commitment to delivering superior sound quality and robust performance.At the heart of the DRM-6NX is its digital-to-analog converter (DAC) technology, which enhances audio clarity and reduces distortion. This component supports high-resolution audio formats, allowing users to enjoy music with greater detail and precision. The DAC works synergistically with various inputs—including USB, optical, and coaxial—providing versatility for different audio sources. The incorporation of this tech ensures that even the most intricate soundscapes are faithfully reproduced.
One of the standout features of the Pioneer DRM-6NX is its network connectivity, which allows for seamless integration with modern streaming services. Users can easily connect to popular platforms such as Spotify, Tidal, and others, ensuring a diverse library of music at their fingertips. Furthermore, the unit supports Wi-Fi and Bluetooth connectivity, enabling wireless streaming directly from smartphones and tablets.
The built-in equalizer and various sound modes significantly enhance customization, allowing listeners to adjust audio settings to their preferences. The adjustable settings provide an opportunity to tailor sound profiles depending on the genre of music or listening environment.
Moreover, the Pioneer DRM-6NX incorporates high-quality build materials, ensuring durability and longevity. The chassis is designed to minimize resonance and vibration, resulting in cleaner sound output. The intuitive user interface, complete with a clear display, makes navigation straightforward, allowing users to easily switch between sources and alter settings.
In terms of expansion, the Pioneer DRM-6NX offers multiple output options to connect with other audio devices, including powered speakers and subwoofers, making it a flexible addition to any sound system. This adaptability caters to users looking to create a more extensive audio setup.
Overall, the Pioneer DRM-6NX exemplifies a convergence of cutting-edge technology and premium audio performance. Its rich feature set, coupled with a user-friendly design, positions it as an excellent choice for those looking to elevate their audio experience. Whether for casual listening or serious audiophile use, the DRM-6NX stands out as a remarkable option in today’s audio market.
