Pioneer VSX-72TXV, VSX-74TXVI manual Using other functions, Making an audio or a video recording

Models: VSX-72TXV VSX-74TXVi-S VSX-72TXV-S VSX-74TXVI

1 88
Download 88 pages 61.46 Kb
Page 65
Image 65

Using other functions

10

Setting

What it does

Option(s)

Contrast

Adjusts the contrast between light

–10 to +10


and dark.

Default: 0


Hue

Adjusts the red/green balance.

–10 to +10


Default: 0


a.Only when listening to 2-channel sources in Dolby Pro Logic IIx Music mode (also available with 2 Pro Logic II 5.1 channel sound).

b.Only when listening to 2-channel sources in Neo:6 Music mode.

c.You shouldn't have any problems using this with most SACD discs, but if the sound distorts, it is best to switch the gain setting back to 0dB.

3 Prepare the recorder.

Insert a blank tape, MD, video etc. into the recording device and set the recording levels.

Refer to the instructions that came with the recorder if you are unsure how to do this. Most video recorders set the audio recording level automatically—check the component's instruction manual if you're unsure.

4Start recording, then start playback of the source component.

Making an audio or a video recording

You can make an audio or a video recording from the built-in tuner, or from an audio or video source

connected to the receiver (such as a CD player or TV). 1

Keep in mind you can't make a digital recording from an analog source or vice-versa, so make sure the components you are recording to/from are hooked up in the same way (see Connecting your equipment on page 10 for more on connections).

You can record using different video connections interchangeably, but you won’t be able to record sources connected to the HDMI input. See About the video converter on page 11 for more on this.

For more information about video connections, see Connecting a DVD/HDD recorder, VCR and other video sources on page 13.

RECEIVER INPUT

SYSTEM OFF

SOURCE

SELECT


CD

TV

VIDEO 2


DVD

SAT

VIDEO1

TVCONT

DVR2

CD-R

XMRADIO

ROOM2/3

DVR1

iPod

TUNER

RECEIVER

1 Select the source you want to record.

Use the input source buttons (or INPUT SELECT).

Playing a different source when recording

Using this receiver, it’s possible to listen to a different source than the one you’re recording.

SPEAKERS


(TUNE +)


BAND

MULTI – ROOM &

VIDEO

SIGNAL

SBch


SOURCE/REC SEL

STEREO


CONTROL ON/OFF

SELECT

SELECT

PROCESSING


AV


TUNER


PARAMETER


EDIT


VIDEO/GAME 2 INPUT


PHONES

(ST –)

ENTER

(ST +)

MCACC


SETUP MIC


SETUP


RETURN


(TUNE –)


DIGITAL IN

S-VIDEO

VIDEO

L AUDIO

R

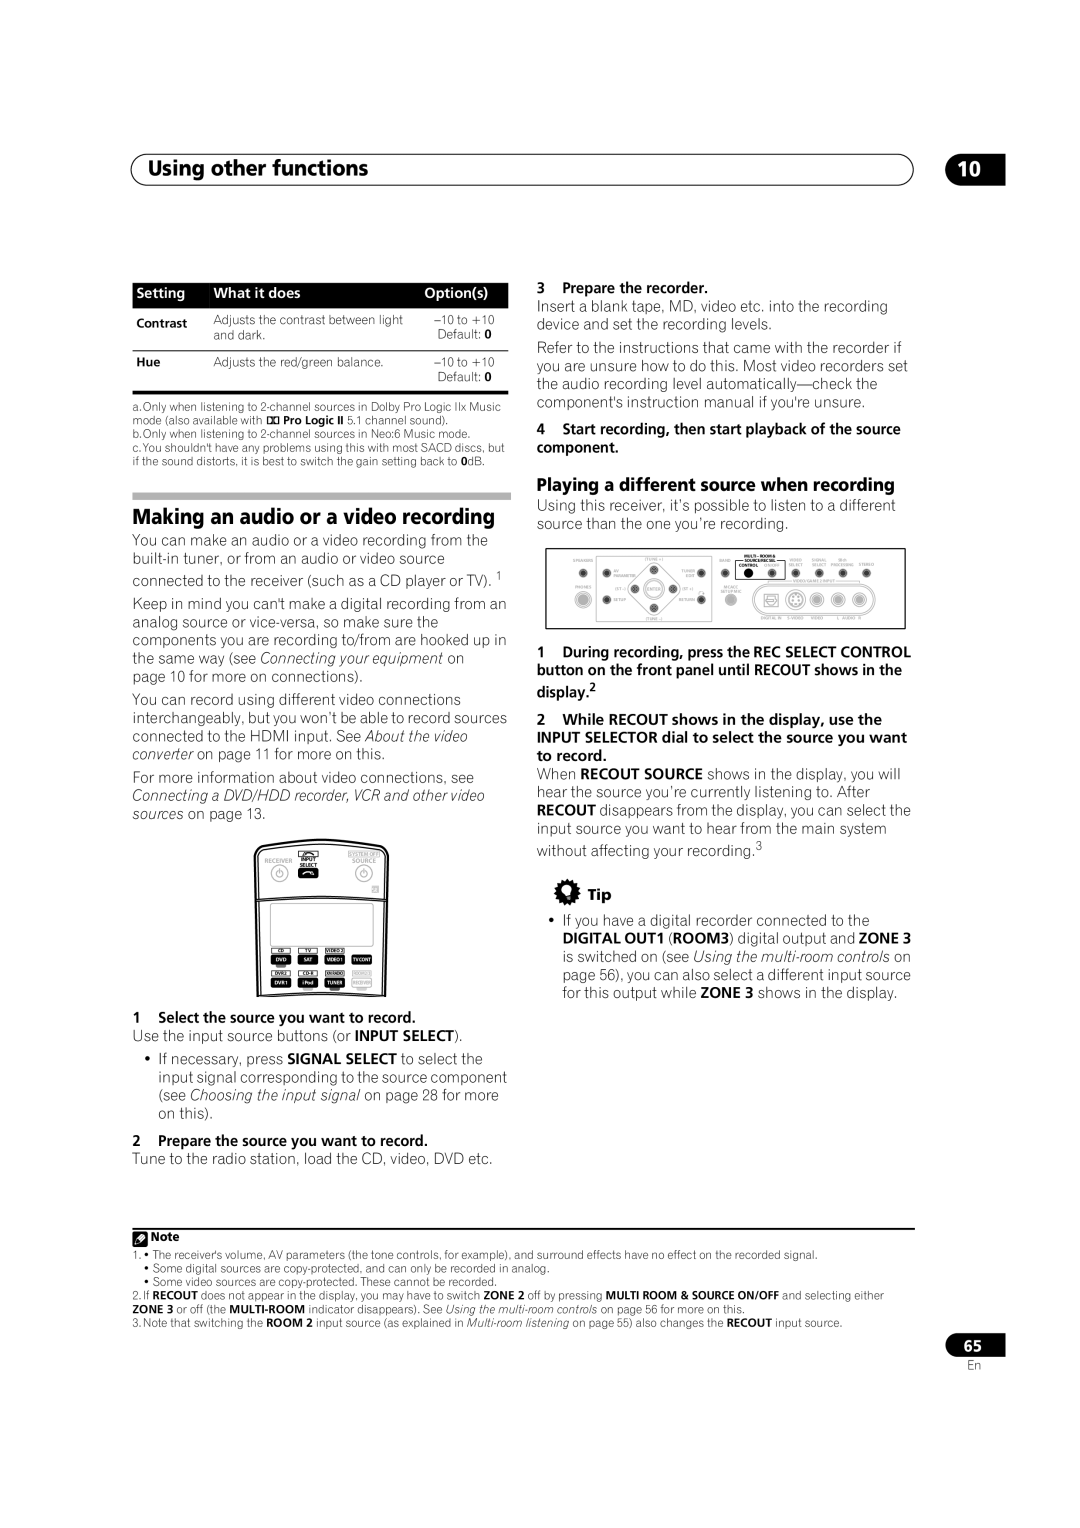
1During recording, press the REC SELECT CONTROL button on the front panel until RECOUT shows in the display.2

2While RECOUT shows in the display, use the

INPUT SELECTOR dial to select the source you want to record.

When RECOUT SOURCE shows in the display, you will hear the source you’re currently listening to. After RECOUT disappears from the display, you can select the input source you want to hear from the main system without affecting your recording.3

Tip

If you have a digital recorder connected to the DIGITAL OUT1 (ROOM3) digital output and ZONE 3 is switched on (see Using the multi-room controls on page 56), you can also select a different input source for this output while ZONE 3 shows in the display.

If necessary, press SIGNAL SELECT to select the input signal corresponding to the source component (see Choosing the input signal on page 28 for more on this).

2 Prepare the source you want to record.

Tune to the radio station, load the CD, video, DVD etc.

Note

1.• The receiver's volume, AV parameters (the tone controls, for example), and surround effects have no effect on the recorded signal.

Some digital sources are copy-protected, and can only be recorded in analog.

Some video sources are copy-protected. These cannot be recorded.

2.If RECOUT does not appear in the display, you may have to switch ZONE 2 off by pressing MULTI ROOM & SOURCE ON/OFF and selecting either ZONE 3 or off (the MULTI-ROOMindicator disappears). See Using the multi-room controls on page 56 for more on this.

3.Note that switching the ROOM 2 input source (as explained in Multi-room listening on page 55) also changes the RECOUT input source.

65

En

Page 65
Image 65
Pioneer VSX-72TXV Using other functions, Making an audio or a video recording, Playing a different source when recording

VSX-72TXV, VSX-74TXVi-S, VSX-72TXV-S, VSX-74TXVI specifications

The Pioneer VSX-74TXVi and VSX-72TXV series are renowned for their exceptional sound quality and versatile features, making them a popular choice among audio enthusiasts and home theater aficionados. These models stand out for their advanced technologies and comprehensive functionalities, catering to both music and movie lovers.

The VSX-74TXVi is a high-performance receiver that supports a wide range of audio formats and provides impressive connectivity options. One of its main features is the incorporation of Dolby TrueHD and DTS-HD Master Audio decoding, allowing users to experience studio-quality sound. The model also supports multi-channel audio setups, making it ideal for immersive 7.1 surround sound environments. The Automatic MCACC (Multi-Channel Acoustic Calibration System) optimizes the sound based on the room's acoustic characteristics, enhancing the overall listening experience.

On the other hand, the VSX-72TXV-S offers many similar features but focuses on delivering high-definition audio and video. With support for HDMI inputs, it facilitates easy switching between multiple HD sources while maintaining top-notch audio quality. The inclusion of 1080p video upscaling allows users to enjoy standard-definition content in much higher resolutions, enhancing picture clarity for a better viewing experience.

Both models boast Zone 2 and Zone 3 capabilities, enabling audio distribution to different areas of a home, thus providing flexibility for playing music in various rooms. They also feature a user-friendly interface with an on-screen display, allowing users to navigate through options with ease.

In addition to robust audio performance, these Pioneers are designed with a focus on aesthetic appeal and durability. Their sleek designs make them an elegant addition to any entertainment setup. The VSX-74TXVi and VSX-72TXV also include built-in amplifier technologies, ensuring efficient power delivery and reliable performance over extended periods.

The VSX series exemplifies Pioneer's commitment to quality and innovation, providing features that enhance the home entertainment experience while ensuring compatibility with modern technologies. Overall, these models embody a combination of versatility, high fidelity, and user-friendly functionality, making them standout choices for any home theater system.