User’s Guide for the Polycom PowerCam Presenter
Camera Movement Issues
Symptom | Problem | Corrective Action |
|
|
| |||
|
|
|
|
|
| |||
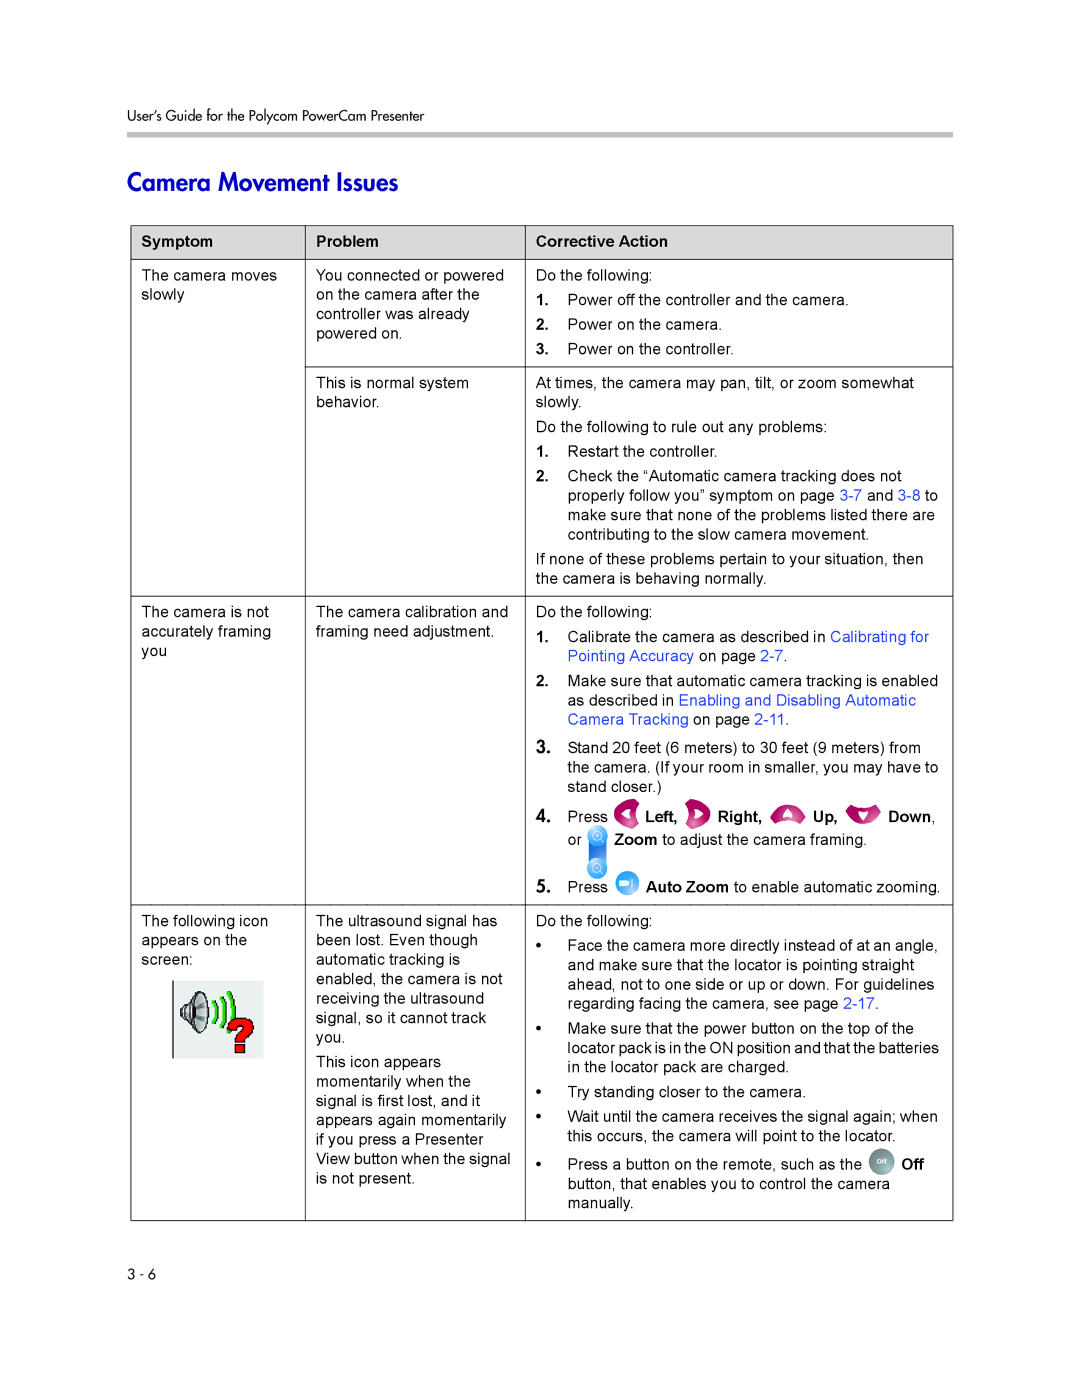
The camera moves | You connected or powered | Do the following: |
|
|
| |||
slowly | on the camera after the | 1. | Power off the controller and the camera. |
| ||||
| controller was already |
| ||||||
| 2. | Power on the camera. |
|
| ||||
| powered on. |
|
| |||||
| 3. | Power on the controller. |
|
| ||||
|
|
|
| |||||
|
|
| ||||||
| This is normal system | At times, the camera may pan, tilt, or zoom somewhat | ||||||
| behavior. | slowly. |
|
|
|
| ||
|
| Do the following to rule out any problems: |
| |||||
|
| 1. | Restart the controller. |
|
| |||
|
| 2. | Check the “Automatic camera tracking does not | |||||
|
|
| properly follow you” symptom on page | |||||
|
|
| make sure that none of the problems listed there are | |||||
|
|
| contributing to the slow camera movement. |
| ||||
|
| If none of these problems pertain to your situation, then | ||||||
|
| the camera is behaving normally. |
|
| ||||
|
|
|
|
|
| |||
The camera is not | The camera calibration and | Do the following: |
|
|
| |||
accurately framing | framing need adjustment. | 1. | Calibrate the camera as described in Calibrating for | |||||
you |
| |||||||
|
| Pointing Accuracy on page |
|
| ||||
|
|
|
|
| ||||
|
| 2. | Make sure that automatic camera tracking is enabled | |||||
|
|
| as described in Enabling and Disabling Automatic | |||||
|
|
| Camera Tracking on page |
|
| |||
|
| 3. | Stand 20 feet (6 meters) to 30 feet (9 meters) from | |||||
|
|
| the camera. (If your room in smaller, you may have to | |||||
|
|
| stand closer.) |
|
|
| ||
|
| 4. | Press | Left, | Right, | Up, | Down, | |
|
|
| or | Zoom to adjust the camera framing. |
| |||
|
| 5. | Press | Auto Zoom to enable automatic zooming. | ||||
|
|
|
|
|
| |||
The following icon | The ultrasound signal has | Do the following: |
|
|
| |||
appears on the | been lost. Even though | • | Face the camera more directly instead of at an angle, | |||||
screen: | automatic tracking is | |||||||
| and make sure that the locator is pointing straight | |||||||
| enabled, the camera is not |
| ||||||
|
| ahead, not to one side or up or down. For guidelines | ||||||
| receiving the ultrasound |
| ||||||
|
| regarding facing the camera, see page |
| |||||
| signal, so it cannot track |
|
| |||||
| • | Make sure that the power button on the top of the | ||||||
| you. | |||||||
|
| locator pack is in the ON position and that the batteries | ||||||
| This icon appears |
| ||||||
|
| in the locator pack are charged. |
|
| ||||
| momentarily when the |
|
|
| ||||
| • | Try standing closer to the camera. |
|
| ||||
| signal is first lost, and it |
|
| |||||
| • | Wait until the camera receives the signal again; when | ||||||
| appears again momentarily | |||||||
| if you press a Presenter |
| this occurs, the camera will point to the locator. | |||||
| View button when the signal | • | Press a button on the remote, such as the Off | Off | ||||
| is not present. |
| button, that enables you to control the camera | |||||
|
|
| manually. |
|
|
| ||
|
|
|
|
|
|
|
| |
3 - 6
