Rail Sub-Assembly
Replacement (Front
Lower)
Installation Procedure
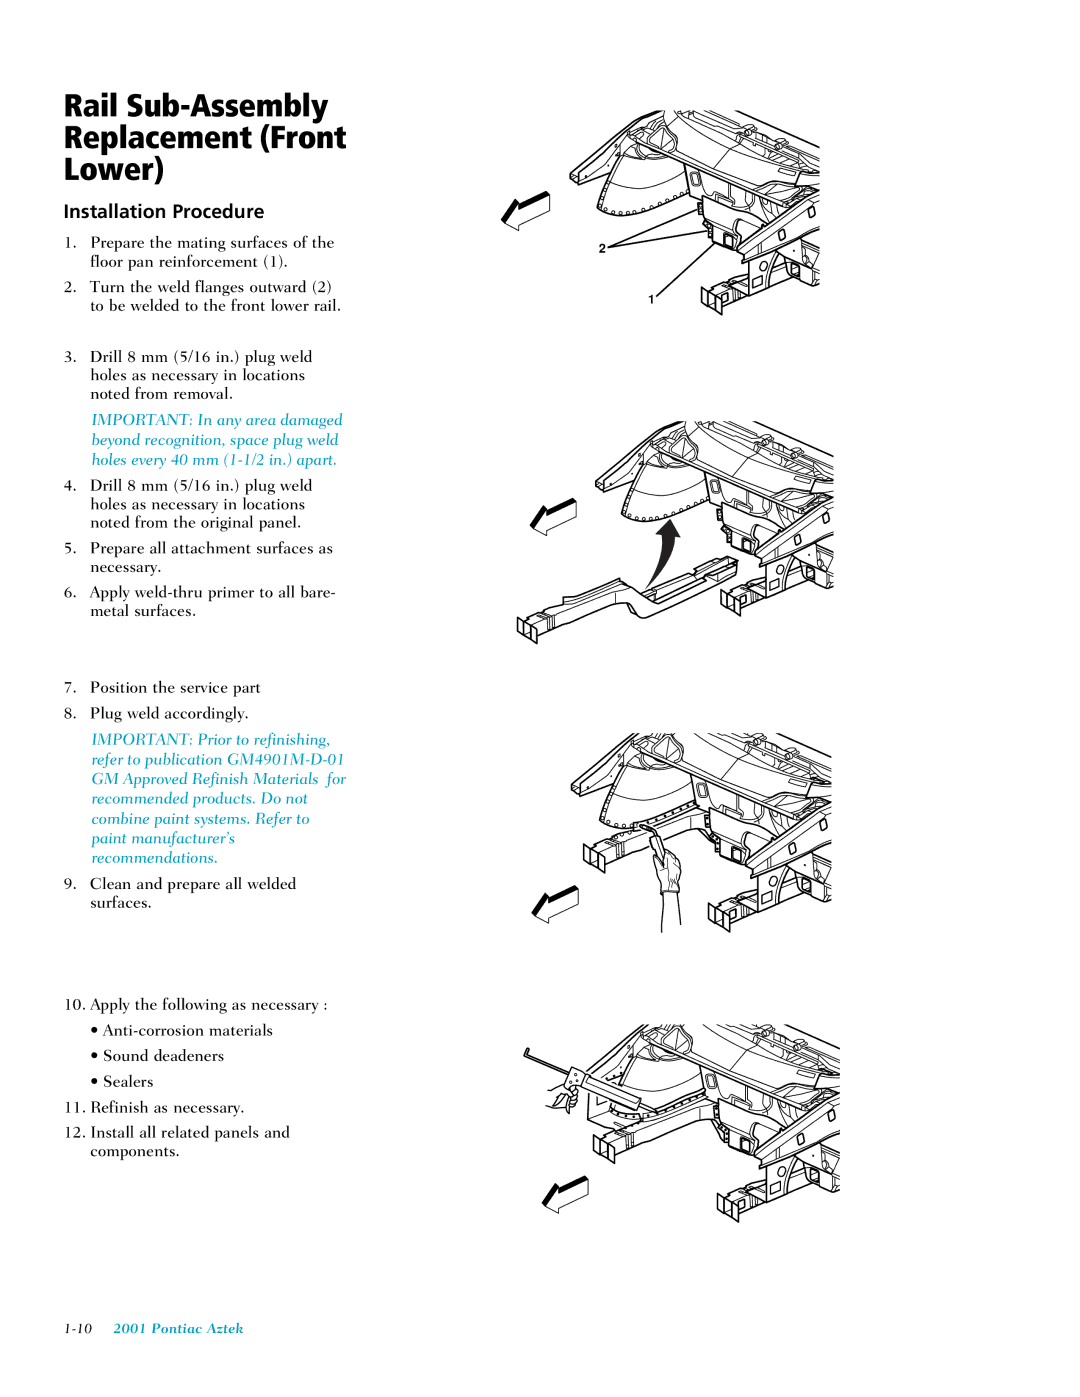
1.Prepare the mating surfaces of the floor pan reinforcement (1).
2.Turn the weld flanges outward (2) to be welded to the front lower rail.
3.Drill 8 mm (5/16 in.) plug weld holes as necessary in locations noted from removal.
IMPORTANT: In any area damaged beyond recognition, space plug weld holes every 40 mm
4.Drill 8 mm (5/16 in.) plug weld holes as necessary in locations noted from the original panel.
5.Prepare all attachment surfaces as necessary.
6.Apply
7.Position the service part
8.Plug weld accordingly.
IMPORTANT: Prior to refinishing, refer to publication
9.Clean and prepare all welded surfaces.
10.Apply the following as necessary :
•
•Sound deadeners
•Sealers
11.Refinish as necessary.
12.Install all related panels and components.
2
1