16 | ST60 Wind & Close Hauled Wind Instrument Owner’s Handbook |
2.Apply the surface mount template (supplied at the rear of this handbook) to the selected location and mark the centers for the fixing studs (1) and the aperture (3) that will take the rear casing of the instrument.
3.Drill out the two 0.2 in (5 mm) fixing stud clearance holes (2).
4.Cut out the clearance hole (3) then remove the template.
5.Peel off the protective sheet from the
6.Screw the two fixing studs into the threaded sockets on the rear of the instru- ment.
7.Mount the assembled instrument, studs, bezel and gasket into the panel. Secure from behind with the thumb nuts (5).
Flush mounting
The Flush Mounting Kit uses a
Fitting the low-profile bezel
In order to
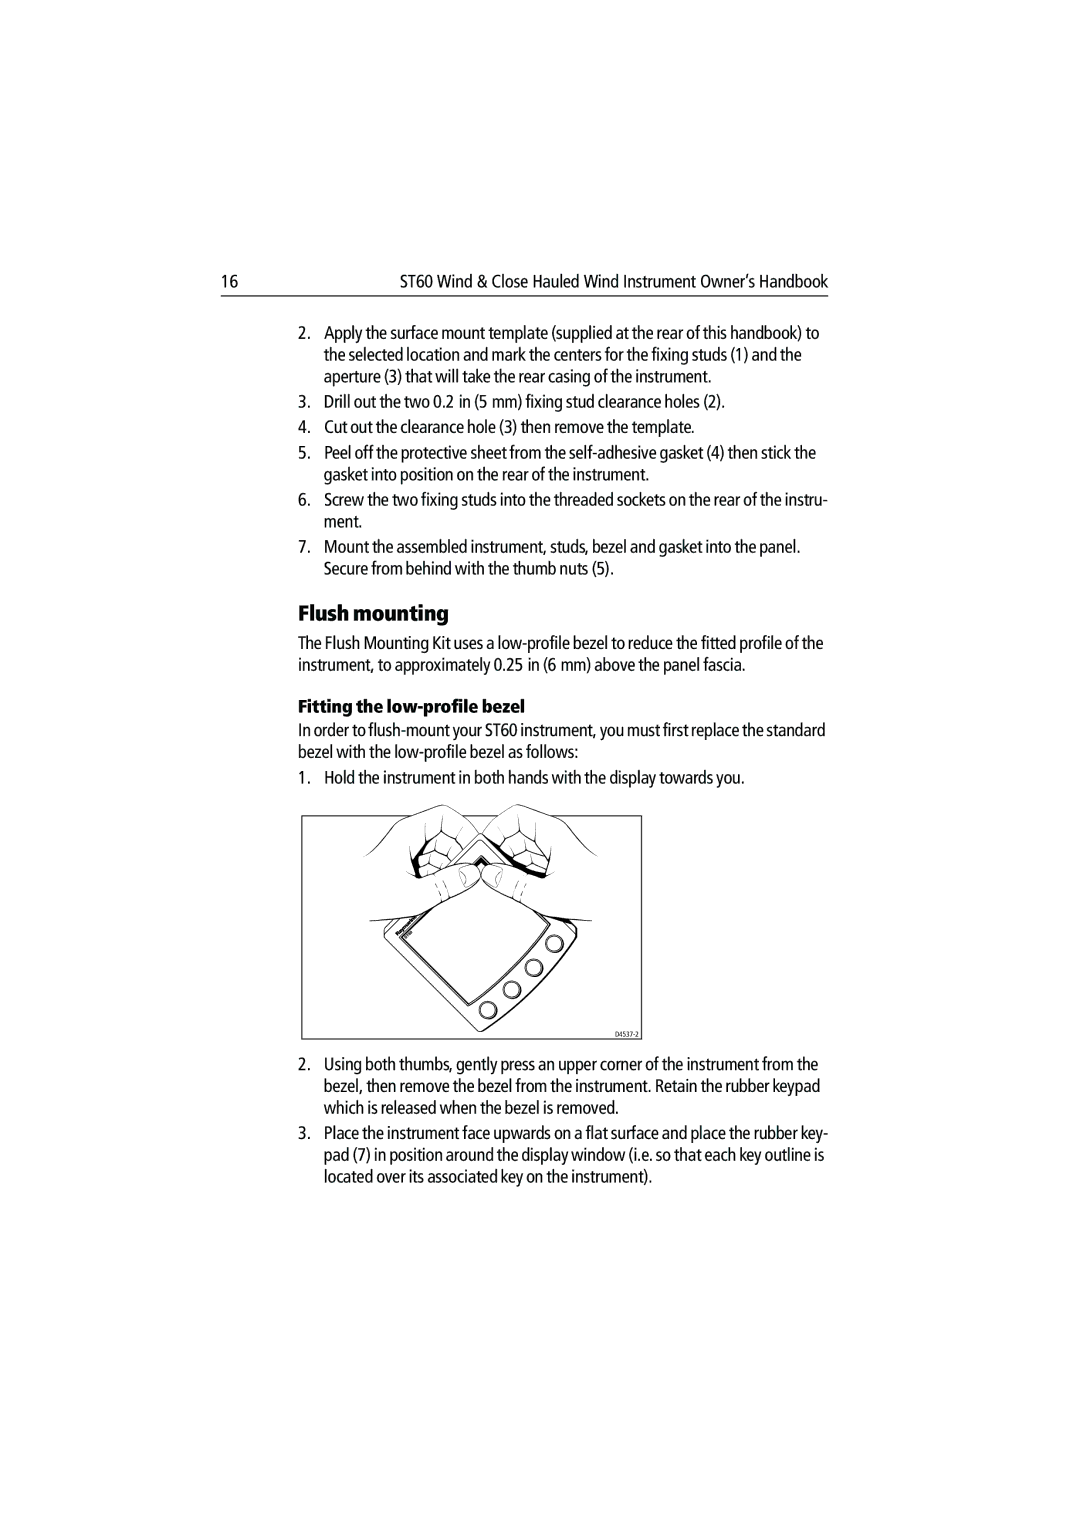
1. Hold the instrument in both hands with the display towards you.
2.Using both thumbs, gently press an upper corner of the instrument from the bezel, then remove the bezel from the instrument. Retain the rubber keypad which is released when the bezel is removed.
3.Place the instrument face upwards on a flat surface and place the rubber key- pad (7) in position around the display window (i.e. so that each key outline is located over its associated key on the instrument).
