INSTALLATION
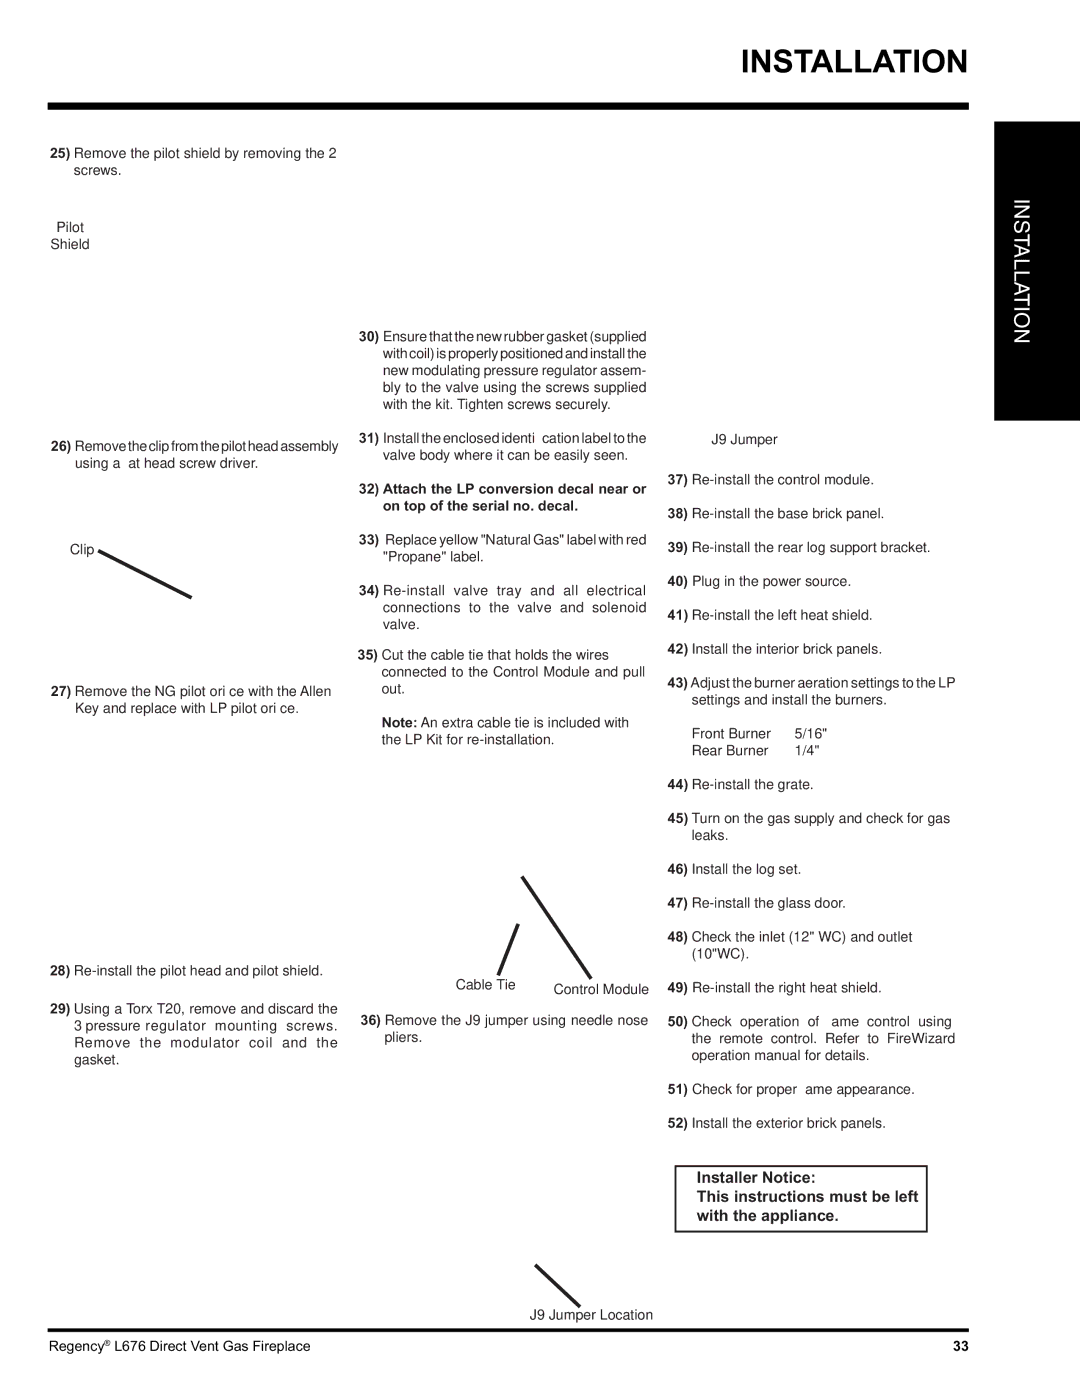
25)Remove the pilot shield by removing the 2 screws.
Pilot
Shield
30)Ensure that the new rubber gasket (supplied with coil) is properly positioned and install the new modulating pressure regulator assem- bly to the valve using the screws supplied with the kit. Tighten screws securely.
INSTALLATION
26)Remove the clip from the pilot head assembly using a flat head screw driver.
Clip
27)Remove the NG pilot orifice with the Allen Key and replace with LP pilot orifice.
28)
29)Using a Torx T20, remove and discard the 3 pressure regulator mounting screws. Remove the modulator coil and the gasket.
31)Install the enclosed identification label to the valve body where it can be easily seen.
32)Attach the LP conversion decal near or on top of the serial no. decal.
33)Replace yellow "Natural Gas" label with red "Propane" label.
34)
35)Cut the cable tie that holds the wires connected to the Control Module and pull out.
Note: An extra cable tie is included with the LP Kit for
Cable Tie | Control Module |
|
36)Remove the J9 jumper using needle nose pliers.
J9 Jumper
37)
38)
39)
40)Plug in the power source.
41)
42)Install the interior brick panels.
43)Adjust the burner aeration settings to the LP settings and install the burners.
Front Burner | 5/16" |
Rear Burner | 1/4" |
44)
45)Turn on the gas supply and check for gas leaks.
46)Install the log set.
47)
48)Check the inlet (12" WC) and outlet (10"WC).
49)
50)Check operation of flame control using the remote control. Refer to FireWizard operation manual for details.
51)Check for proper flame appearance.
52)Install the exterior brick panels.
Installer Notice:
This instructions must be left with the appliance.
J9 Jumper Location
Regency® L676 Direct Vent Gas Fireplace | 33 |
