MAINTENANCE
12) Carefully remove the bottom brick panel. | 15) | Disconnect the inlet gas line from the |
|
| valve. |
| 16) | Disconnect the 2 connectors from the |
|
| modulating coil. |
Bottom Brick Panel
13)Loosen the 2 screws that hold the right side heat shield.
17) Disconnect the 2 red wires and 1 black wire from the valve.
Modulating Coil
Heat
Shield
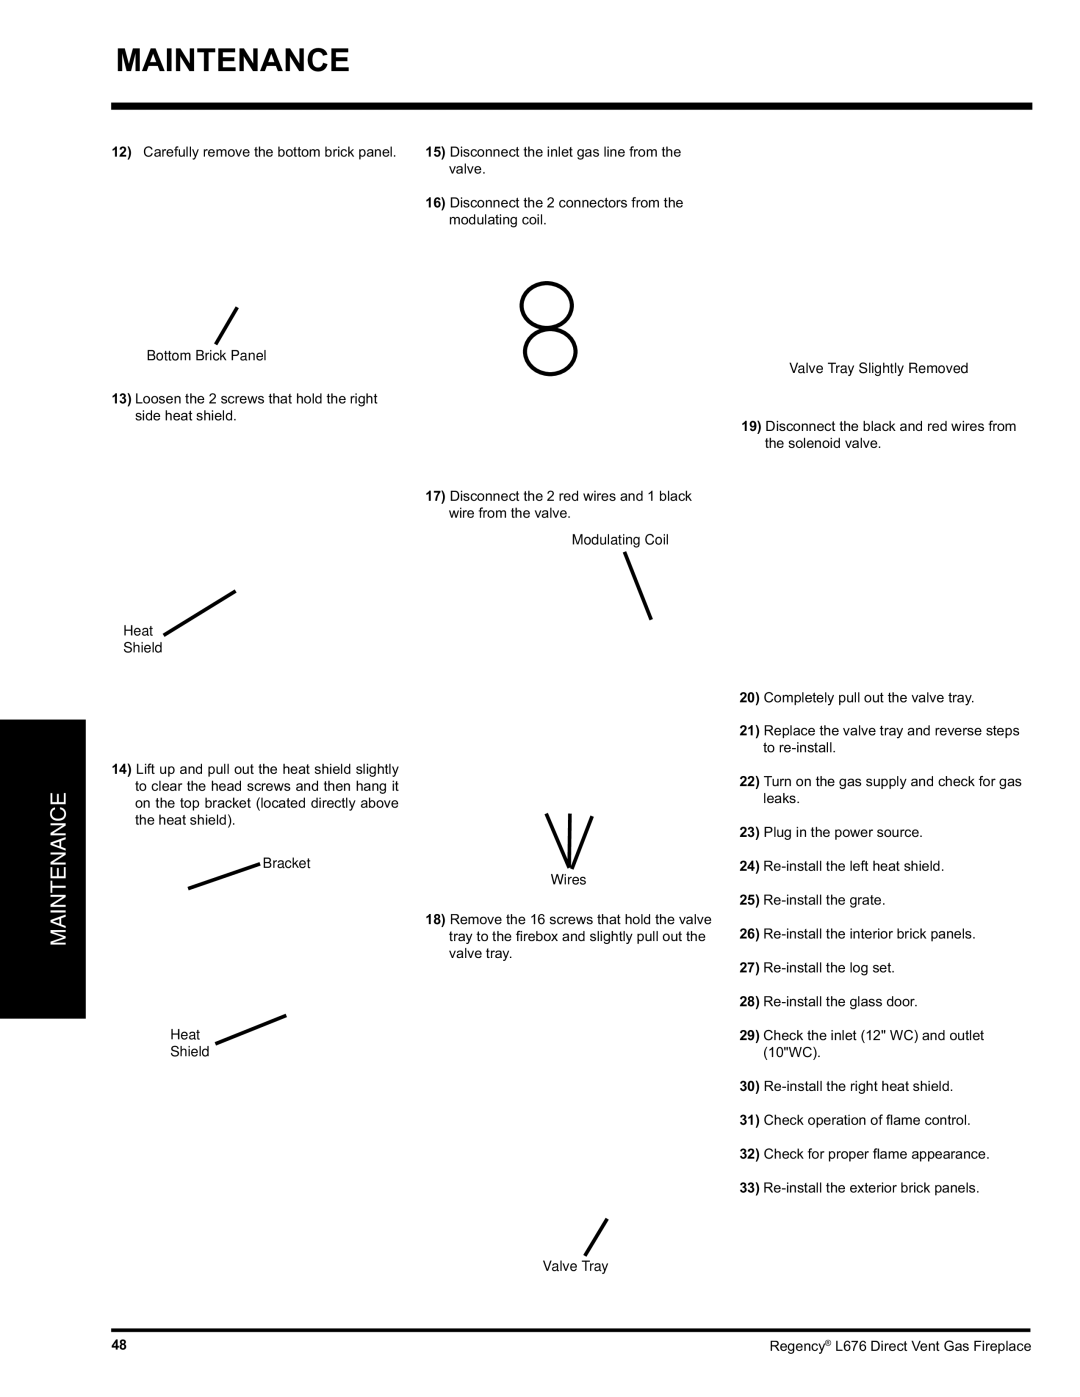
Valve Tray Slightly Removed
19)Disconnect the black and red wires from the solenoid valve.
MAINTENANCE
14)Lift up and pull out the heat shield slightly to clear the head screws and then hang it on the top bracket (located directly above the heat shield).
Bracket
Heat
Shield
Wires
18)Remove the 16 screws that hold the valve tray to the fi rebox and slightly pull out the valve tray.
20)Completely pull out the valve tray.
21)Replace the valve tray and reverse steps to
22)Turn on the gas supply and check for gas leaks.
23)Plug in the power source.
24)
25)
26)
27)
28)
29)Check the inlet (12" WC) and outlet (10"WC).
30)
31)Check operation of fl ame control.
32)Check for proper fl ame appearance.
33)
Valve Tray
48 | Regency® L676 Direct Vent Gas Fireplace |