MAINTENANCE
INSTALLING VALVE
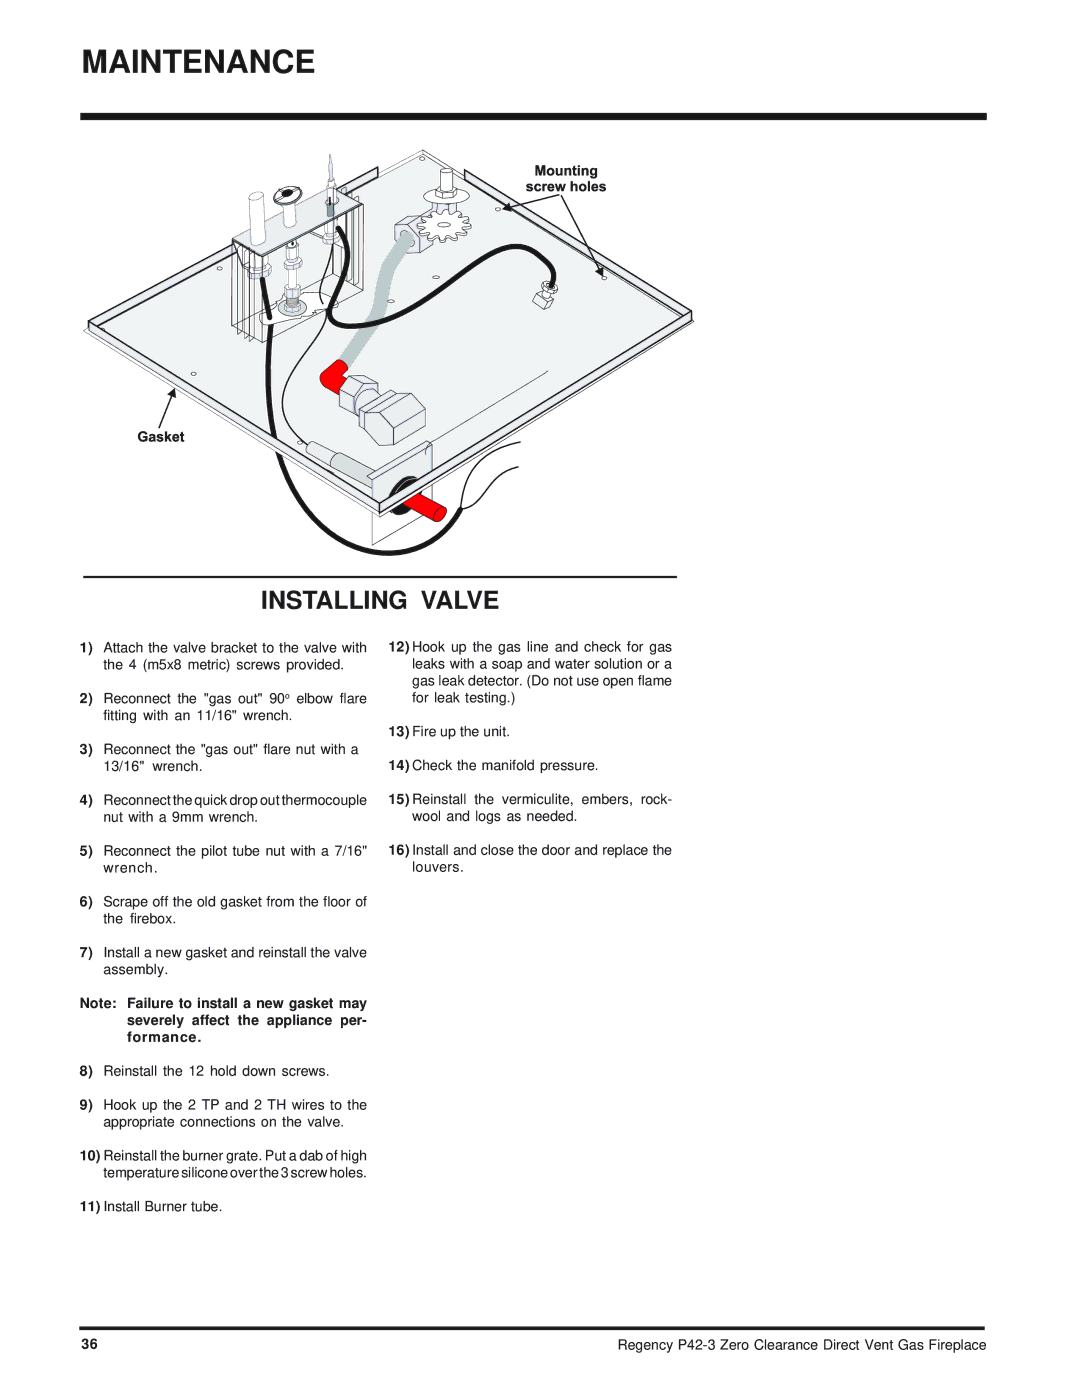
1)Attach the valve bracket to the valve with the 4 (m5x8 metric) screws provided.
2)Reconnect the "gas out" 90o elbow flare fitting with an 11/16" wrench.
3)Reconnect the "gas out" flare nut with a 13/16" wrench.
4)Reconnect the quick drop out thermocouple nut with a 9mm wrench.
5)Reconnect the pilot tube nut with a 7/16" wrench.
6)Scrape off the old gasket from the floor of the firebox.
7)Install a new gasket and reinstall the valve assembly.
Note: Failure to install a new gasket may severely affect the appliance per- formance.
8)Reinstall the 12 hold down screws.
9)Hook up the 2 TP and 2 TH wires to the appropriate connections on the valve.
10)Reinstall the burner grate. Put a dab of high temperature silicone over the 3 screw holes.
11)Install Burner tube.
12)Hook up the gas line and check for gas leaks with a soap and water solution or a gas leak detector. (Do not use open flame for leak testing.)
13)Fire up the unit.
14)Check the manifold pressure.
15)Reinstall the vermiculite, embers, rock- wool and logs as needed.
16)Install and close the door and replace the louvers.
36 | Regency |