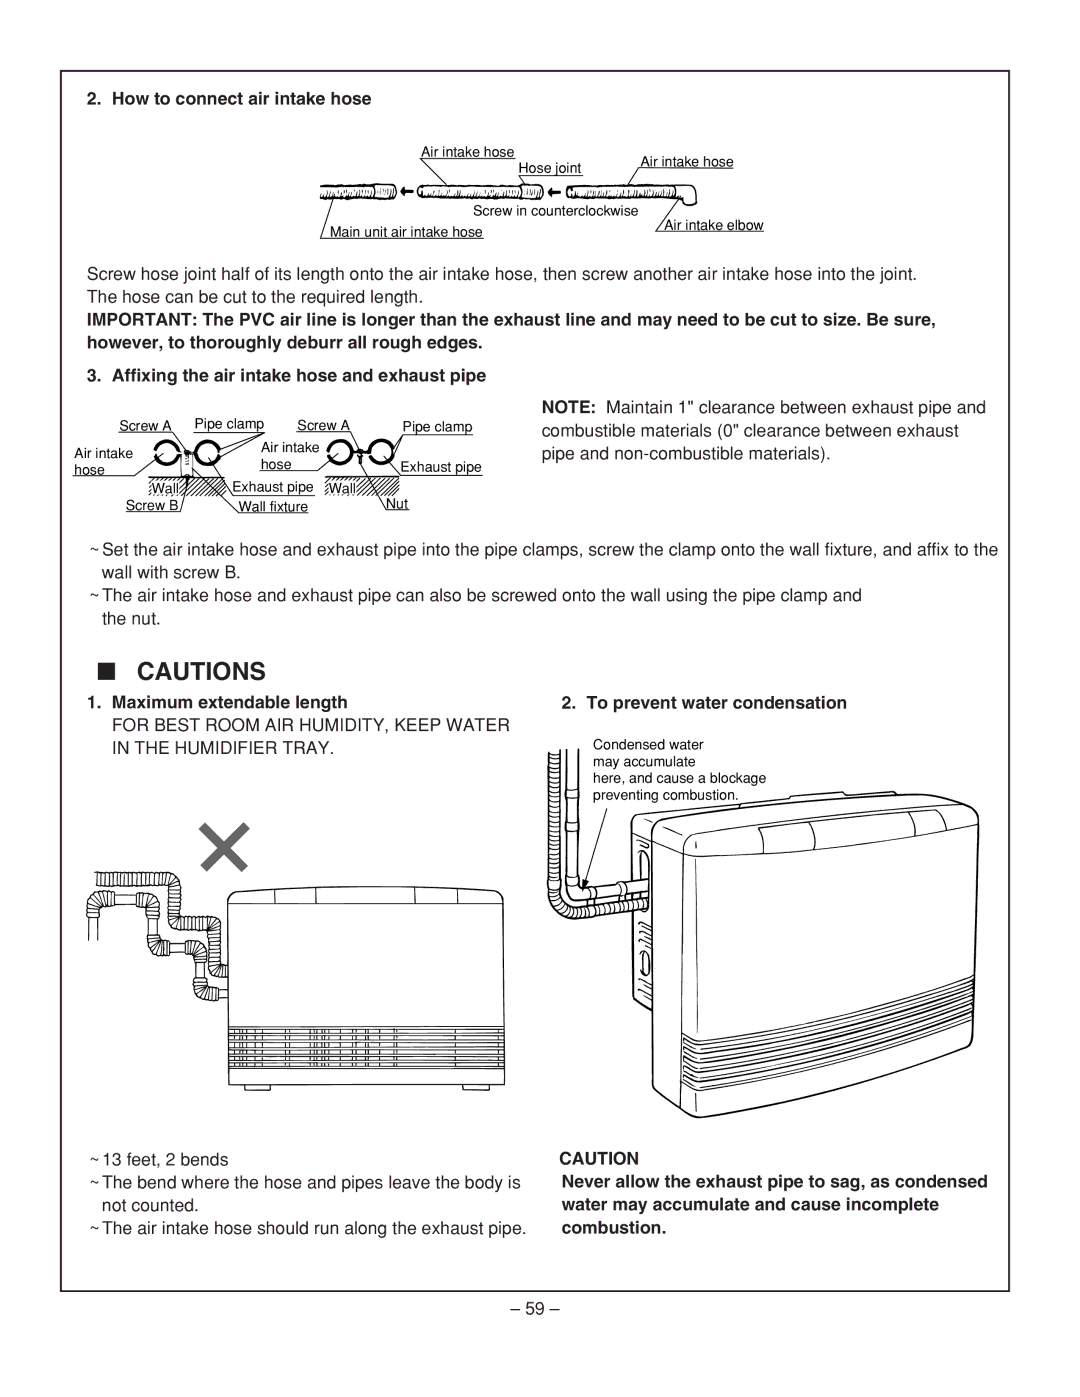
RHFE-431WTA specifications
The Rinnai RHFE-431WTA is a sophisticated gas heater designed to provide efficient and reliable warmth for residential spaces. This innovative heating solution combines advanced technologies with user-friendly features, making it an ideal choice for homeowners seeking comfort without compromising on energy efficiency.One of the standout characteristics of the RHFE-431WTA is its sleek, compact design. This gas heater can be easily integrated into any room, thanks to its modern aesthetics and low-profile build. Its dimensions allow it to fit snugly into various interior layouts, ensuring that it occupies minimal space while delivering maximum heat output.
A key feature of the RHFE-431WTA is its impressive heating capacity. With the ability to produce up to 4.2 kilowatts of heat, this unit can effectively warm spaces of various sizes. Whether it’s a cozy living area or a larger family room, the heater can adapt to your needs, providing comfortable temperatures even in the coldest months.
The Rinnai RHFE-431WTA also boasts advanced fan technology that distributes heat evenly throughout the room, eliminating cold spots and ensuring consistent warmth. Its whisper-quiet operation enhances the user experience, allowing you to enjoy a tranquil environment without the distraction of noisy heating equipment.
Energy efficiency is another major highlight of the RHFE-431WTA. This unit features a high energy efficiency rating, which not only reduces utility costs but also minimizes environmental impact. Its advanced combustion technology ensures that gas is burned optimally, contributing to lower emissions and a more sustainable heating solution.
The heater also includes an intelligent control system. With a user-friendly interface, homeowners can easily adjust settings to suit their comfort preferences. The unit comes equipped with a digital display that provides real-time information on temperature settings, operation modes, and timers, allowing for precise control over your heating needs.
Safety is a top priority for Rinnai, and the RHFE-431WTA is no exception. The heater is equipped with multiple safety features, including an automatic shut-off mechanism that activates if it detects any irregularities during operation. This ensures peace of mind for users, particularly in households with children or pets.
In summary, the Rinnai RHFE-431WTA gas heater stands out for its efficiency, advanced features, and stylish design. Whether you're looking to enhance comfort in your home or reduce energy consumption, this heater delivers on all fronts, making it a top choice in the market.

