Playing the Organ
Button | Parameter | Page | |
|
|
| |
|
|
| |
|
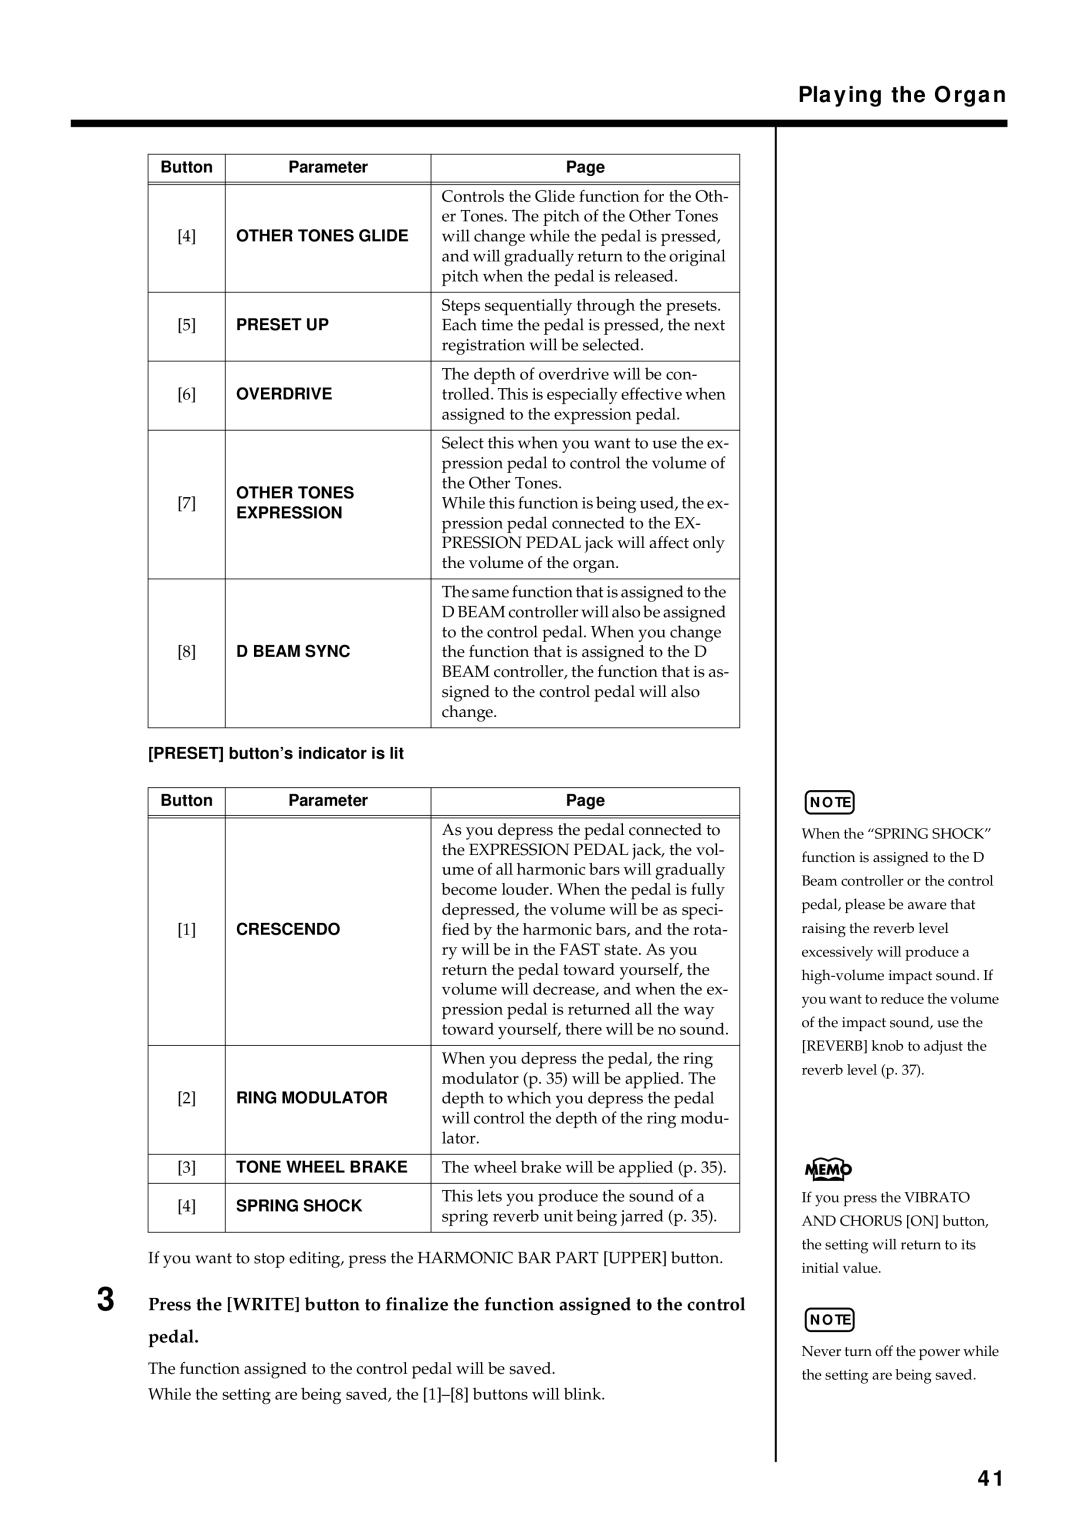
| Controls the Glide function for the Oth- | |
| OTHER TONES GLIDE | er Tones. The pitch of the Other Tones | |
[4] | will change while the pedal is pressed, | ||
|
| and will gradually return to the original | |
|
| pitch when the pedal is released. | |
|
|
| |
| PRESET UP | Steps sequentially through the presets. | |
[5] | Each time the pedal is pressed, the next | ||
|
| registration will be selected. | |
|
|
| |
| OVERDRIVE | The depth of overdrive will be con- | |
[6] | trolled. This is especially effective when | ||
|
| assigned to the expression pedal. | |
|
|
| |
|
| Select this when you want to use the ex- | |
|
| pression pedal to control the volume of | |
| OTHER TONES | the Other Tones. | |
[7] | While this function is being used, the ex- | ||
EXPRESSION | |||
| pression pedal connected to the EX- | ||
|
| ||
|
| PRESSION PEDAL jack will affect only | |
|
| the volume of the organ. | |
|
|
| |
|
| The same function that is assigned to the | |
|
| D BEAM controller will also be assigned | |
| D BEAM SYNC | to the control pedal. When you change | |
[8] | the function that is assigned to the D | ||
|
| BEAM controller, the function that is as- | |
|
| signed to the control pedal will also | |
|
| change. | |
|
|
| |
[PRESET] button’s indicator is lit |
| ||
|
|
| |
Button | Parameter | Page | |
|
|
| |
|
|
| |
|
| As you depress the pedal connected to | |
|
| the EXPRESSION PEDAL jack, the vol- | |
|
| ume of all harmonic bars will gradually | |
|
| become louder. When the pedal is fully | |
| CRESCENDO | depressed, the volume will be as speci- | |
[1] | fied by the harmonic bars, and the rota- | ||
|
| ry will be in the FAST state. As you | |
|
| return the pedal toward yourself, the | |
|
| volume will decrease, and when the ex- | |
|
| pression pedal is returned all the way | |
|
| toward yourself, there will be no sound. | |
|
|
| |
|
| When you depress the pedal, the ring | |
| RING MODULATOR | modulator (p. 35) will be applied. The | |
[2] | depth to which you depress the pedal | ||
|
| will control the depth of the ring modu- | |
|
| lator. | |
|
|
| |
[3] | TONE WHEEL BRAKE | The wheel brake will be applied (p. 35). | |
|
|
| |
[4] | SPRING SHOCK | This lets you produce the sound of a | |
spring reverb unit being jarred (p. 35). | |||
|
| ||
|
|
| |
If you want to stop editing, press the HARMONIC BAR PART [UPPER] button.
3 Press the [WRITE] button to finalize the function assigned to the control
pedal.
The function assigned to the control pedal will be saved.
While the setting are being saved, the
NOTE
When the “SPRING SHOCK” function is assigned to the D Beam controller or the control pedal, please be aware that raising the reverb level excessively will produce a
If you press the VIBRATO AND CHORUS [ON] button, the setting will return to its initial value.
NOTE
Never turn off the power while the setting are being saved.
41