SETTING UP CAMERA SYSTEM
![]() Reference
Reference
![]() Date will be imprinted as DATE TYPE setting.
Date will be imprinted as DATE TYPE setting.
![]() TIME is imprinted in the following way: [hour / minute / second].
TIME is imprinted in the following way: [hour / minute / second].
Hours are shown using the 24 hour clock.
![]() The IMPRINT function is unaffected by the camera being switched on and off.
The IMPRINT function is unaffected by the camera being switched on and off.
DATE TYPE
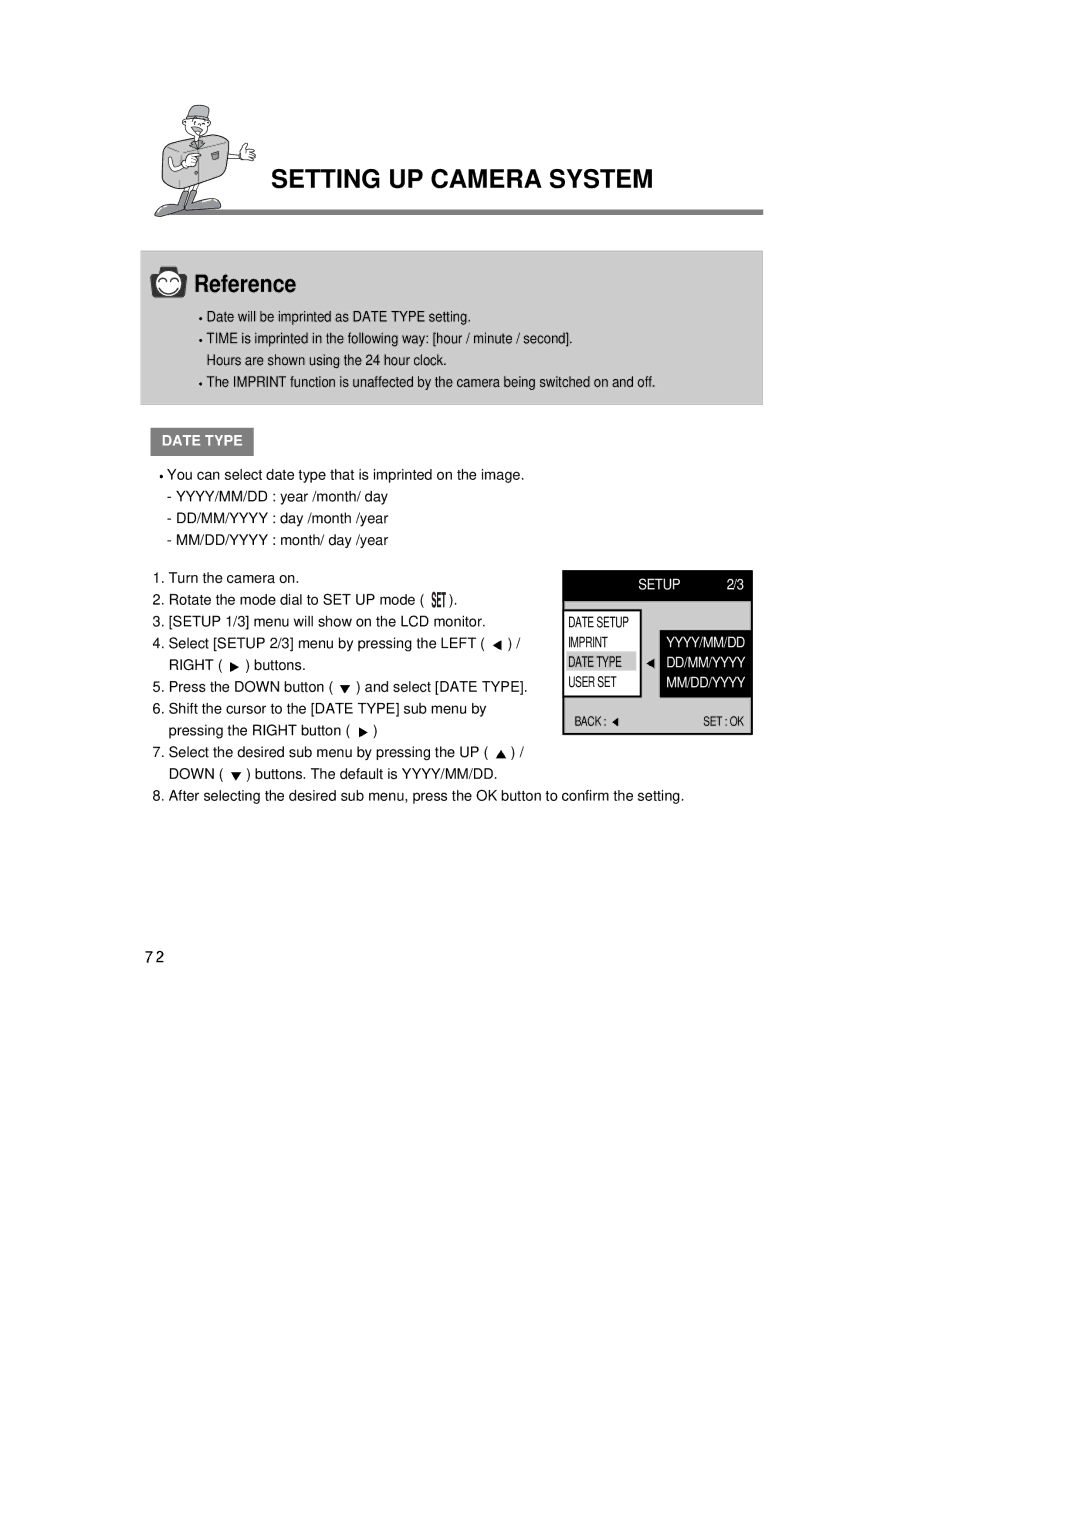
![]() You can select date type that is imprinted on the image.
You can select date type that is imprinted on the image.
-YYYY/MM/DD : year /month/ day
-DD/MM/YYYY : day /month /year
-MM/DD/YYYY : month/ day /year
1. | Turn the camera on. |
|
| SETUP | ||
2. | Rotate the mode dial to SET UP mode ( ). |
| ||||
|
|
|
| |||
|
|
|
| |||
3. | [SETUP 1/3] menu will show on the LCD monitor. | DATE SETUP |
|
| ||
4. | Select [SETUP 2/3] menu by pressing the LEFT ( ) / | IMPRINT |
|
| ||
| RIGHT ( ) buttons. |
| DATE TYPE |
|
|
|
5. | Press the DOWN button ( | ) and select [DATE TYPE]. | USER SET |
|
| |
|
|
|
| |||
6. | Shift the cursor to the [DATE TYPE] sub menu by | BACK : | ||||
| pressing the RIGHT button ( | ) | ||||
|
|
|
|
| ||
7.Select the desired sub menu by pressing the UP ( ![]() ) / DOWN (
) / DOWN ( ![]() ) buttons. The default is YYYY/MM/DD.
) buttons. The default is YYYY/MM/DD.
8.After selecting the desired sub menu, press the OK button to confirm the setting.
