CCD Mémoire à transfert de charges
AD68-01040A
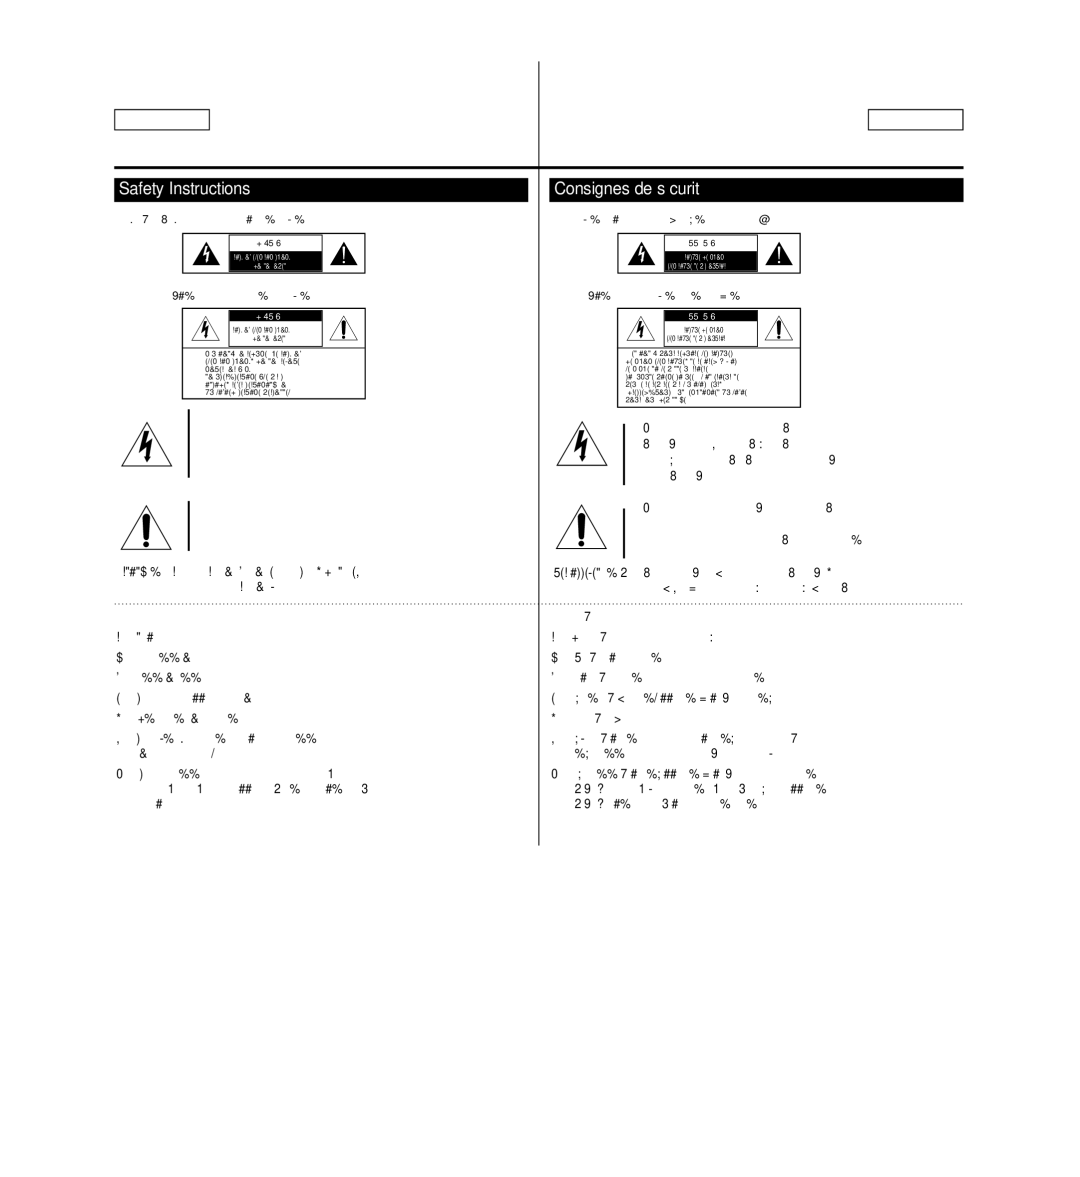
Explanation of Safety Related Symbols
Safety Instructions Consignes de sécurité
Shock Hazard Marking and Associated Graphical Symbols
Explication des symboles relatifs à la sécurité
Power Sources
Types Dalimentation
Outdoor Antenna Grounding
POWER-CORD Protection
Grounding or Polarization
Prise DE Terre OU Polarisation
Lightning
Power Lines
Damage Requiring Service
Overloading
User Installer Caution
Replacement Parts
Safety Check
26. Pièces DE Rechange
FCC Warning
Avertissement de la FCC
ContentsSommaire
Advanced Recording
Contents Sommaire
Remarques concernant lécran ACL, le viseur et lobjectif
Remarques concernant la rotation de l’écran ACL
Remarques concernant le nettoyage des têtes vidéo
Remarque
Remarques concernant les droits dauteur
Servicing & Replacement Parts
Remarques sur le caméscope
Réparations et pièces de rechange
Features
Caractéristiques
Basic Accessories
Accessoires principaux
Ejection DE LA Cassette
Front & Left View Vue avant gauche
Tape Eject
Left Side View Vue du côté gauche
Prises
Right & Top View Vue de droite et du dessus
Jacks
Jack Cover Jacks See below
Usable Memory Cards
Getting to Know Your Camcorder
Rear & Bottom View Vue arrière et vue de dessous
Carte mémoire utilisable
10. œ / √ Direction
Télécommande modèles SC-D965 uniquement
Remote Control SC-D965 only
Utilisation de la dragonne et du cache-objectif
Using the Hand Strap & Lens Cover
PreparationPréparatifs
Lithium Battery Installation
Insertion de la pile au lithium
Using the Lithium Ion Battery Pack
Utilisation de la batterie lithium-ion
Amount of continuous recording time available depends on
Battery Pack Management
Gestion de la batterie
Remarques concernant la batterie
Propos des modes de fonctionnement
Connecting a Power Source
About the Operating Modes
Branchement sur une source dalimentation
Using the Quick Menu Utilisation du bouton Quick Menu
Preparation Préparatifs
OSD On Screen Display in Camera/Player Modes
OSD in Camera Mode
OSD in Player Mode
Affichage à l’écran en modes Camera/Player
Activation/Désactivation de laffichage à lécran
Affichage à l’écran en modes M.Cam/M.Player
Turning the OSD On Screen Display On/Off
OSD On Screen Display in M.Cam/M.Player Modes
Réglage initial
Initial Setting System Menu Setting
Setting the Clock Clock Set
Réglage de lhorloge Clock Set Param. Horloge
Camera/Player/M.Cam/M.Player modes.
Set the Power switch to Camera or Player
Remote function works
Memory
Setting the Beep Sound Beep Sound
Réglage du signal sonore Beep Sound Signal sonore
Menu
Mode switch to Tape
Setting the Shutter Sound Shutter Sound
Mode switch to Memory
Réglage du son de lobturateur Shutter Sound Son Obturateur
Selecting the OSD Language Language
Choix de la langue d’affichage à l’écran Language Langue
Viewing the Demonstration Demonstration
LCD Color between 0 ~
Initial Setting Display Menu Setting
LCD Bright LCD Color
Time, Date&Time
Displaying the Date/Time Date/Time
Affichage de la date et de l’heure Date/Time Date/Heure
Setting the TV Display TV Display
Réglage de laffichage TV TV Display Affichage TV
Utilisation du viseur
Using the Viewfinder
Enregistrement de base
Inserting / Ejecting a Cassette
Techniques d’enregistrement
Basic Recording Enregistrement de base
Various Recording Techniques
Camera
Making your First Recording
Réalisation de votre premier enregistrement
Tape
Words EASY.Q and DIS are displayed at the same time
Recording with Ease for Beginners EASY.Q Mode
Enregistrement facile pour les débutants Mode EASY.Q
Record Search REC Search
Reviewing and Searching a Recording REC Search
Recherche et révision d’un enregistrement REC Search
Recherche d’enregistrement REC Search
Set the Power switch to Camera or Player
CAM
Professionnels et entraîner une
Using the Tele Macro Utilisation de la fonction Télé Macro
Zooming In and Out Zoom avant et arrière
Pour débuter un enregistrement
Using the Fade In and Out Ouverture et fermeture en fondu
To Start Recording
To Stop Recording use Fade In/Fade Out
BLC Off
Using Back Light Compensation Mode BLC
Utilisation du mode Compensation du contre-jour BLC
Utilisation de la fonction Color Nite Éclairage nocturne
Advanced Recording Enregistrement avancé
Selecting the Record Mode & Audio Mode
Set the Power switch to Camera or Player
Sélection des modes Record Enregistrement et Audio
Ou Auto
Sélection de la fonction Real Stereo Stéréo réelle
Type d’enregistrement
Setting the Shutter Speed & Exposure
Recommended Shutter Speeds when Recording
Manual Focus
Auto Focus / Manual Focus
Auto Focus
Mise au point manuelle
Portrait Mode
Auto a mode Auto balance between the subject
Sports Mode
Mode Auto a
√Camera
Custom WB
Indoor
Outdoor
Activation du mode Visual Effects Effets visuels
Applying Visual Effects
Selecting the Visual Effects Choix des effets visuels
Réglage du mode 169 Wide 169 Large
DIS menu to Off
Setting the Digital Image Stabilizer DIS
Réglage du mode Stabilisateur d’image numérique DIS
Activation du zoom numérique
Zooming In and Out with Digital Zoom Digital Zoom
Selecting the Digital Zoom
Still Image Recording
Enregistrement dune photo
Advanced Recording
Searching for a still image
Réglage du volume
Adjusting the LCD Bright/LCD Color during Playback
Adjusting the Volume
PlaybackLecture
Various Functions while in Player Mode
Fonctions disponibles en mode Player Lecteur
Playback Lecture
Zoom en cours de lecture PB Zoom
Appuyez sur le bouton PB Zoom en mode
Zooming during Playback PB Zoom
Audio Dubbing SC-D965 only
Post-sonorisation modèles SC-D965 uniquement
Dubbed Audio Playback
Dubbed Audio Playback Lecture post-sonorisation
Tape Playback Lecture d’une bande
Lecture
Connecting to a TV which has no Audio/Video Input Jacks
Connexion à un téléviseur sans entrée A/V
Audio Effect Effets sonores
Menu
AV In, S-Video In then press the OK button
Setting the AV In/Out SC-D965 only
Réglage Ent/Sor AV modèles SC-D965 uniquement
Set AV In/Out menu to Out
Digital Still Camera Mode Appareil photo numérique
Image Format
Structure of Folders and Files on the Memory Card
Arborescence des dossiers et fichiers de la carte mémoire
Format d’image
Sélection du type de mémoire
Mode switch to Tape or Memory
Selecting the Memory Type
Int. Memory or Memory Card, then press
Select the Image Quality
Selecting the Photo Quality
Sélection de la qualité de photo
Number of Images on the Memory Card
Pour quitter, appuyez sur la touche Menu
Press the Menu button Menu list will appear
Button.5 To exit, press the Menu button
Option Series or Reset, then press the OK
Setting the File Number
Set the Mode switch to Memory
Réglage du numéro de fichier
Taking a Photo Image Jpeg on the Memory Card
Enregistrement dune photo Jpeg sur la carte mémoire
Flash Select
Using the Built in Flash
Utilisation du flash intégré
Do not fire the flash close to people’s eyes
Viewing Photo Images Jpeg Visualisation de photos Jpeg
Protection from accidental Erasure
Protection contre la suppression accidentelle
REV/FWD
Deleting Photo Images and Moving Images
Suppression de photos et de films
Message Do you want to delete? is displayed
Message Do you want to delete all? is
Deleting All Images at Once
Suppression de toutes les images en une seule fois
Le message Do you want to delete all? saffiche
If you select Int. Memory or Memory Card
Formatage de la carte mémoire
Desired option Int. Memory or Memory Card
Message All files will be deleted! Do you
Enregistrement de films Mpeg sur la carte mémoire
Recording Moving Images Mpeg on a Memory Card
Remarques
Œœ/ √√ REV/FWD , and Stop buttons
Touches œœ/ √√ REV/FWD
PLAY/STILL , œœ/ √√ REV/FWD , et Stop
Les boutons Menu et OK ne sont pas disponibles
Enregistrement d’images fixes à partir d’une cassette
Still images copied from the cassette to
Camcorder automatically performs the still
Image search to find still images and copy starts
Memory Card are saved in 640x480 format
Back
Removing the Print Mark
Suppression du symbole Impression
Marking Images for Printing Print Mark
Option All Off, This File or All Files, then press
PictBridgeTMPictBridgeTM
Printing Your Pictures Using the PictBridgeTM
Connecting To a Printer
Impression de vos images avec PictBridgeTM
Canceling the Printing
Setting the Number of Prints
Setting the Date/Time Imprint Option
Selecting Images
Ieee 1394 Data Transfer Transfert de données Ieee
Enregistrement à laide dun câble de connexion DV
Ieee 1394 Data Transfer
Recording with a DV Connection Cable
Utilisation de linterface USB
Using USB Interface
USB Interface Interface USB
Selecting the USB Device USB Connect
Sélection du périphérique USB USB Connect Connexion USB
Program Installation
Installing DV Media PRO Program
Installation du programme DV Media PRO
Installation du programme
USB Interface
Connecting to a PC
Disconnecting the USB Cable
Raccordement à un ordinateur
Using the PC Camera Function
Utilisation de la fonction Web cam
Utilisation de la fonction Removable Disk Disque amovible
Using the USB Streaming Function
Using the removable Disk Function
La fin d’un enregistrement
Maintenance
Entretien
Usable Cassette Tapes
Cleaning the Video Heads
MaintenanceEntretien
Cleaning and Maintaining the Camcorder
Nettoyage et entretien du caméscope
Using Your Camcorder Abroad
Utilisation de votre caméscope à l’étranger
Self Diagnosis Display Auto-diagnostic
TroubleshootingDépannage
Troubleshooting
Dépannage
Affichage de lauto-diagnostic en modes M.Cam/M.Player
Self Diagnosis Display in M.Cam/M.Player Modes
Symptom Explanation/Solution
Problème Explication/Solution
Sous-menu Fonctions Mode disponible
Setting menu items
Main Sub Menu Functions Available Mode
Eléments des menus de réglage
Sous-menu
Main Sub Menu Functions
Menu
Nom du modèle SC-D963/D965
Specifications Caractéristiques techniques
Model Name SC-D963/D965
Index
Warranty SEA users only
Samsung Limited Warranty
Exclusions What is not Covered
Warranty Canada users only Garantie pour le Canada
Samsung Garantie Limited Warranty Samsung Limitée
Exceptions Responsabilités NON Couvertes
Contactez Samsung À Travers LE Monde
Contact Samsung World Wide
Customer Care Center Web Site
RoHS compliant
Center Samsung Electronics America, inc