Advanced recording
 Adjusting the focus manually
This camcorder automatically focuses subjects from
Examples of the Manual focus mode
• When the subject is dark. | |
• When the background is too bright. | |
• | When you view the subject through a window that is stained or |
| wet. |
• | When the subject has dense horizontal or sloping stripes. |
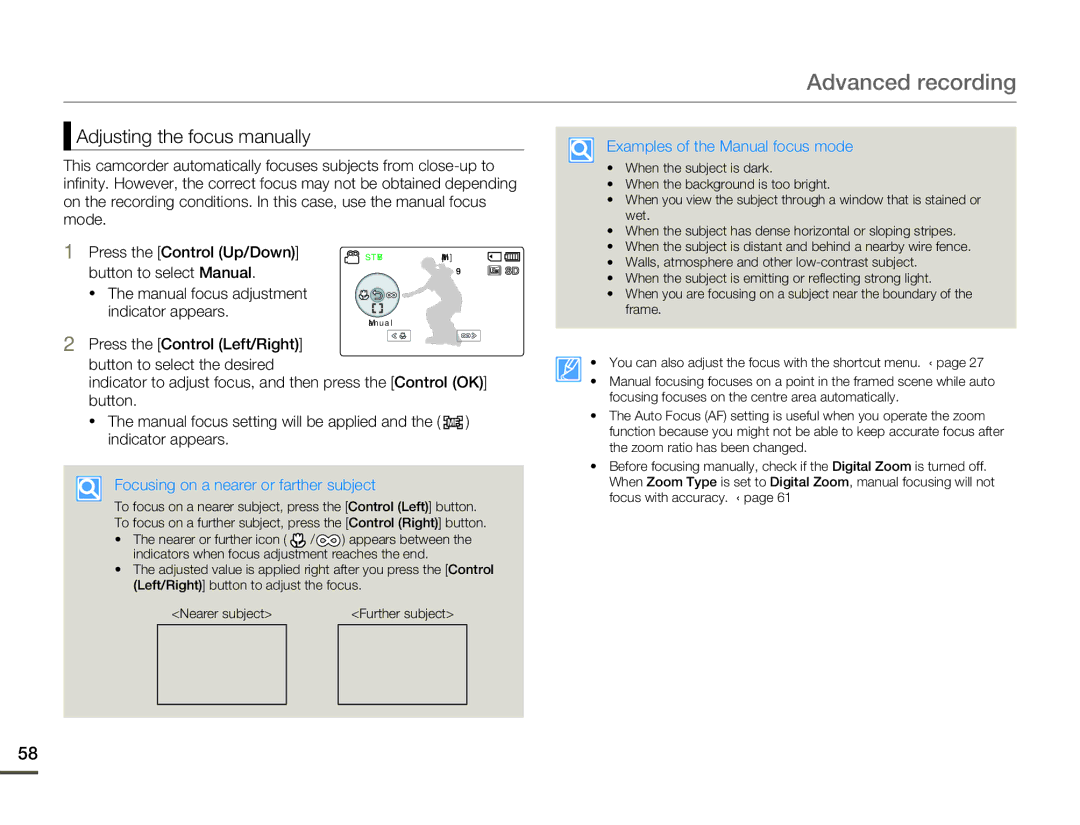
1Press the [Control (Up/Down)] button to select Manual.
•The manual focus adjustment indicator appears.
STBY[254Min]
9999
Manual
• When the subject is distant and behind a nearby wire fence. | |
• Walls, atmosphere and other | |
• | When the subject is emitting or reflecting strong light. |
• | When you are focusing on a subject near the boundary of the |
| frame. |
2Press the [Control (Left/Right)] button to select the desired
indicator to adjust focus, and then press the [Control (OK)] button.
•The manual focus setting will be applied and the ( ![]()
![]()
![]() ) indicator appears.
) indicator appears.
Focusing on a nearer or farther subject
To focus on a nearer subject, press the [Control (Left)] button. To focus on a further subject, press the [Control (Right)] button.
•The nearer or further icon ( ![]() /
/ ![]() ) appears between the indicators when focus adjustment reaches the end.
) appears between the indicators when focus adjustment reaches the end.
•The adjusted value is applied right after you press the [Control (Left/Right)] button to adjust the focus.
<Nearer subject> | <Further subject> | |
|
|
|
• You can also adjust the focus with the shortcut menu. ¬page 27
• Manual focusing focuses on a point in the framed scene while auto focusing focuses on the centre area automatically.
•The Auto Focus (AF) setting is useful when you operate the zoom function because you might not be able to keep accurate focus after the zoom ratio has been changed.
•Before focusing manually, check if the Digital Zoom is turned off.
When Zoom Type is set to Digital Zoom, manual focusing will not focus with accuracy. ¬page 61
58
