Operation and Configuration
Performing a Test Print
Users can perform test prints to evaluate the print quality and also diagnose problems.
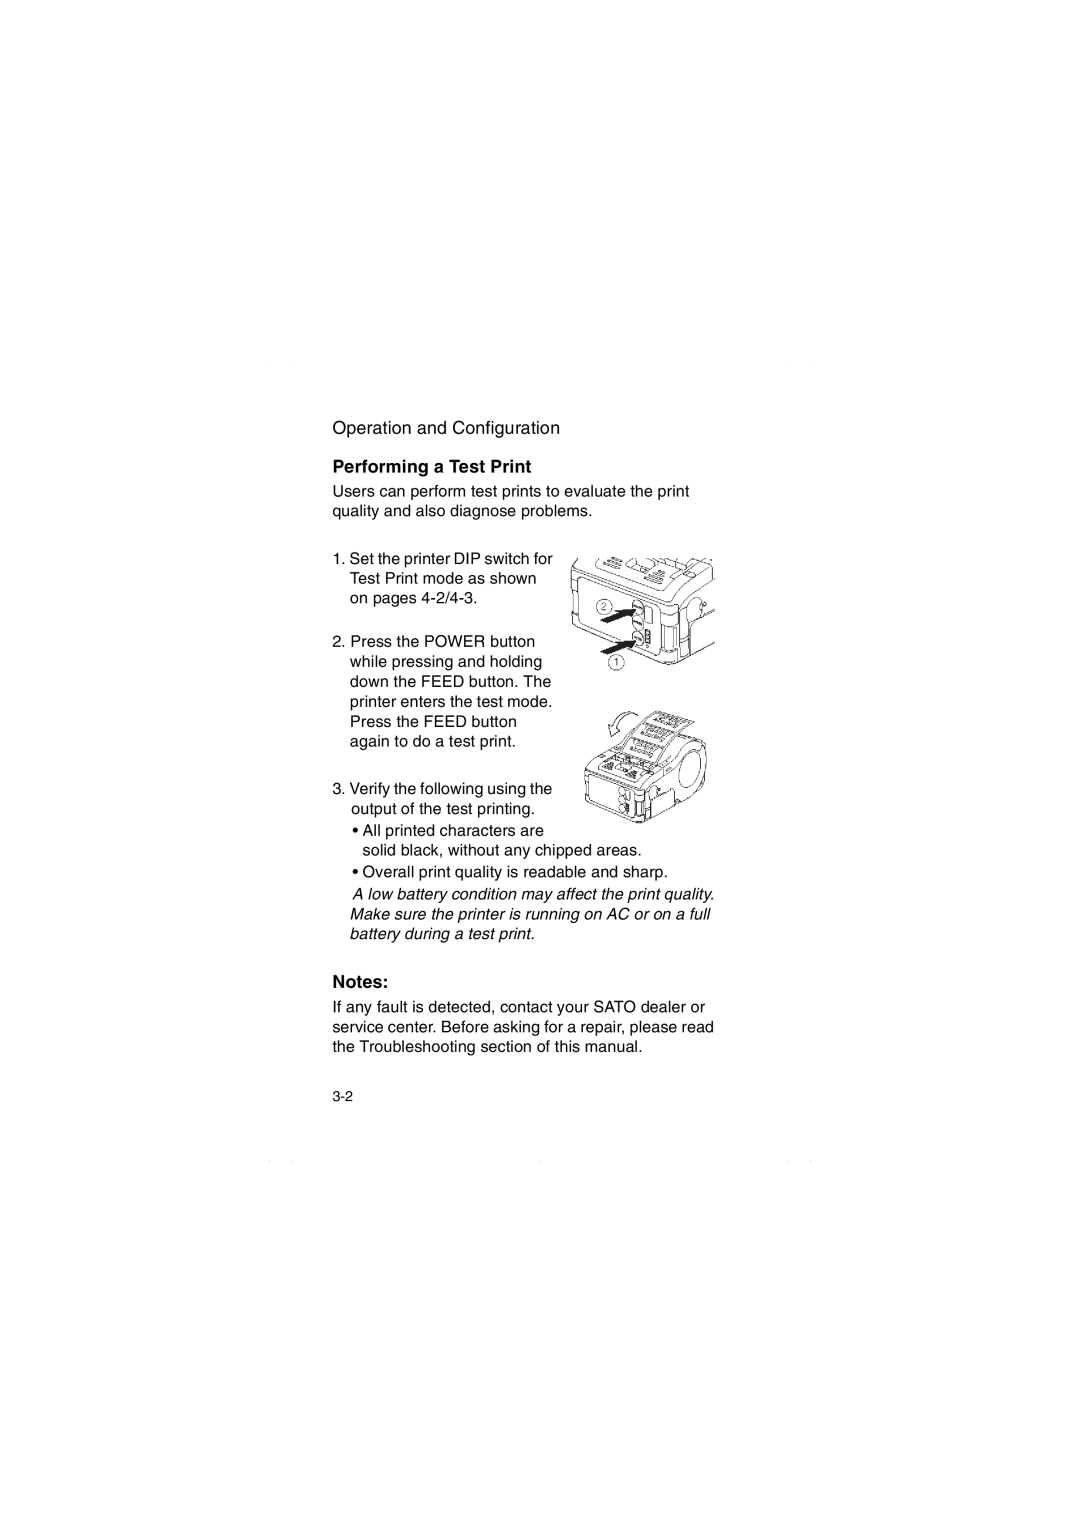
1.Set the printer DIP switch for Test Print mode as shown on pages
2.Press the POWER button while pressing and holding down the FEED button. The printer enters the test mode. Press the FEED button again to do a test print.
3.Verify the following using the output of the test printing.
•All printed characters are
solid black, without any chipped areas.
•Overall print quality is readable and sharp.
A low battery condition may affect the print quality. Make sure the printer is running on AC or on a full battery during a test print.
Notes:
If any fault is detected, contact your SATO dealer or service center. Before asking for a repair, please read the Troubleshooting section of this manual.
